
Update 01/05/26
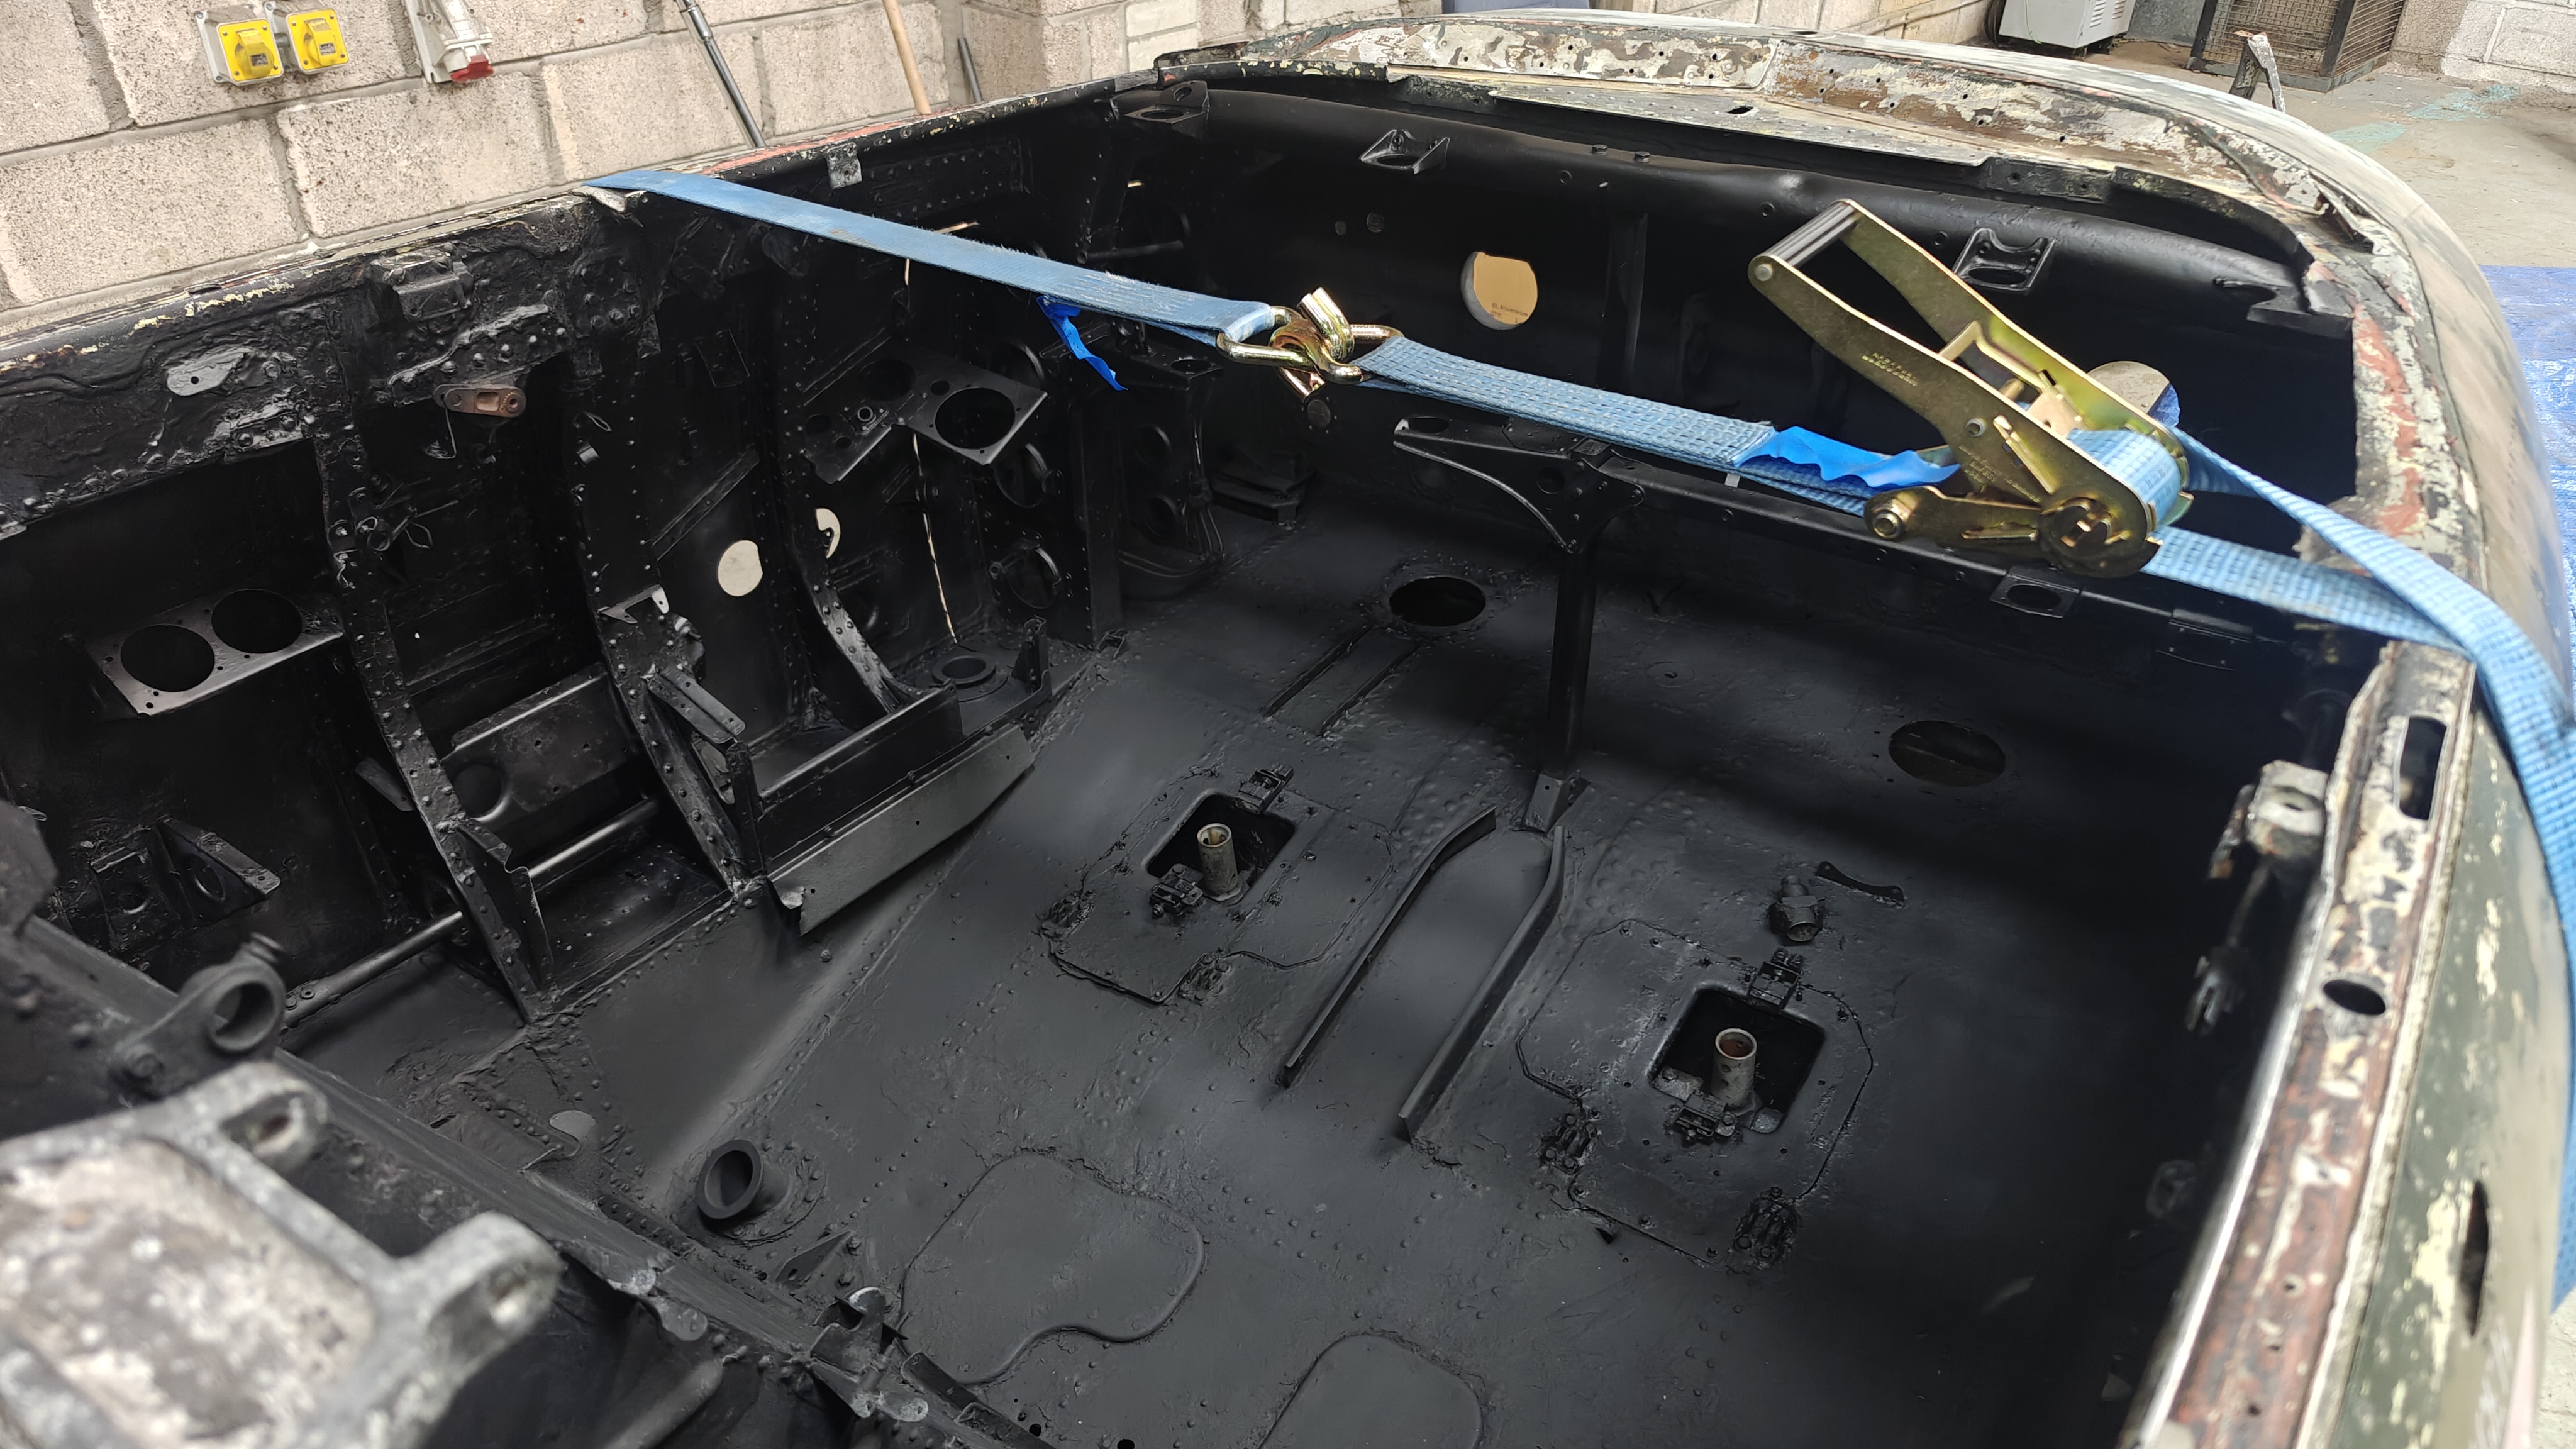
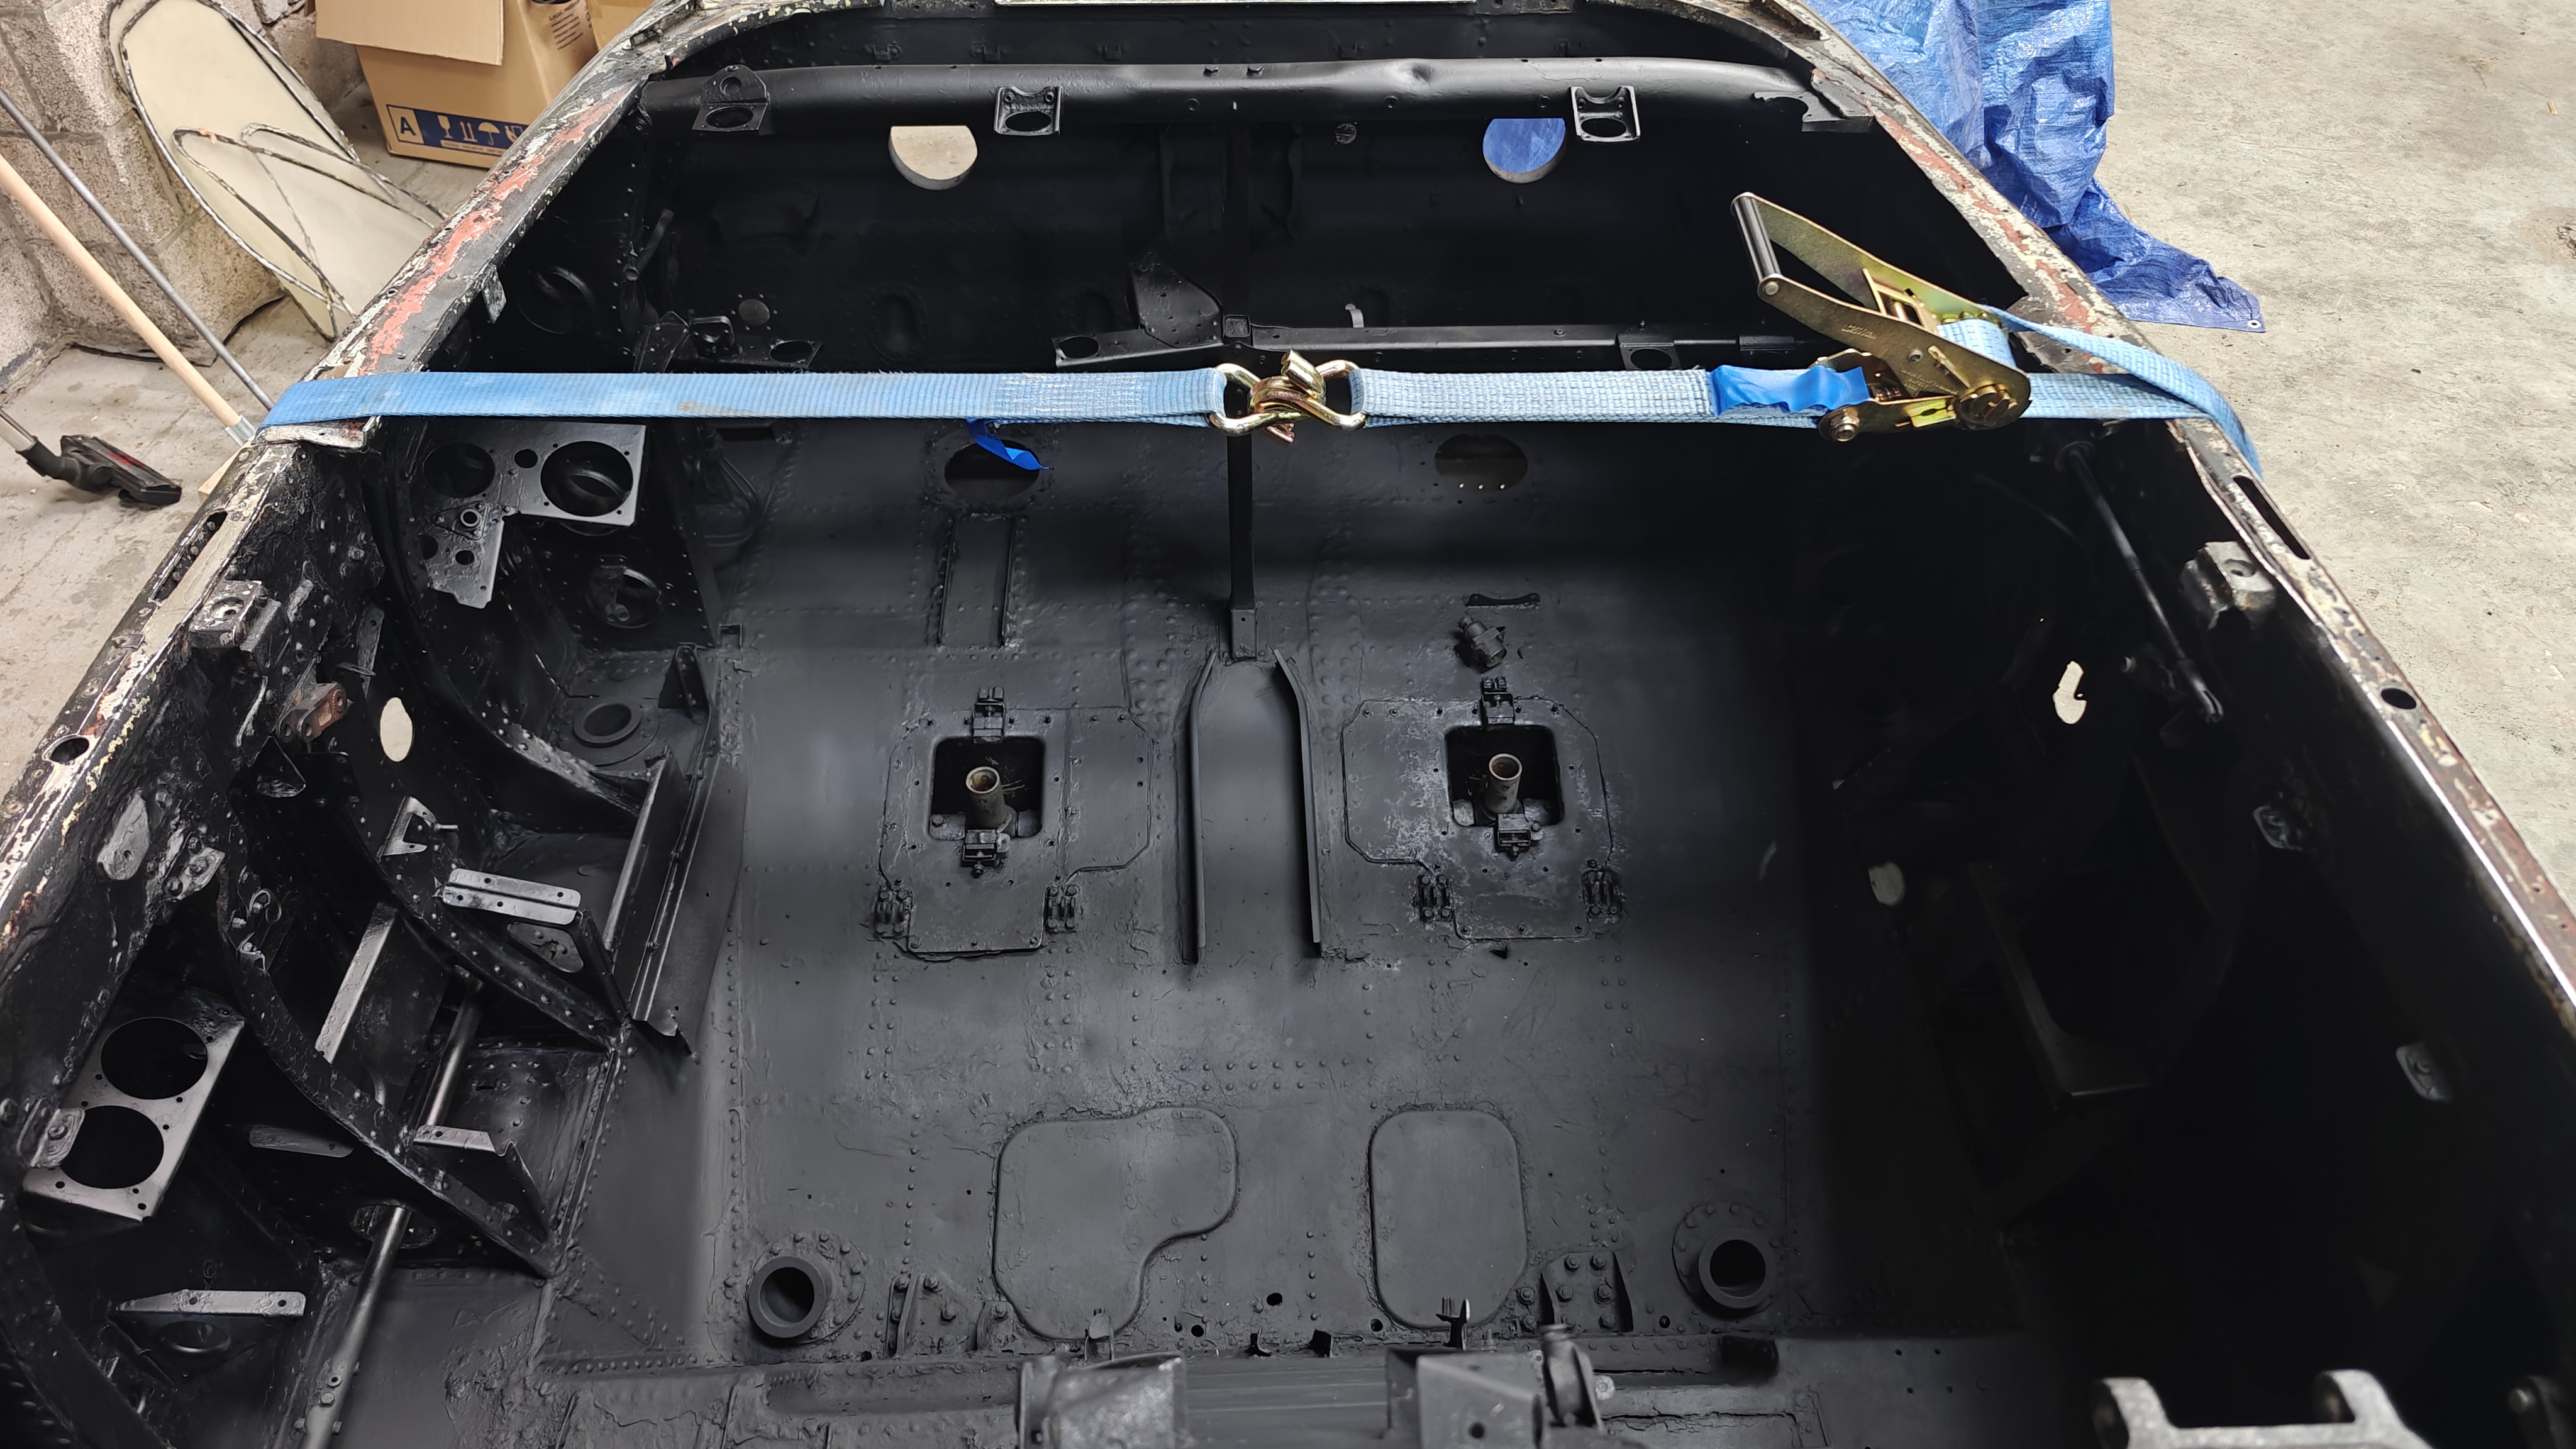
The interior painting progresses well, it's not finished but I'll hold off doing much more until I'm closer to reinstalling panels and components. Here are a couple of photos for comparison:
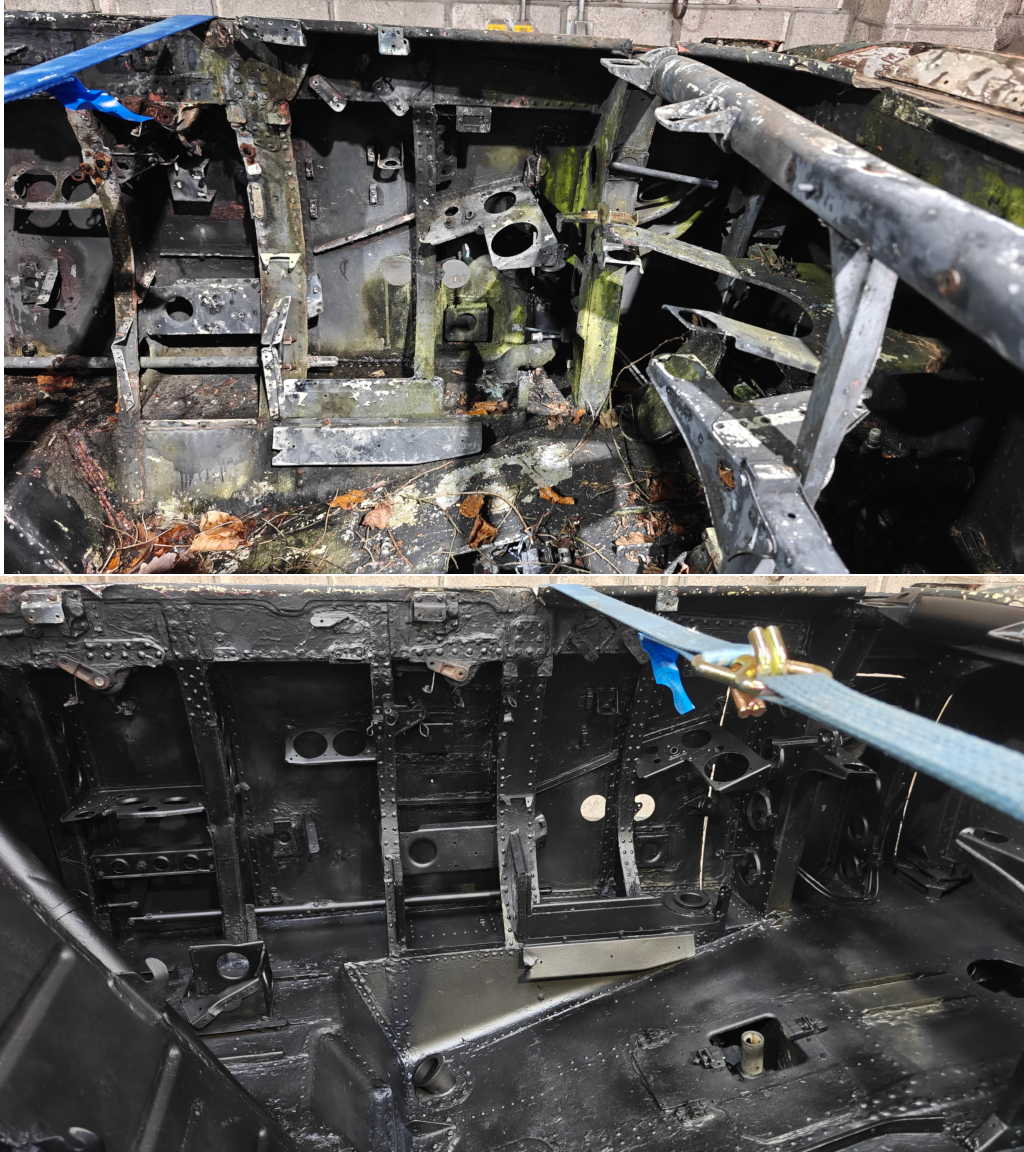
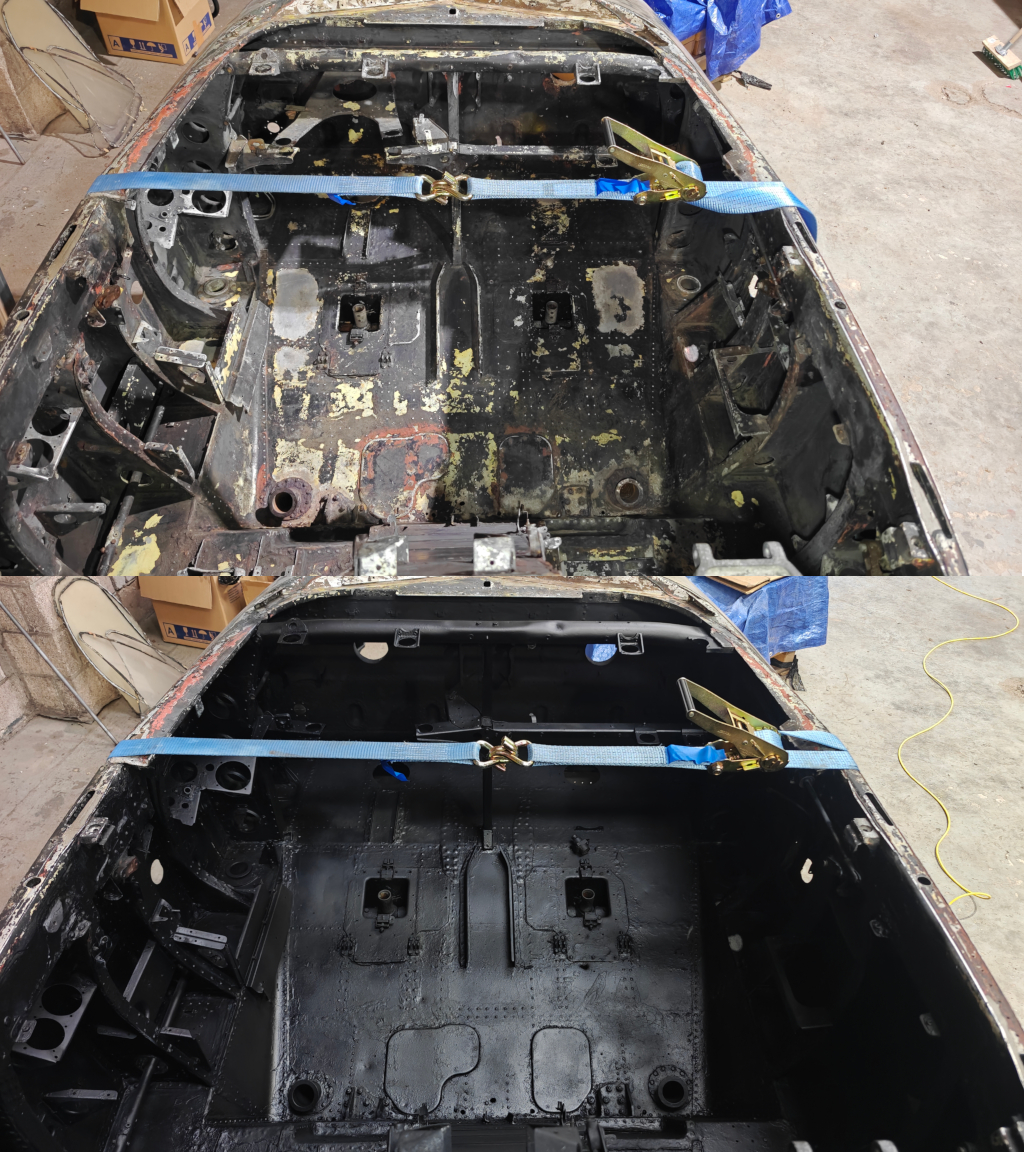
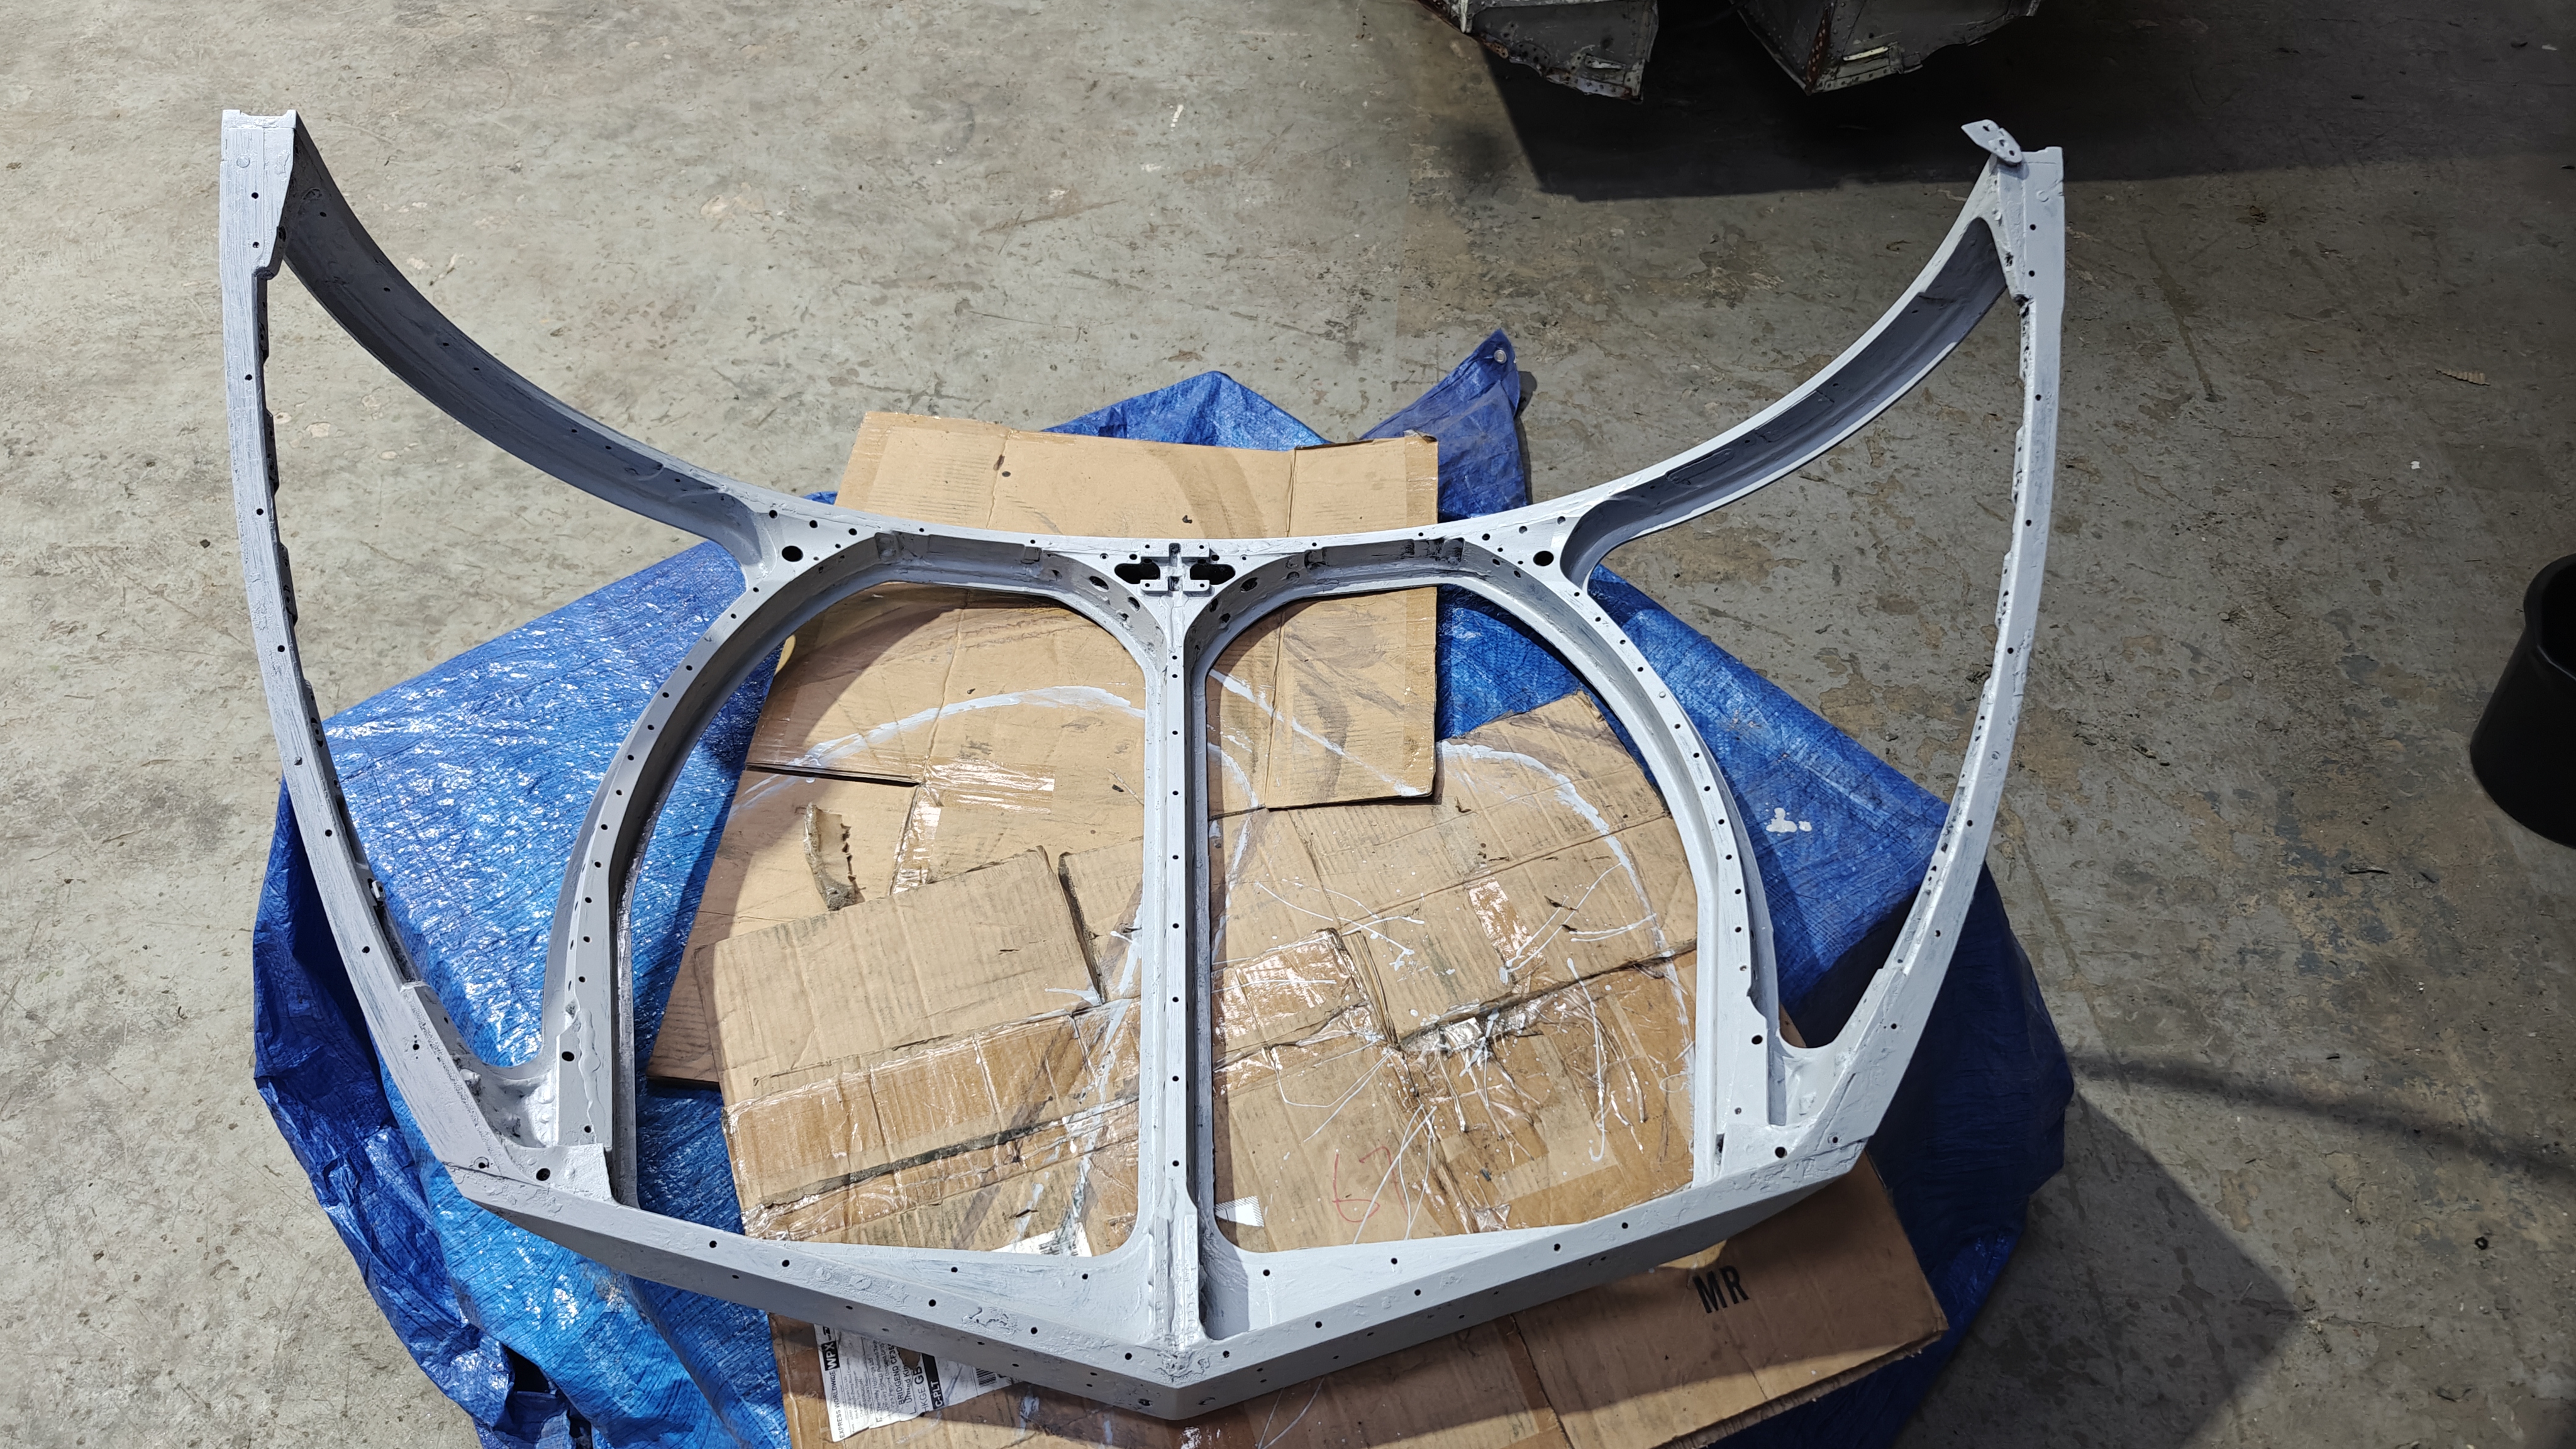
I had hoped to get the inside of the windscreen finished this week but the paint I've been waiting for didn't arrive in time. It has had a coat of primer though and I'll get it finished in a couple of weeks when I'm back in Wales.
I did a quick trial fit of the breakout panel for the canopy jettison ring that Max made up for me recently - it's a good fit, now I just need to find a pull ring!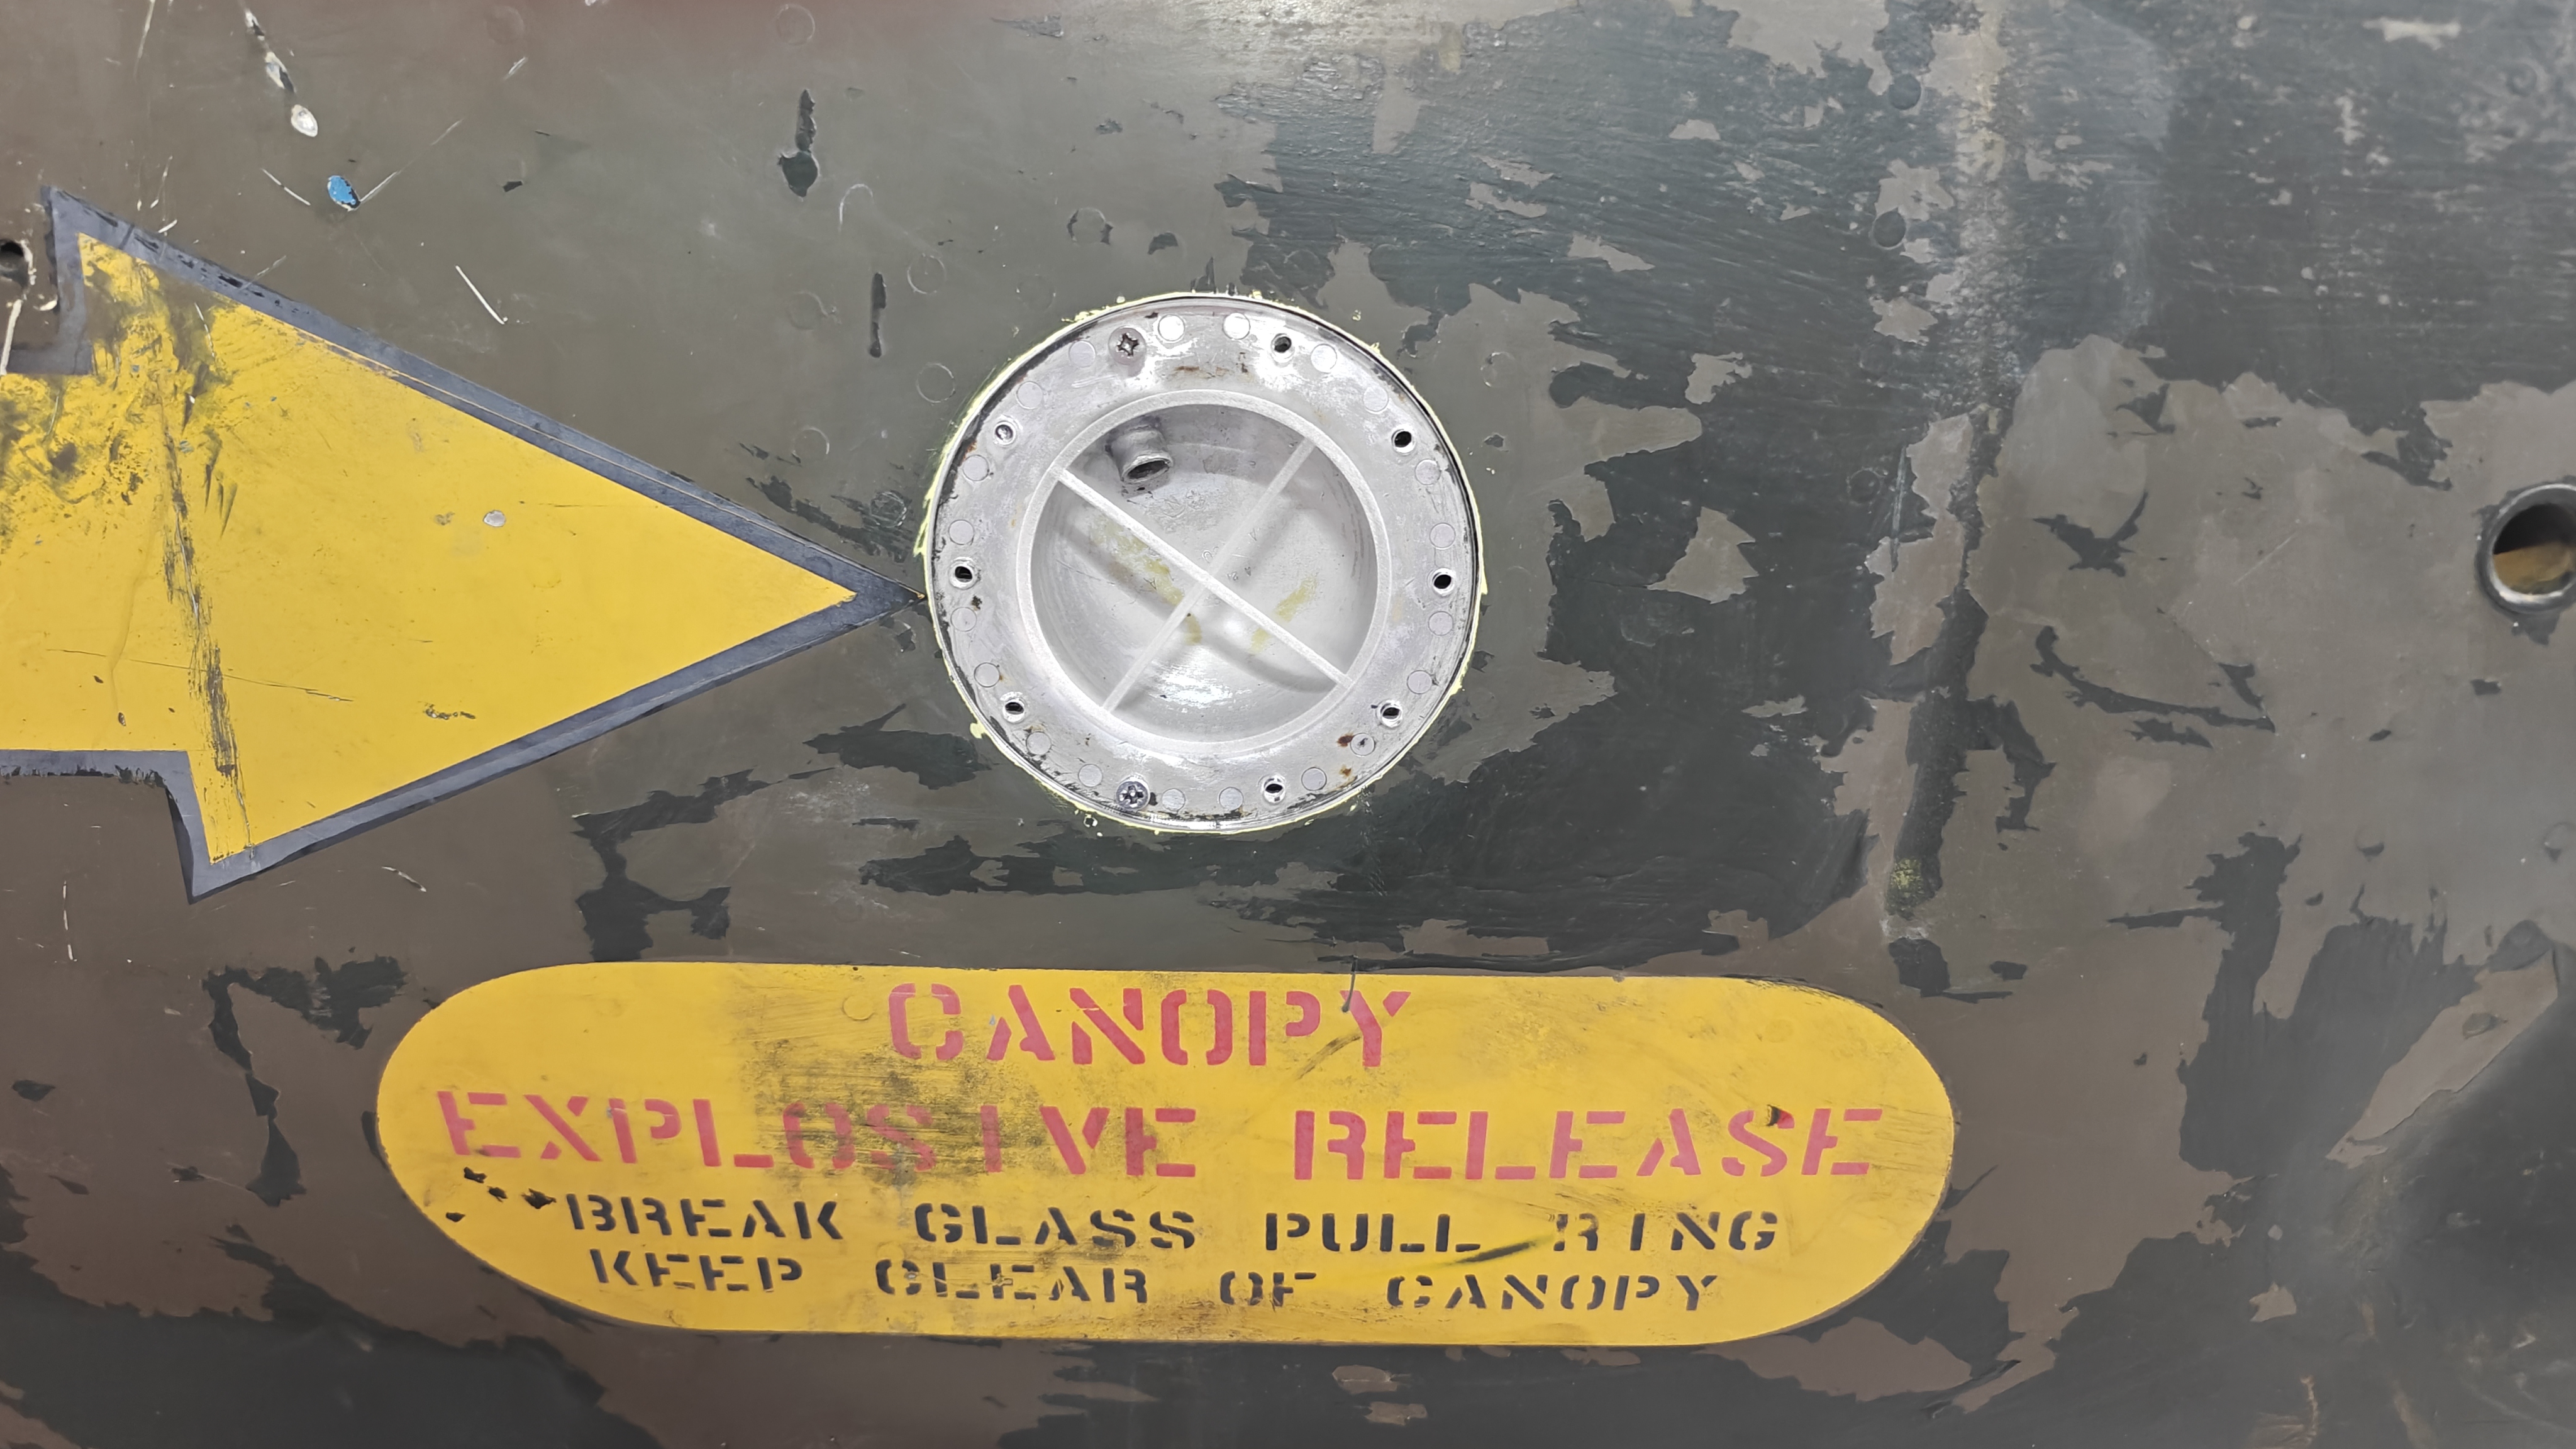
I've made some progress with simulator instruments thia qwwk but will post more info over the weekend, hopefully with a video to show progress!
- Details
- Hits: 69
Update 26/04/26
On Wednesday I spent a couple more hours cleaning up and treating corrosion on the windscreen frame in preperation for paint. I'm still hoping to get some original quarter light glazing, though it's likely the main screens will have to be acrylic replacements for now.
I painted up the two new/repro lasercut panels and continued work on the various parts and panels from Newark and Norfolk. I'm trying to do the minimum 'restoration' so things stay as original as possible but I want them to look presentable and like they're from the same aircraft, which is a challenge. I've made new labels for a couple of panels which are very close to the originals I removed during clean up. Where the panels have original 'engraved' captions I'm masking those as best I can. I've managed to get the fuel pump warning light from one of the side consoles working by replacing the dead bulb with a new LED unit which works well, it's nice to know that drop in LED replacements are available for these. Of course all the wiring will be brand new for the sim implementation and it'll soon be time to start planning that out.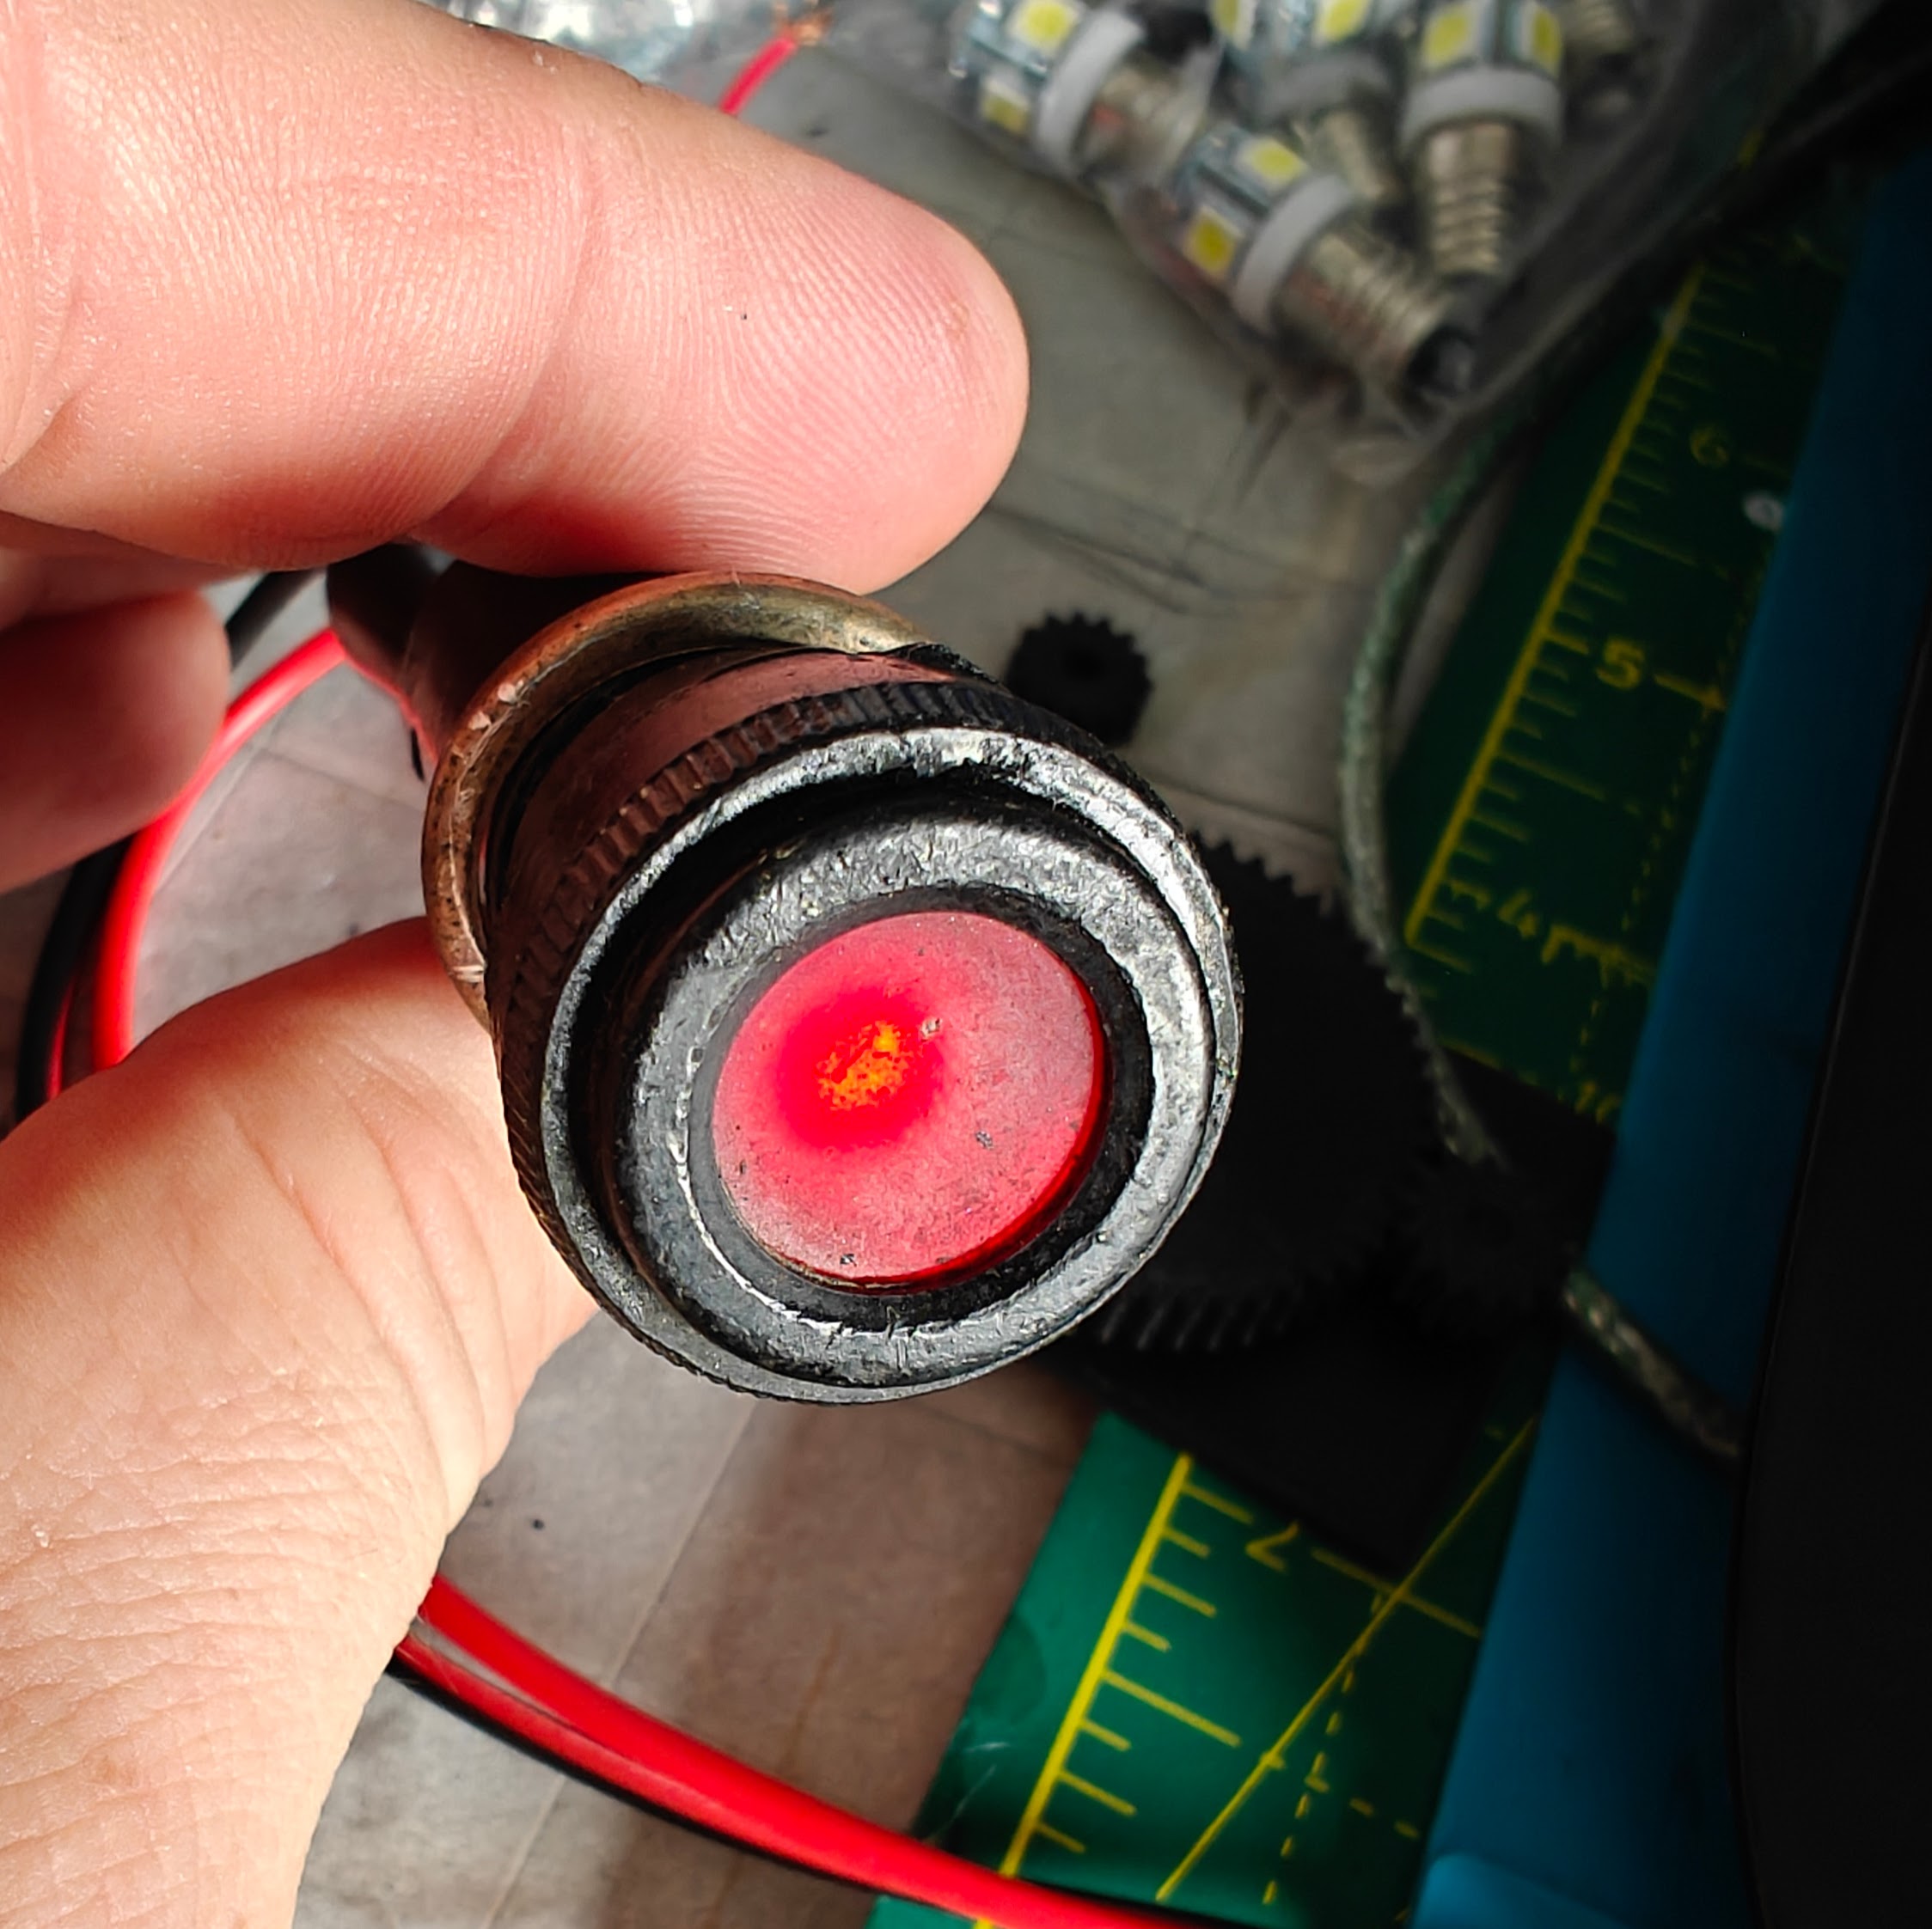
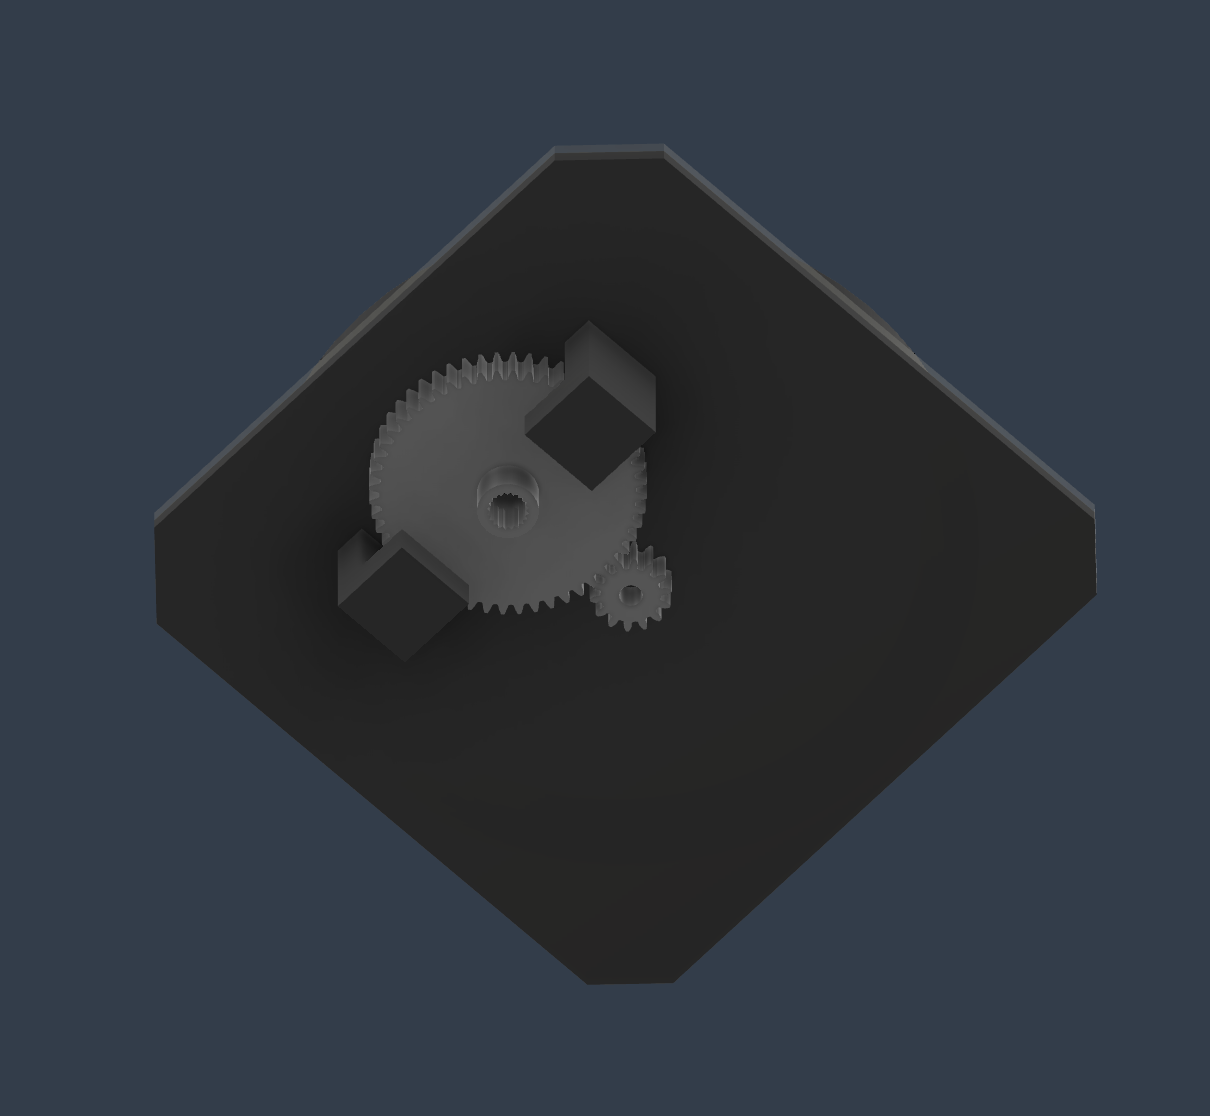
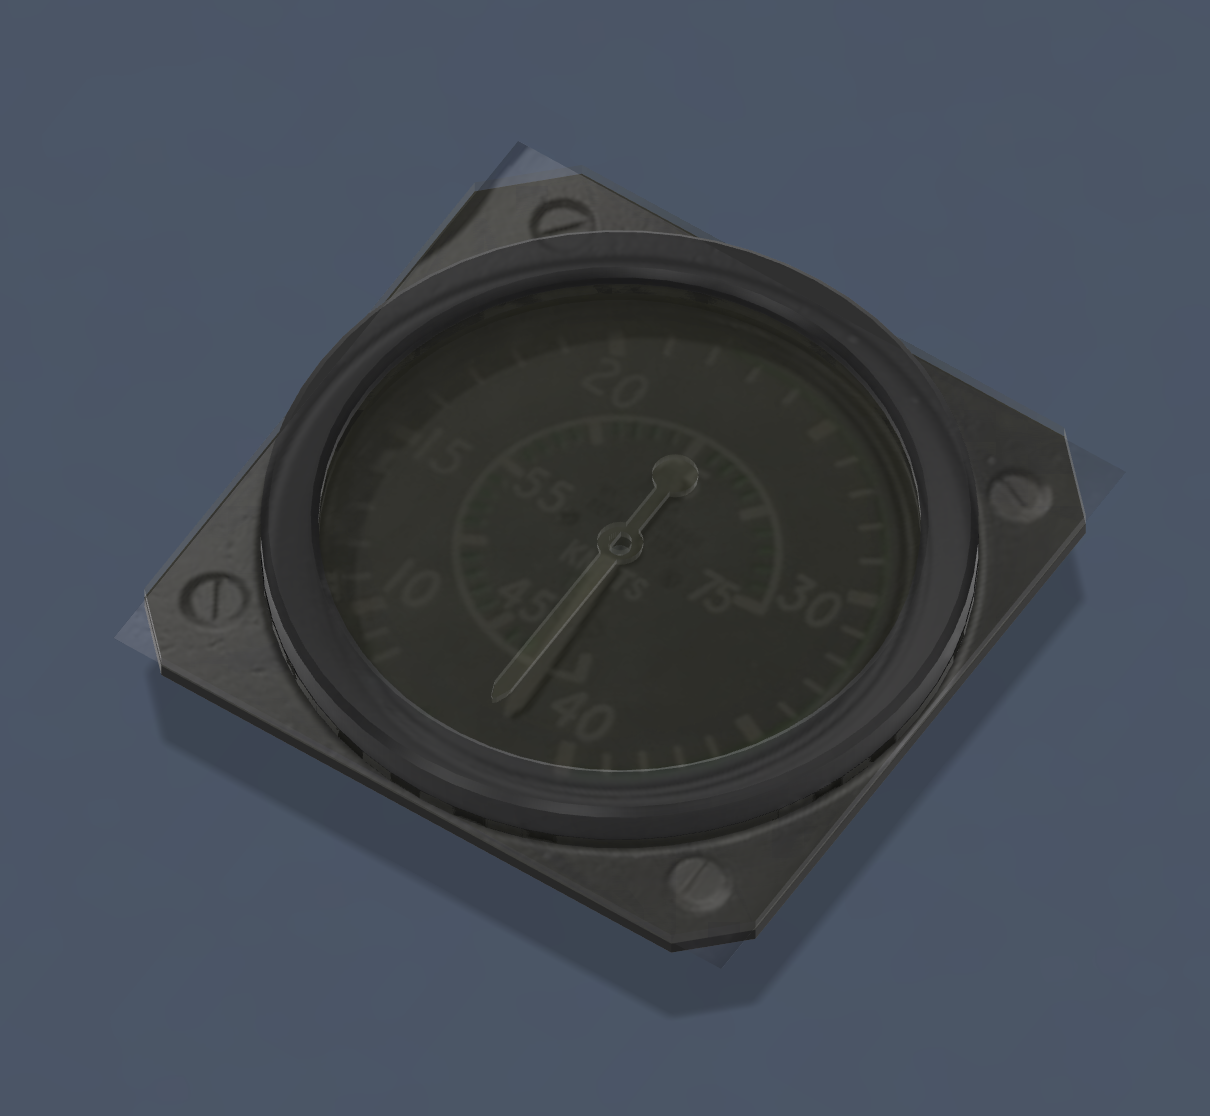
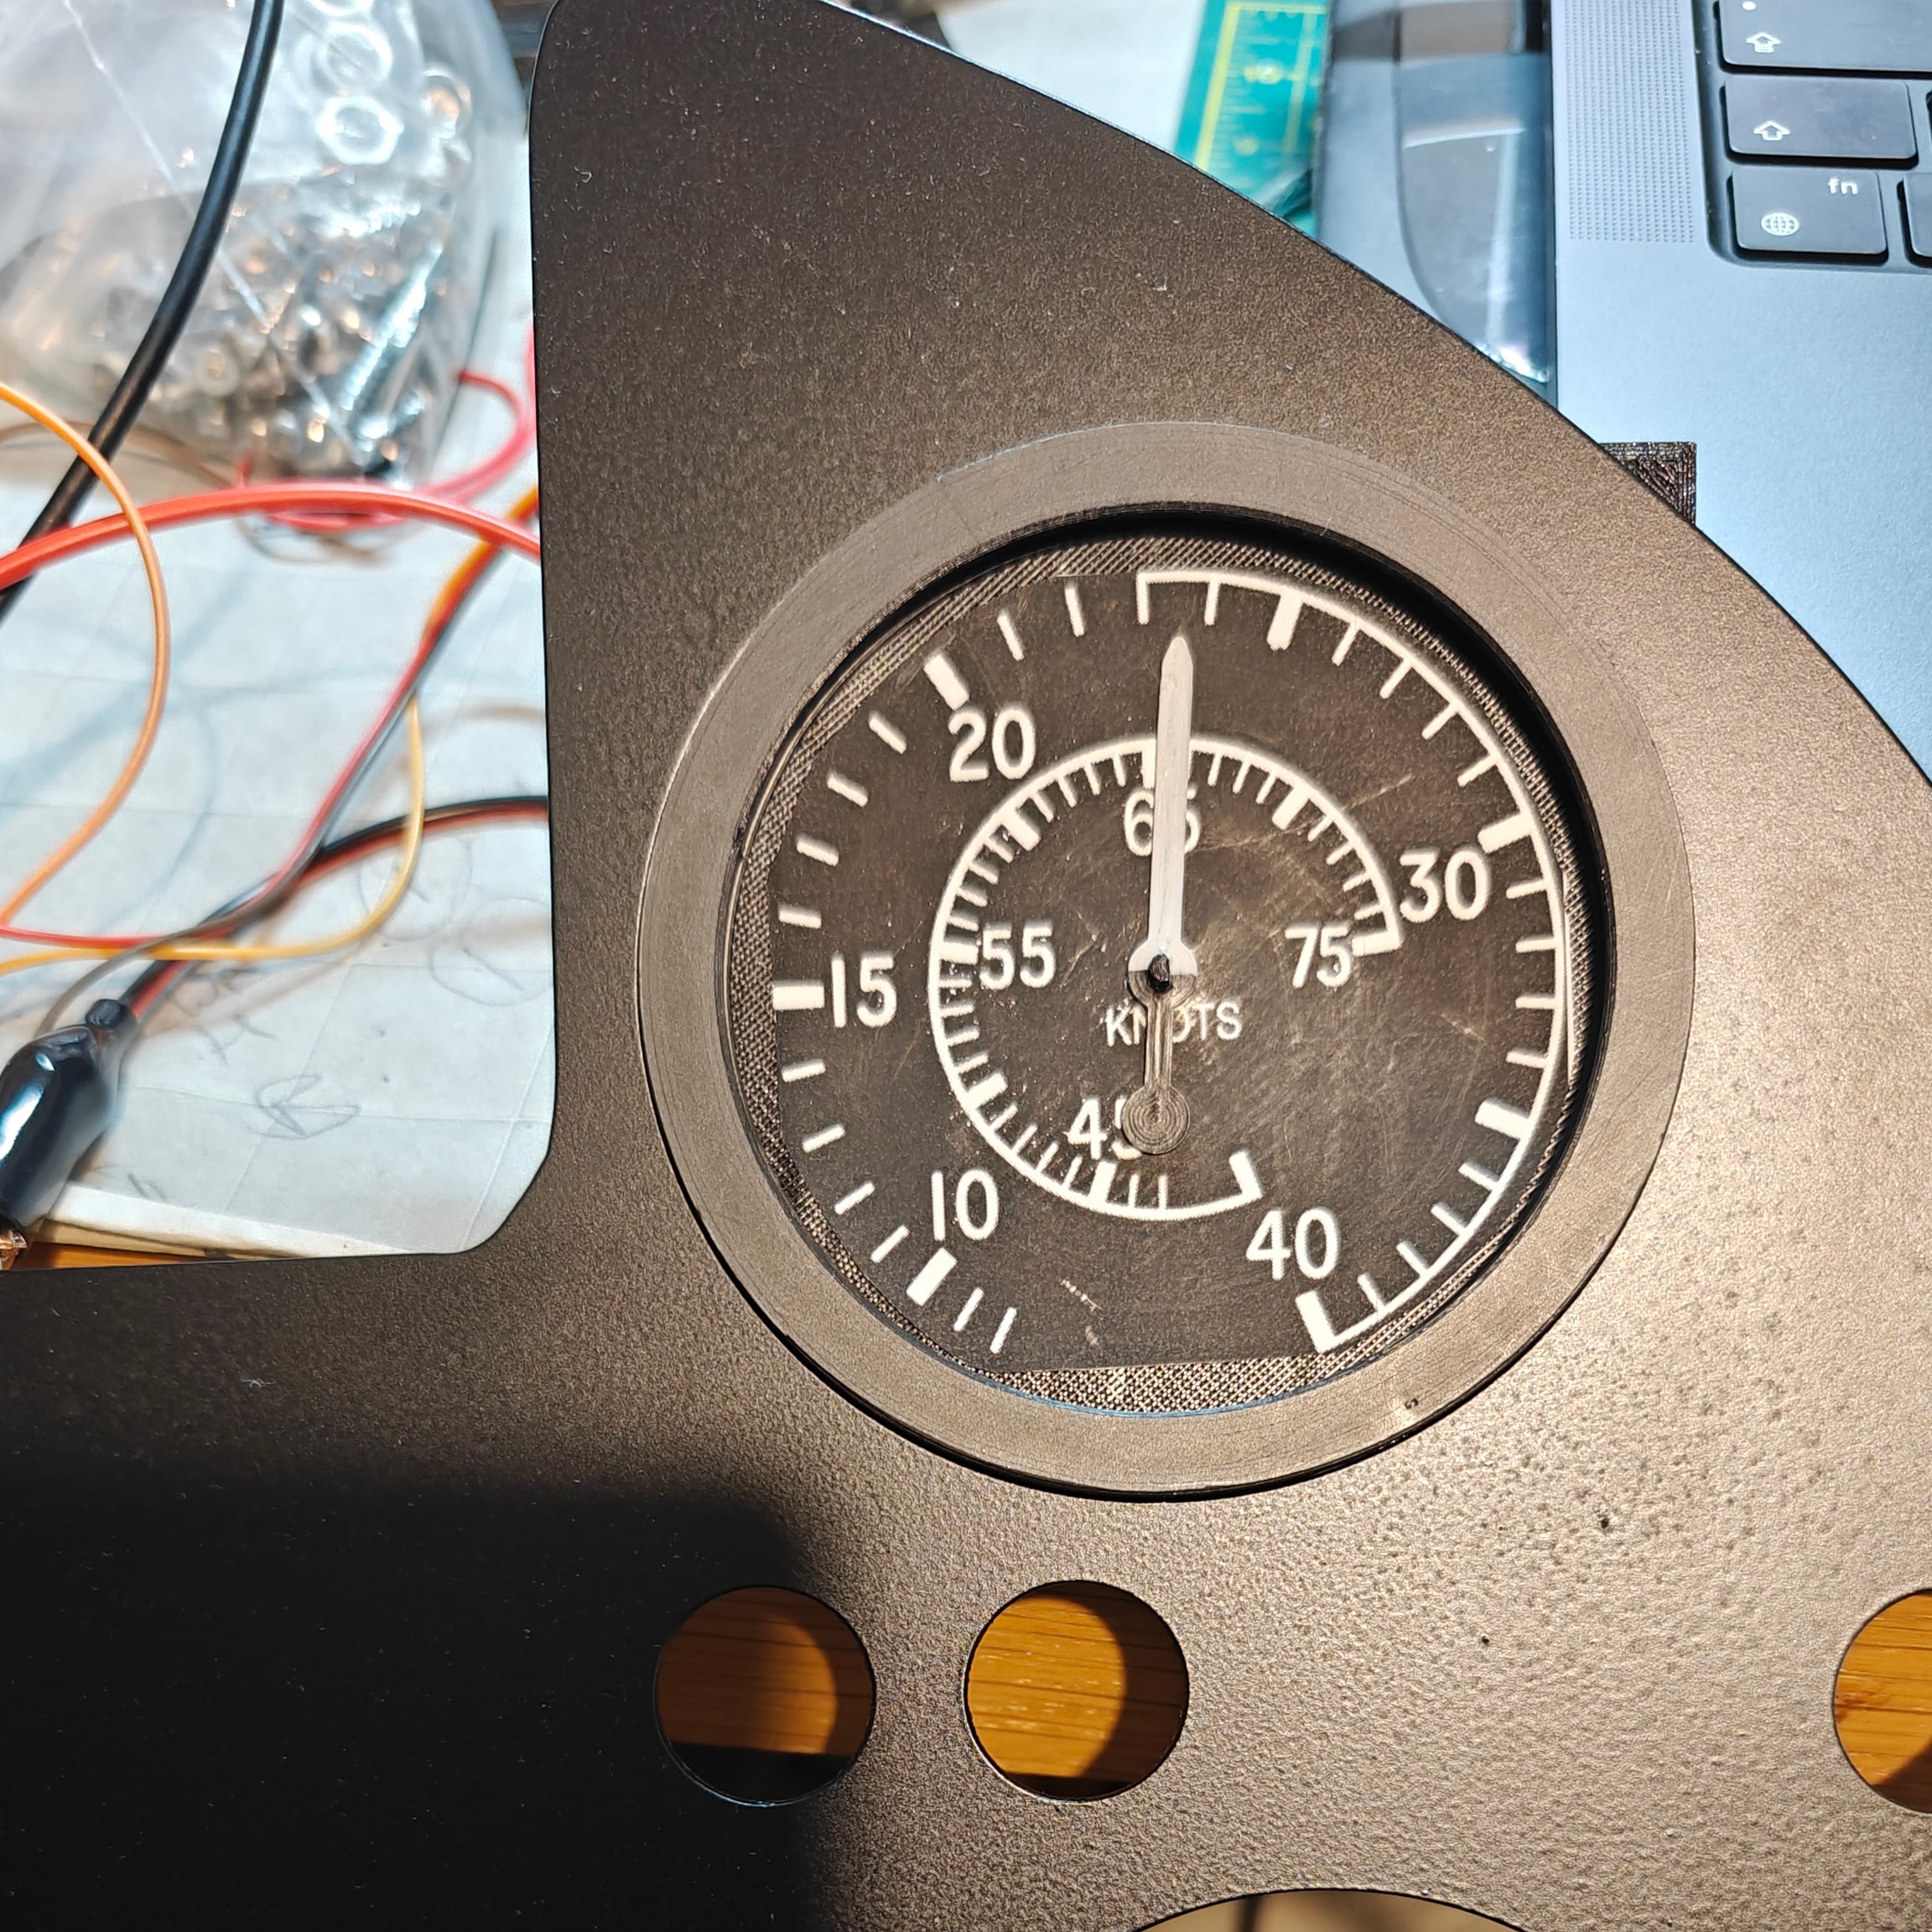
I've also been working on some reproduction instruments, initially I thought mechanical instruments would be too much work but after spending a bit of time tinkering with some files I found online I've made a good start on my own design. I thought I'd start simple with the single needle Air Speed Indicator. At least, I thought it would be simple until I realised I'd have to somehow gear the output from a cheap RC servo (max 180 degrees movement) to the 630+ degree sweep of the Hunter's ASI! Cue a crash refresher course on gear ratios and more Fusion 360 tutorials but I think I've got the gearing worked out. (please ignore the crude paper dial face, it's just for testing and calibration!)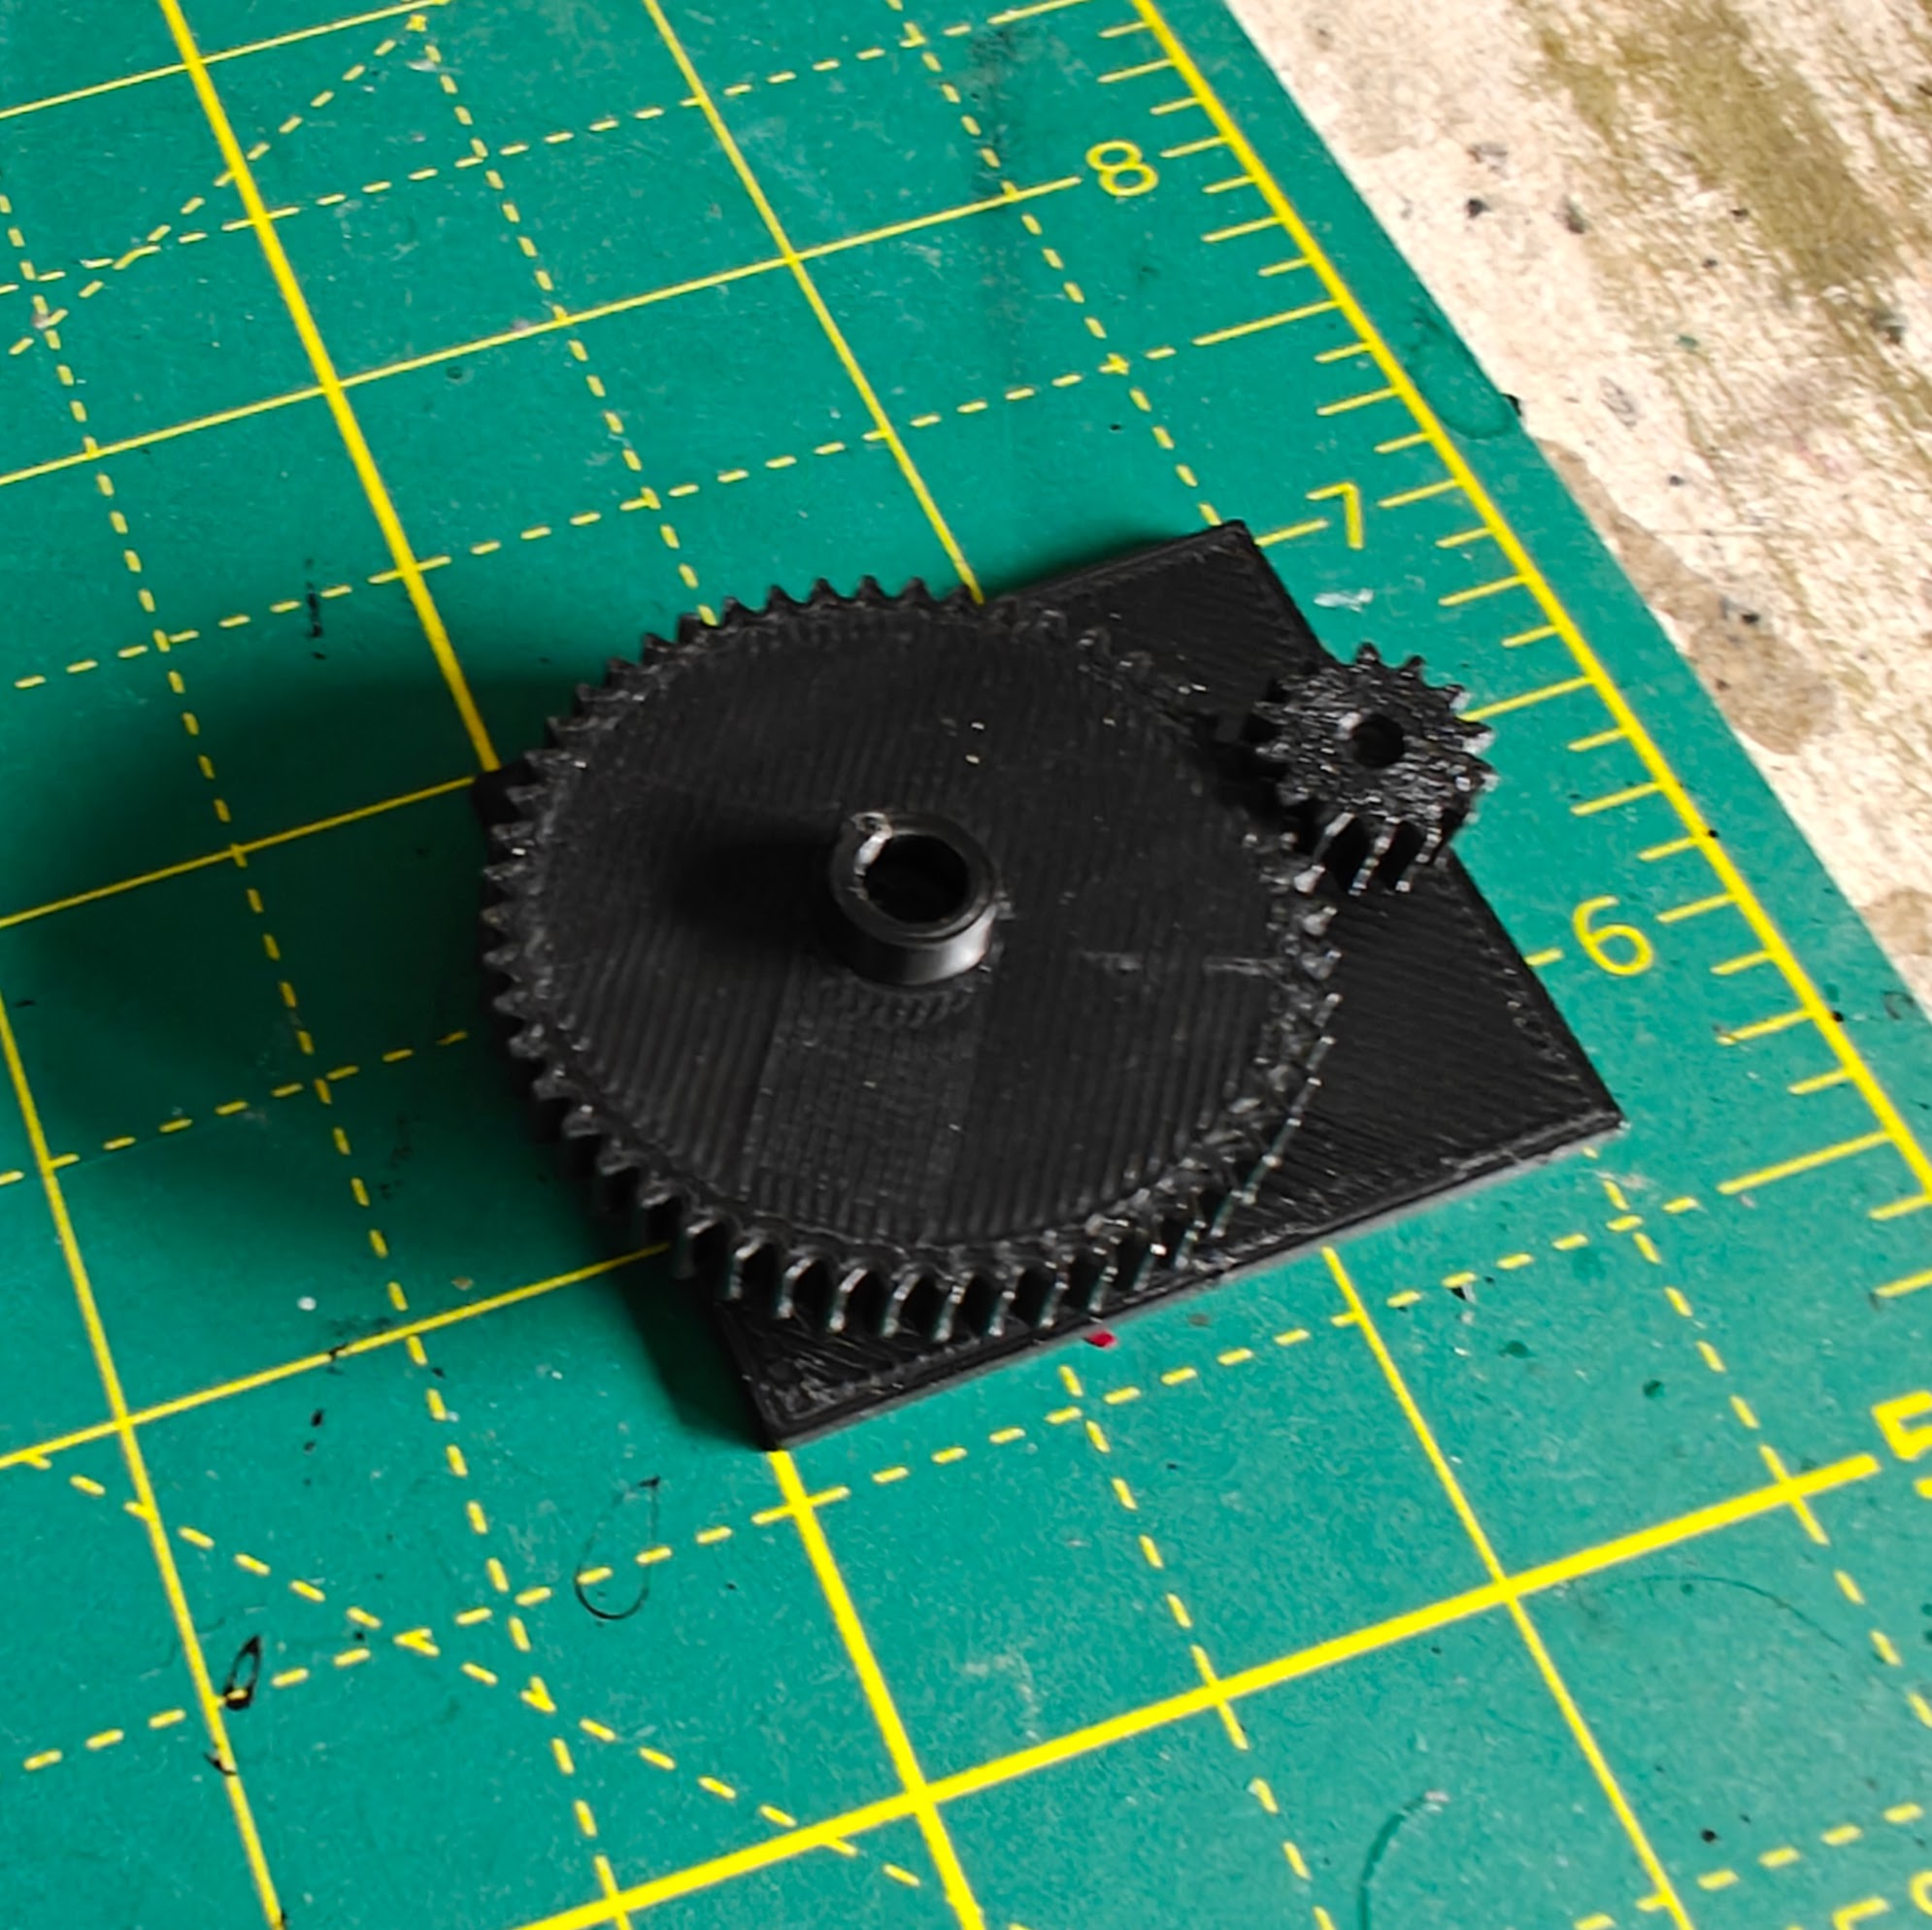
- Details
- Hits: 95
CAD Files
I've uploaded the STL files for most of the smaller cockpit parts I've made to a shared folder here.
I don't have any version control but I'll try and remember to update the files here if I make any changes. Files are supplied 'as is' with no warranty etc
Components that need multiple parts (such as the stores jettison button cover) are zipped.
Most parts should print well in PLA with some obvious exceptions - the Trim Switch 'Boot' is designed to be printed in TPU.
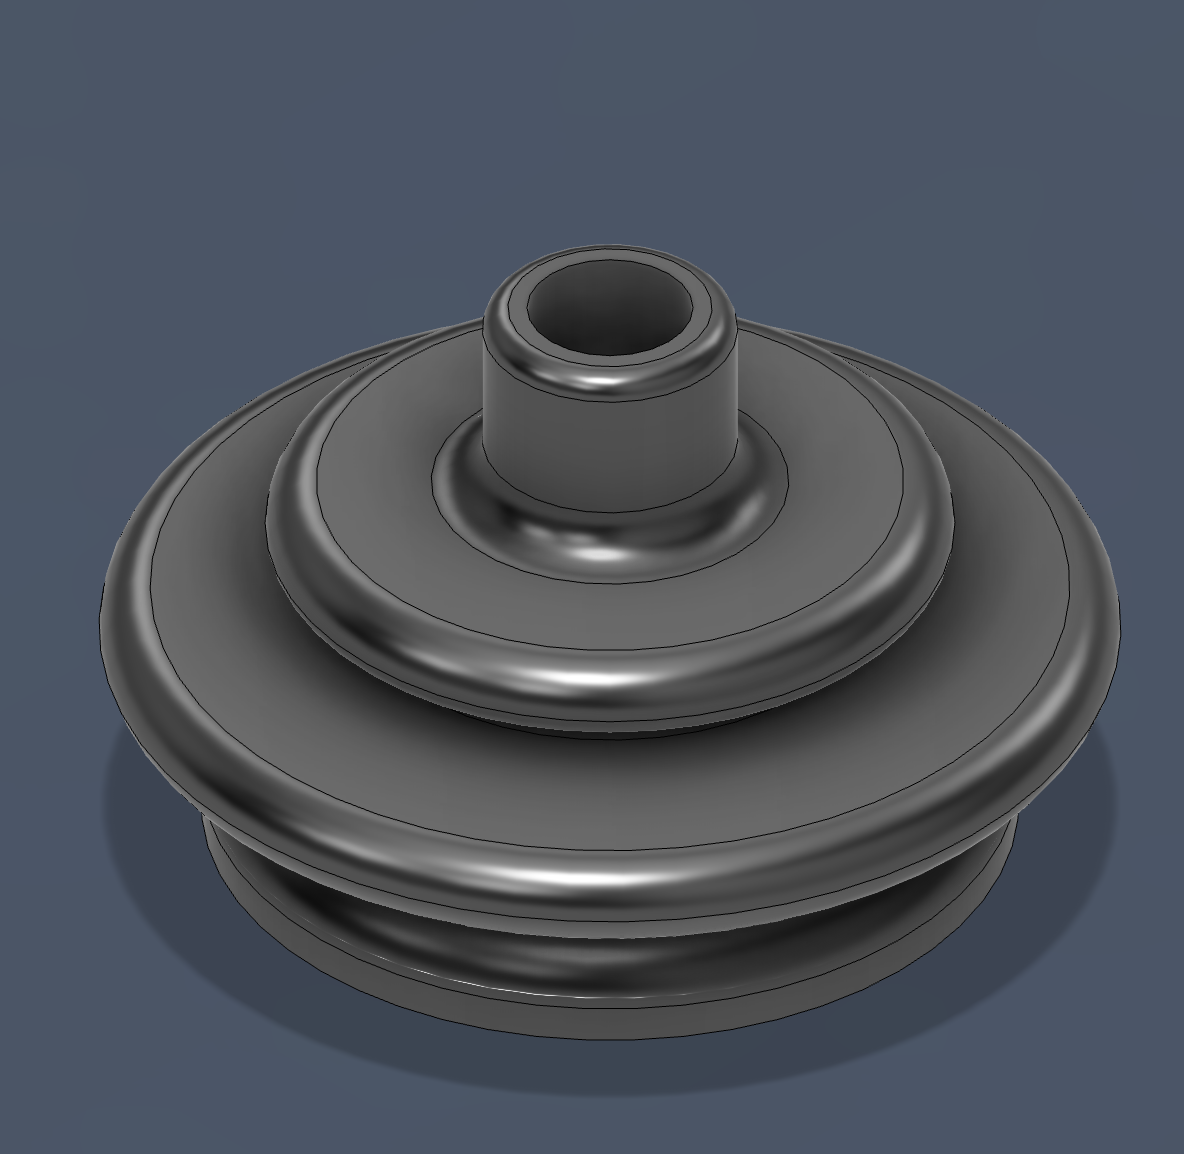
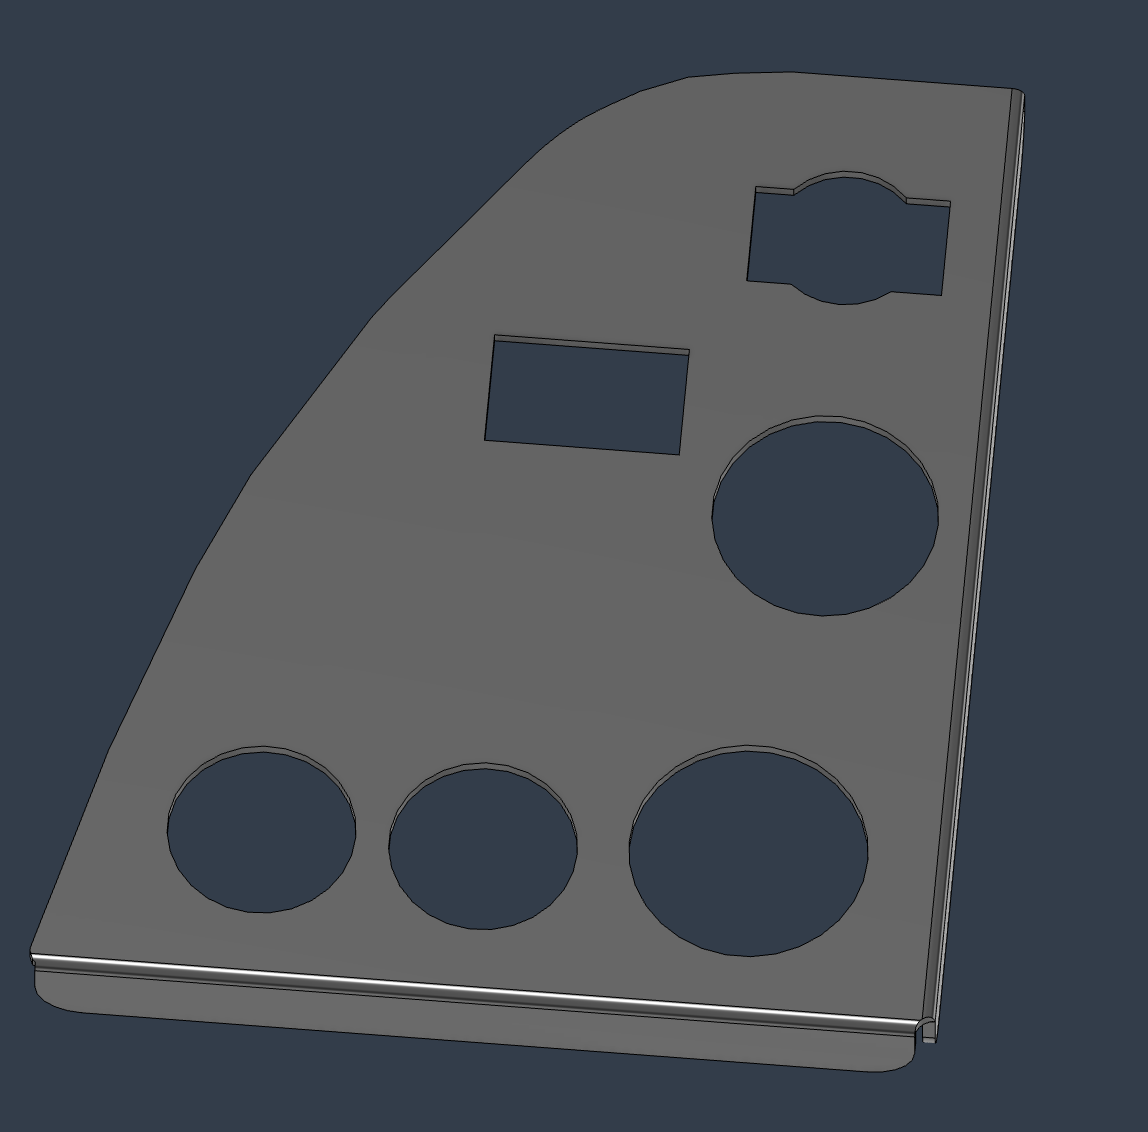
If you find these files are useful please consider a donation: https://ko-fi.com/xl609
- Details
- Hits: 97
On The Bench
XL609 lives in a workshop in South Wales and I'm very grateful to have free storage and access to tools and equipment. Away from 'work' though the project continues!
Currently on the bench I have:
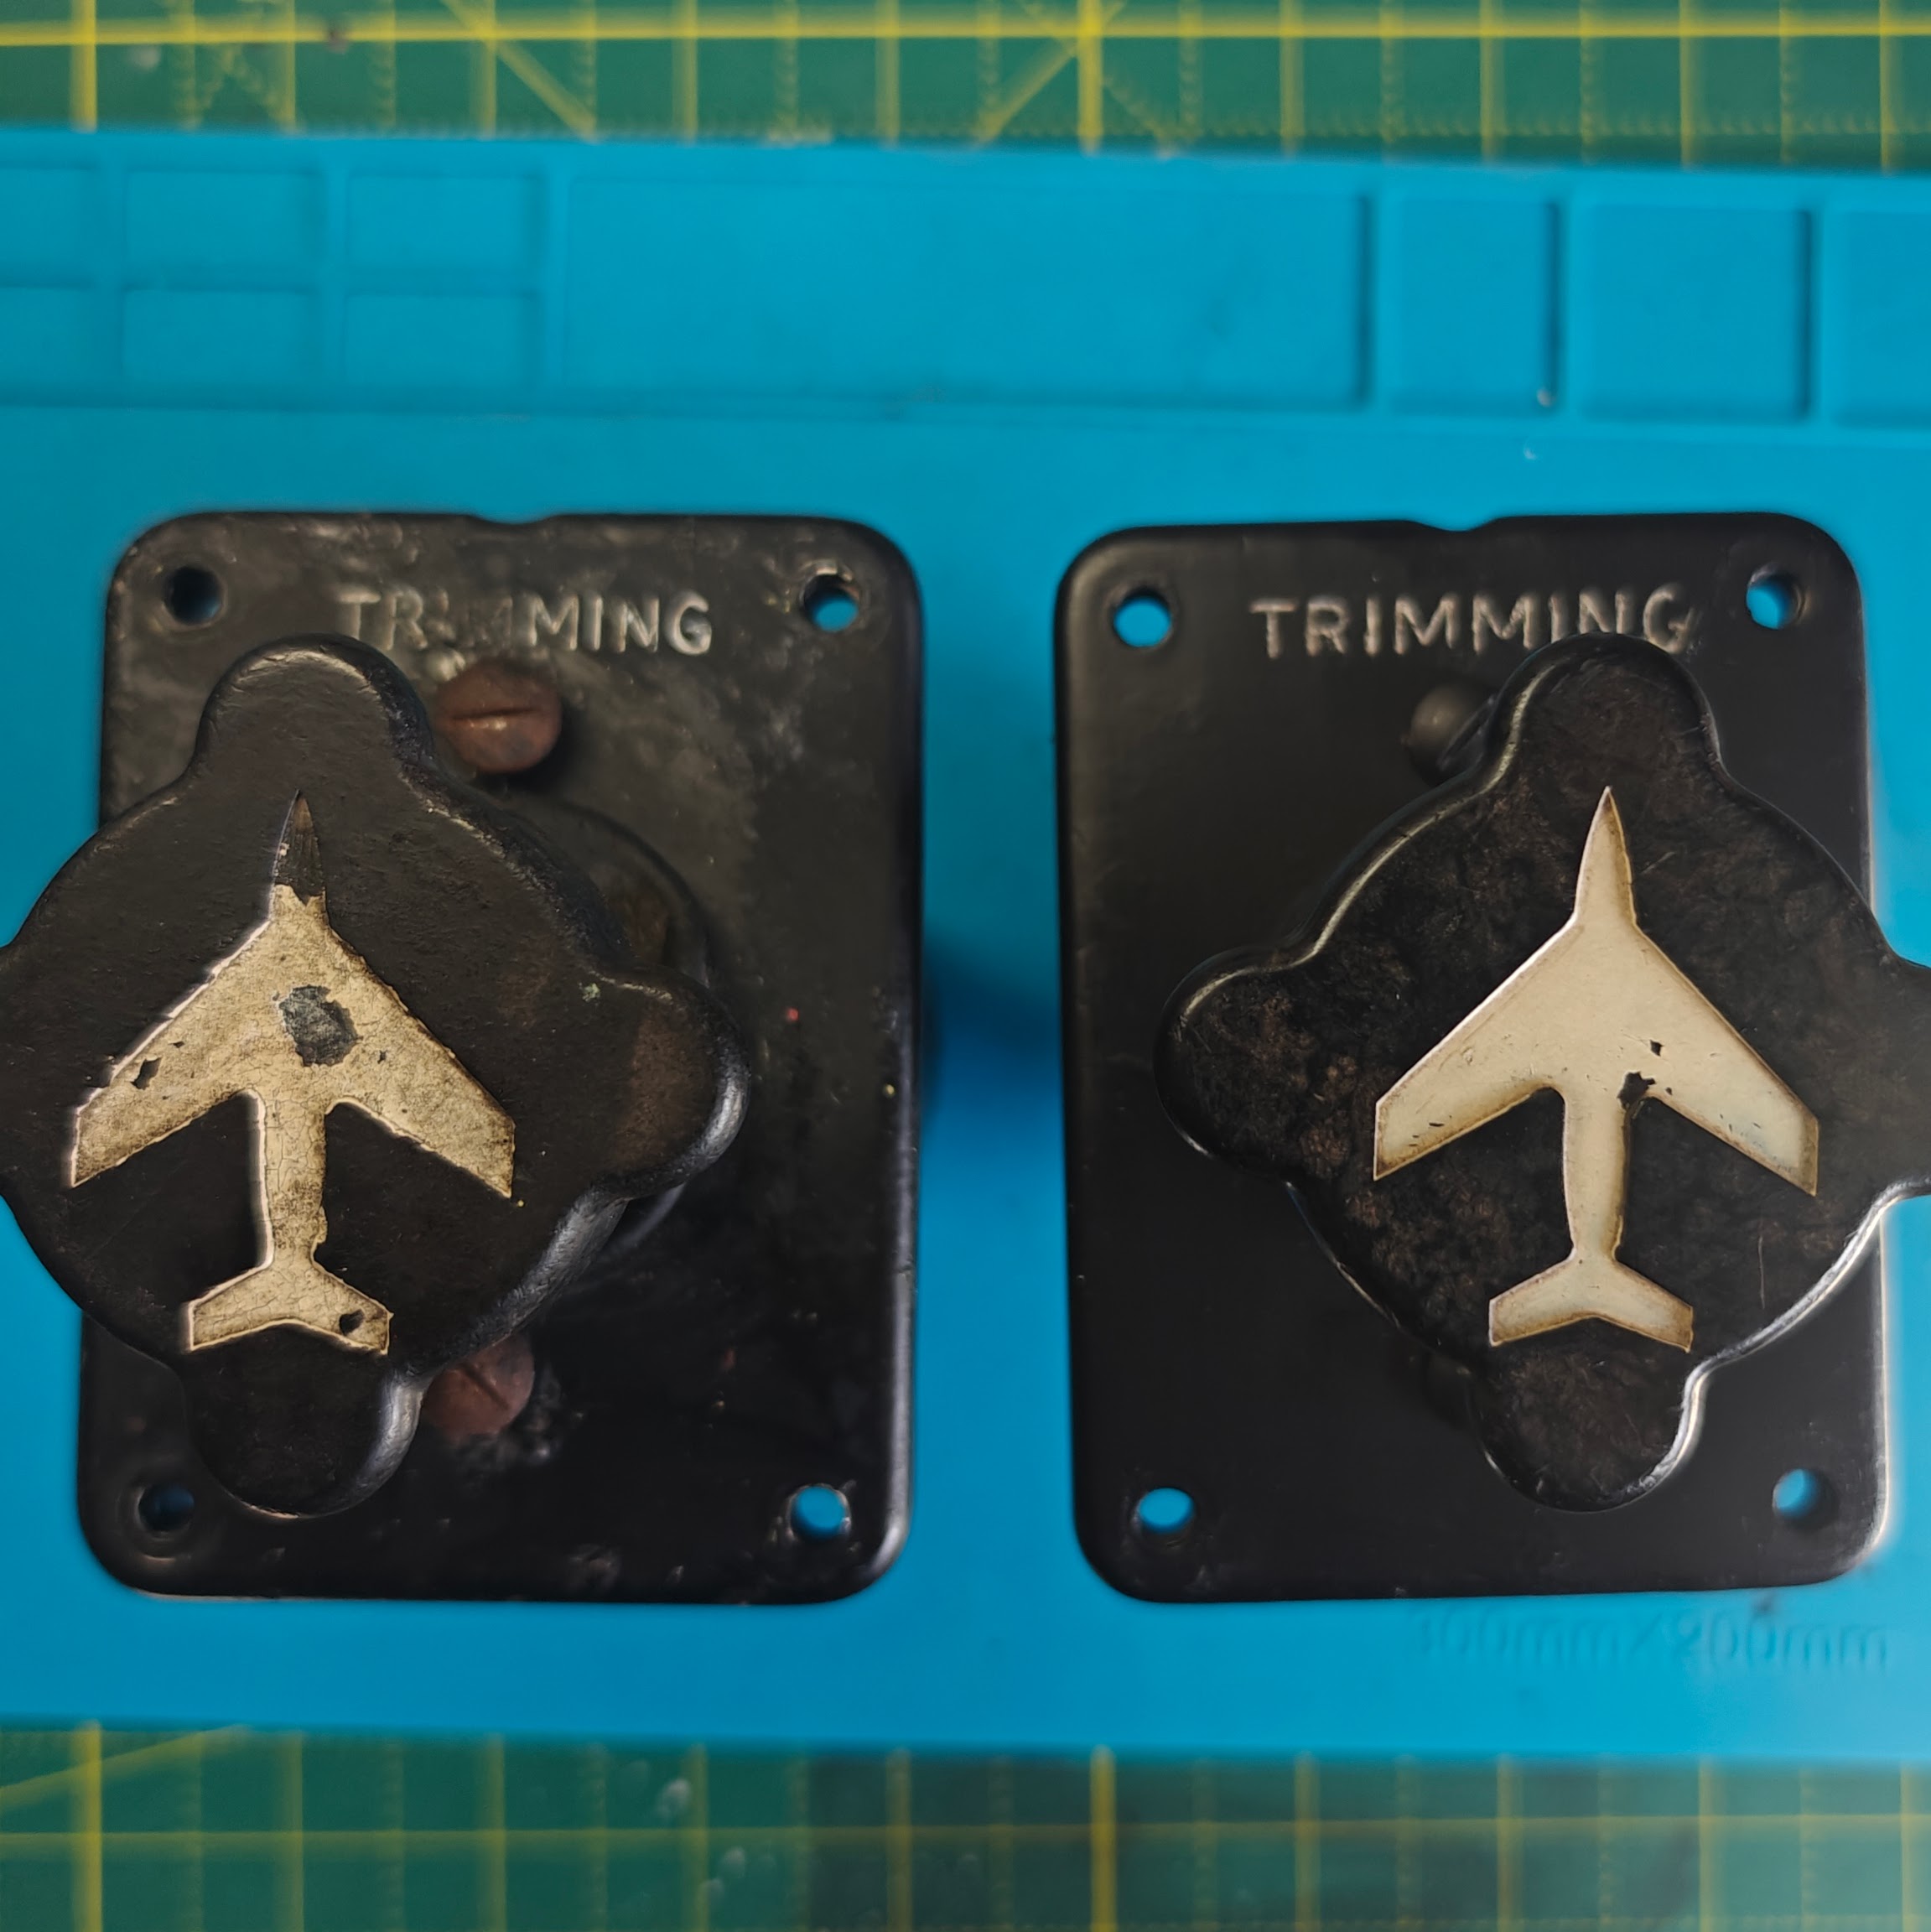
Two LS1611 trim switches (Aileron and Rudder) one is now complete and ready to go back into the panel.
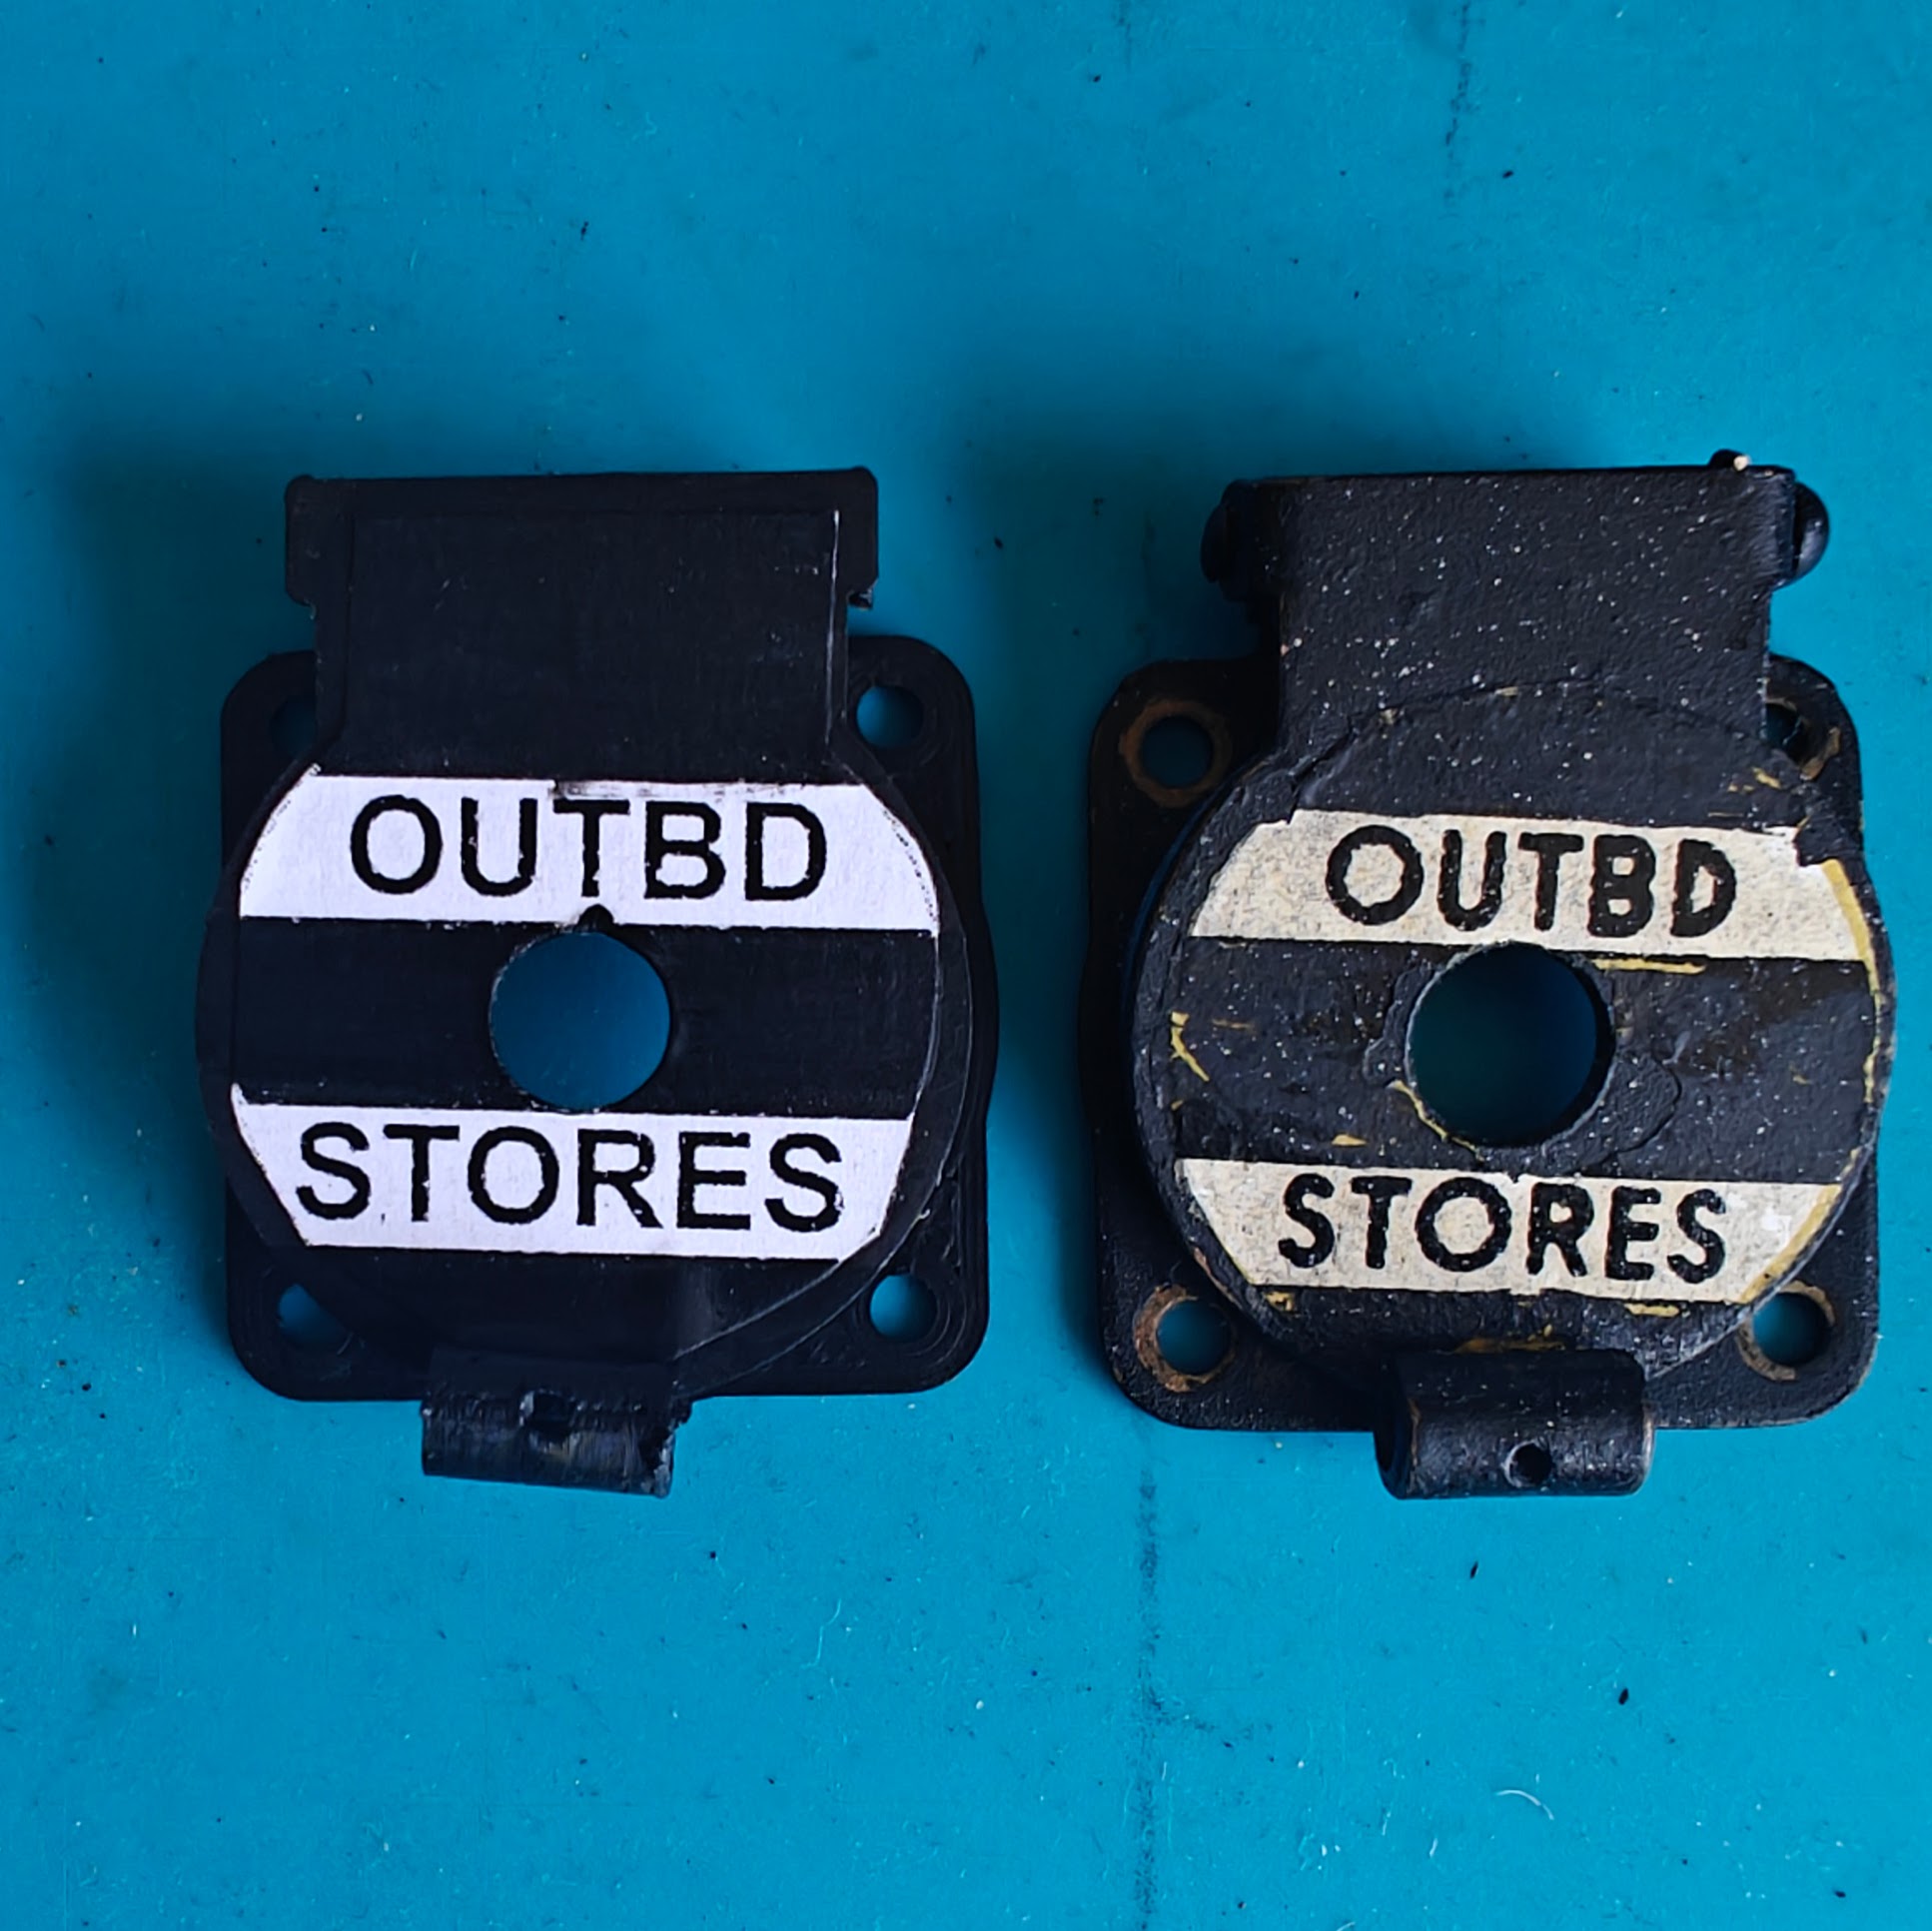
Reproduction stores jettison button covers - I'm hoping to find another original but this was a relatively easy CAD project to work on in my down time.
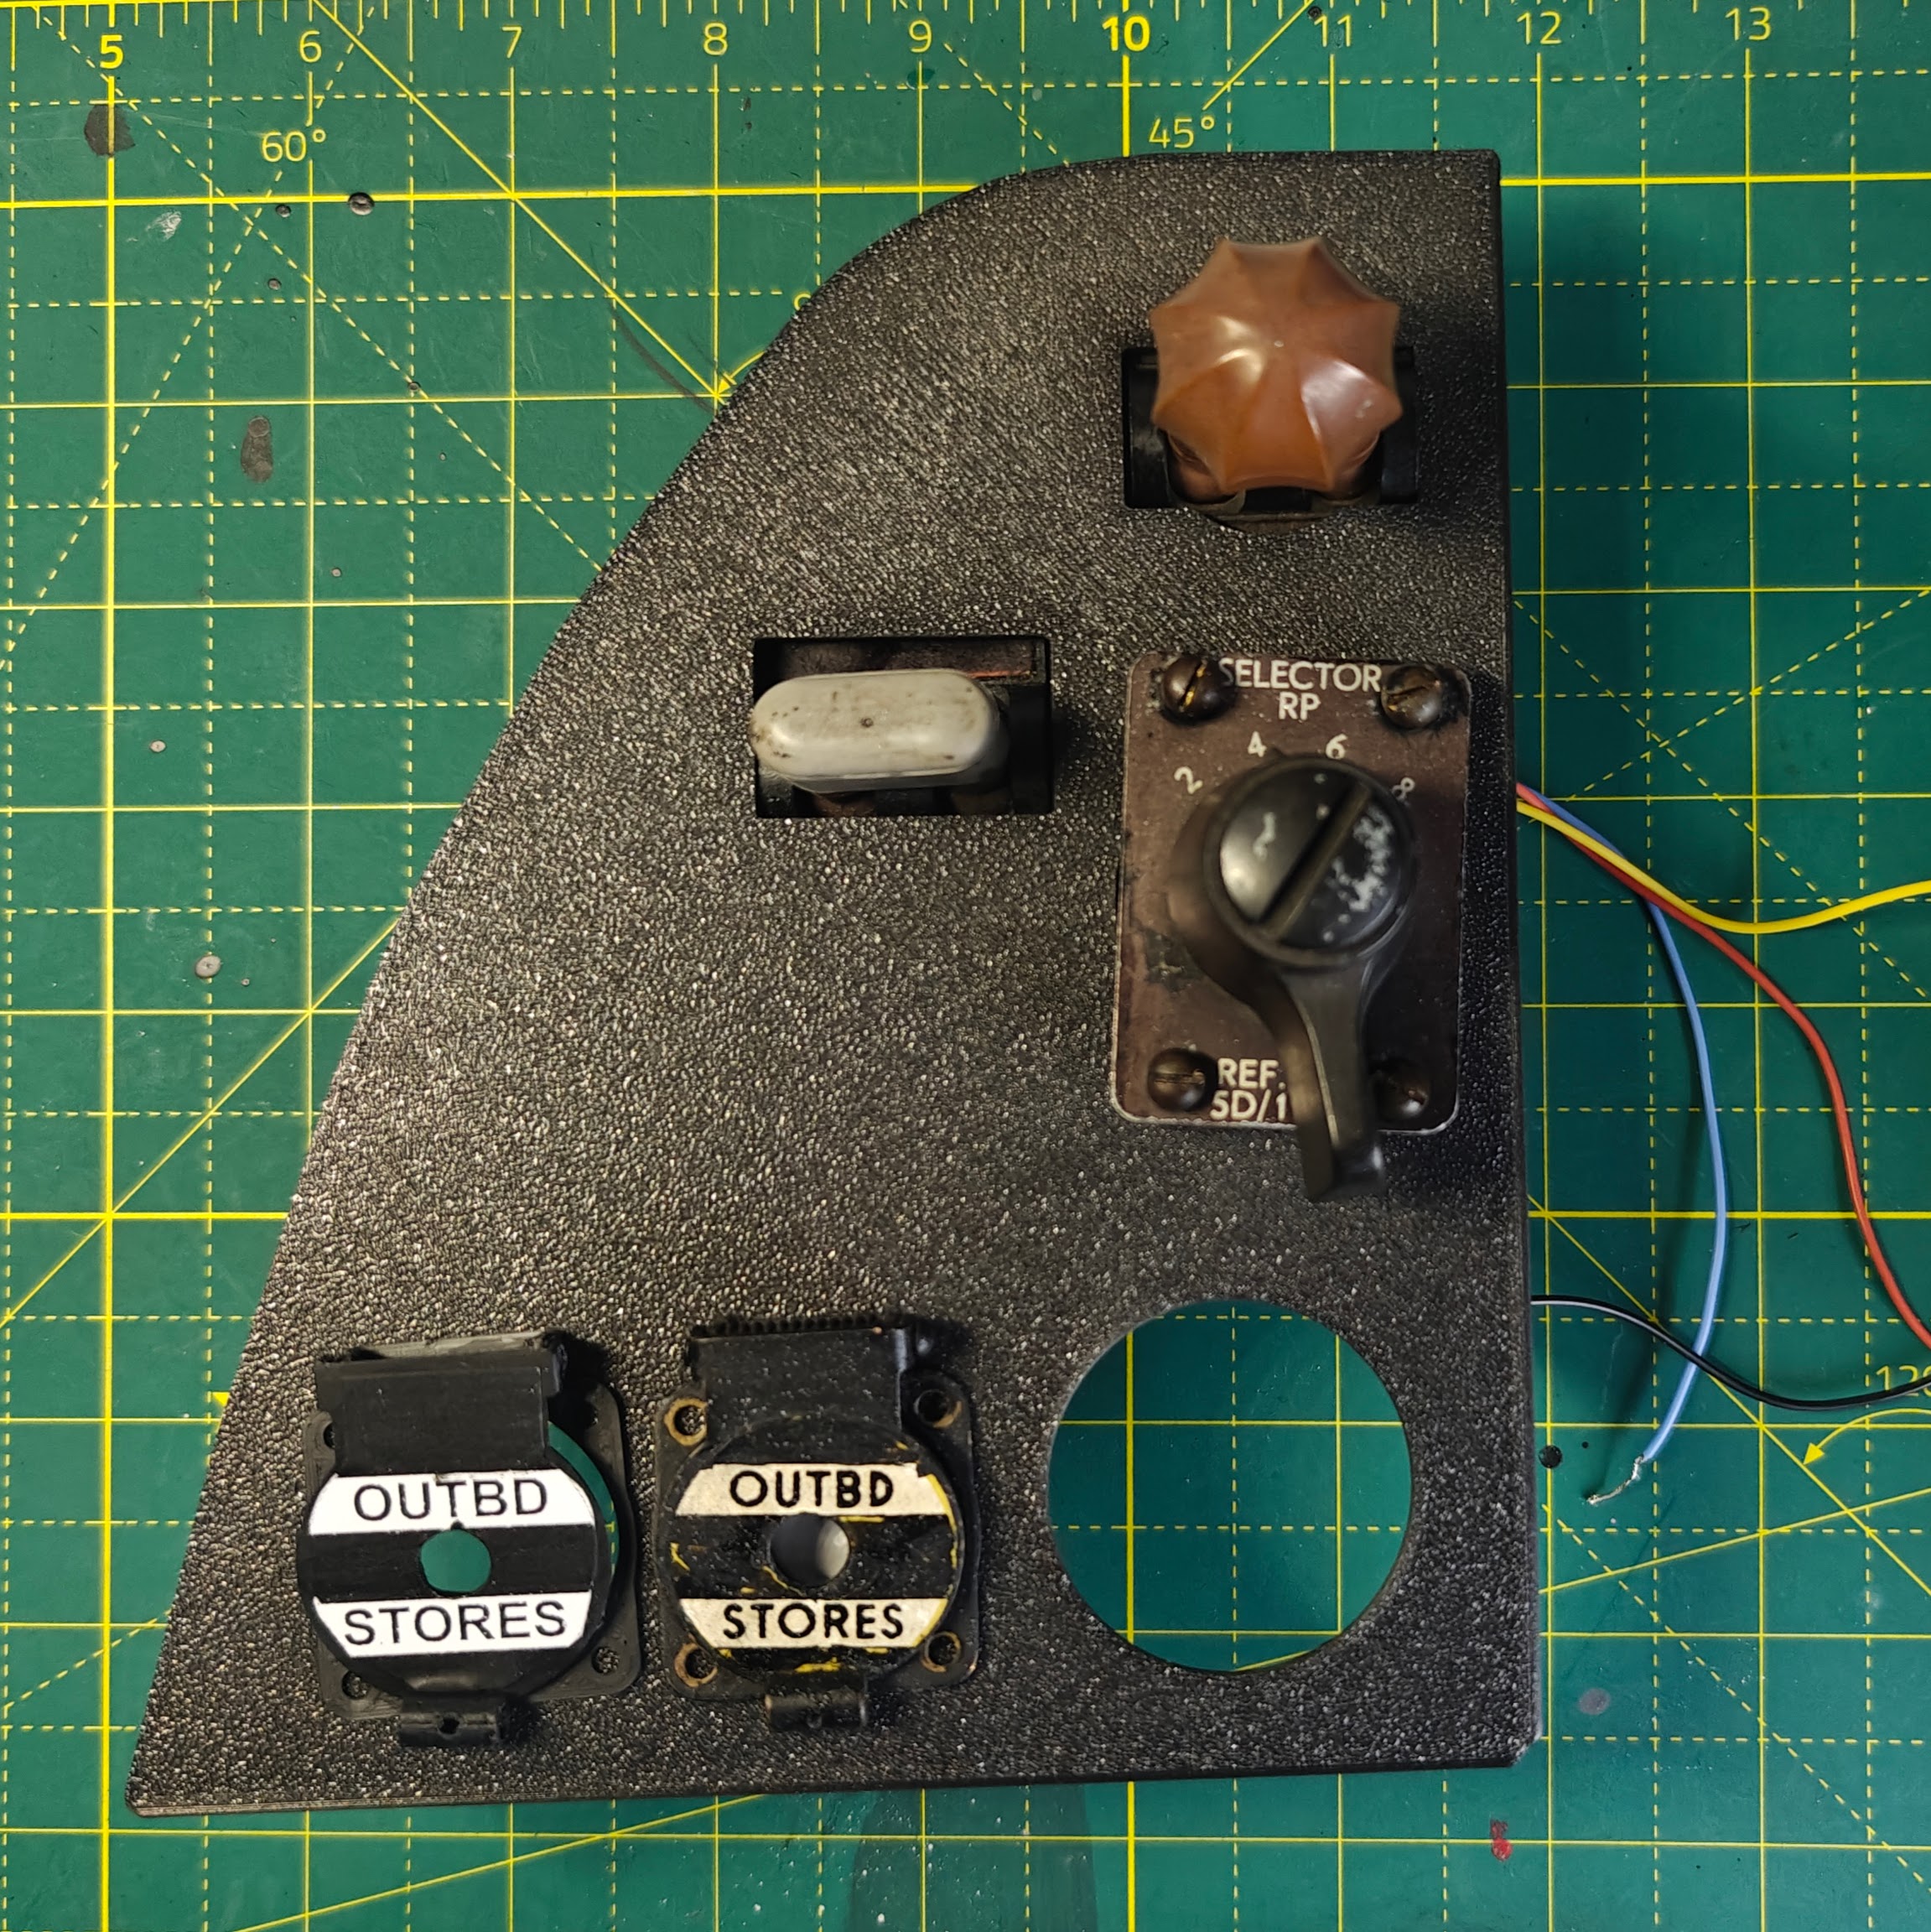
Repro Hunter weapons panel - I have an original but the size and shape of this makes it a good practice piece. This is 3D printed but the files/drawings could easily be adapted for laser cutting or CNC.
A 3D printed stand for my stick top, because it'll be a while before I can install it - Hunter column components seem to be like Hen's teeth!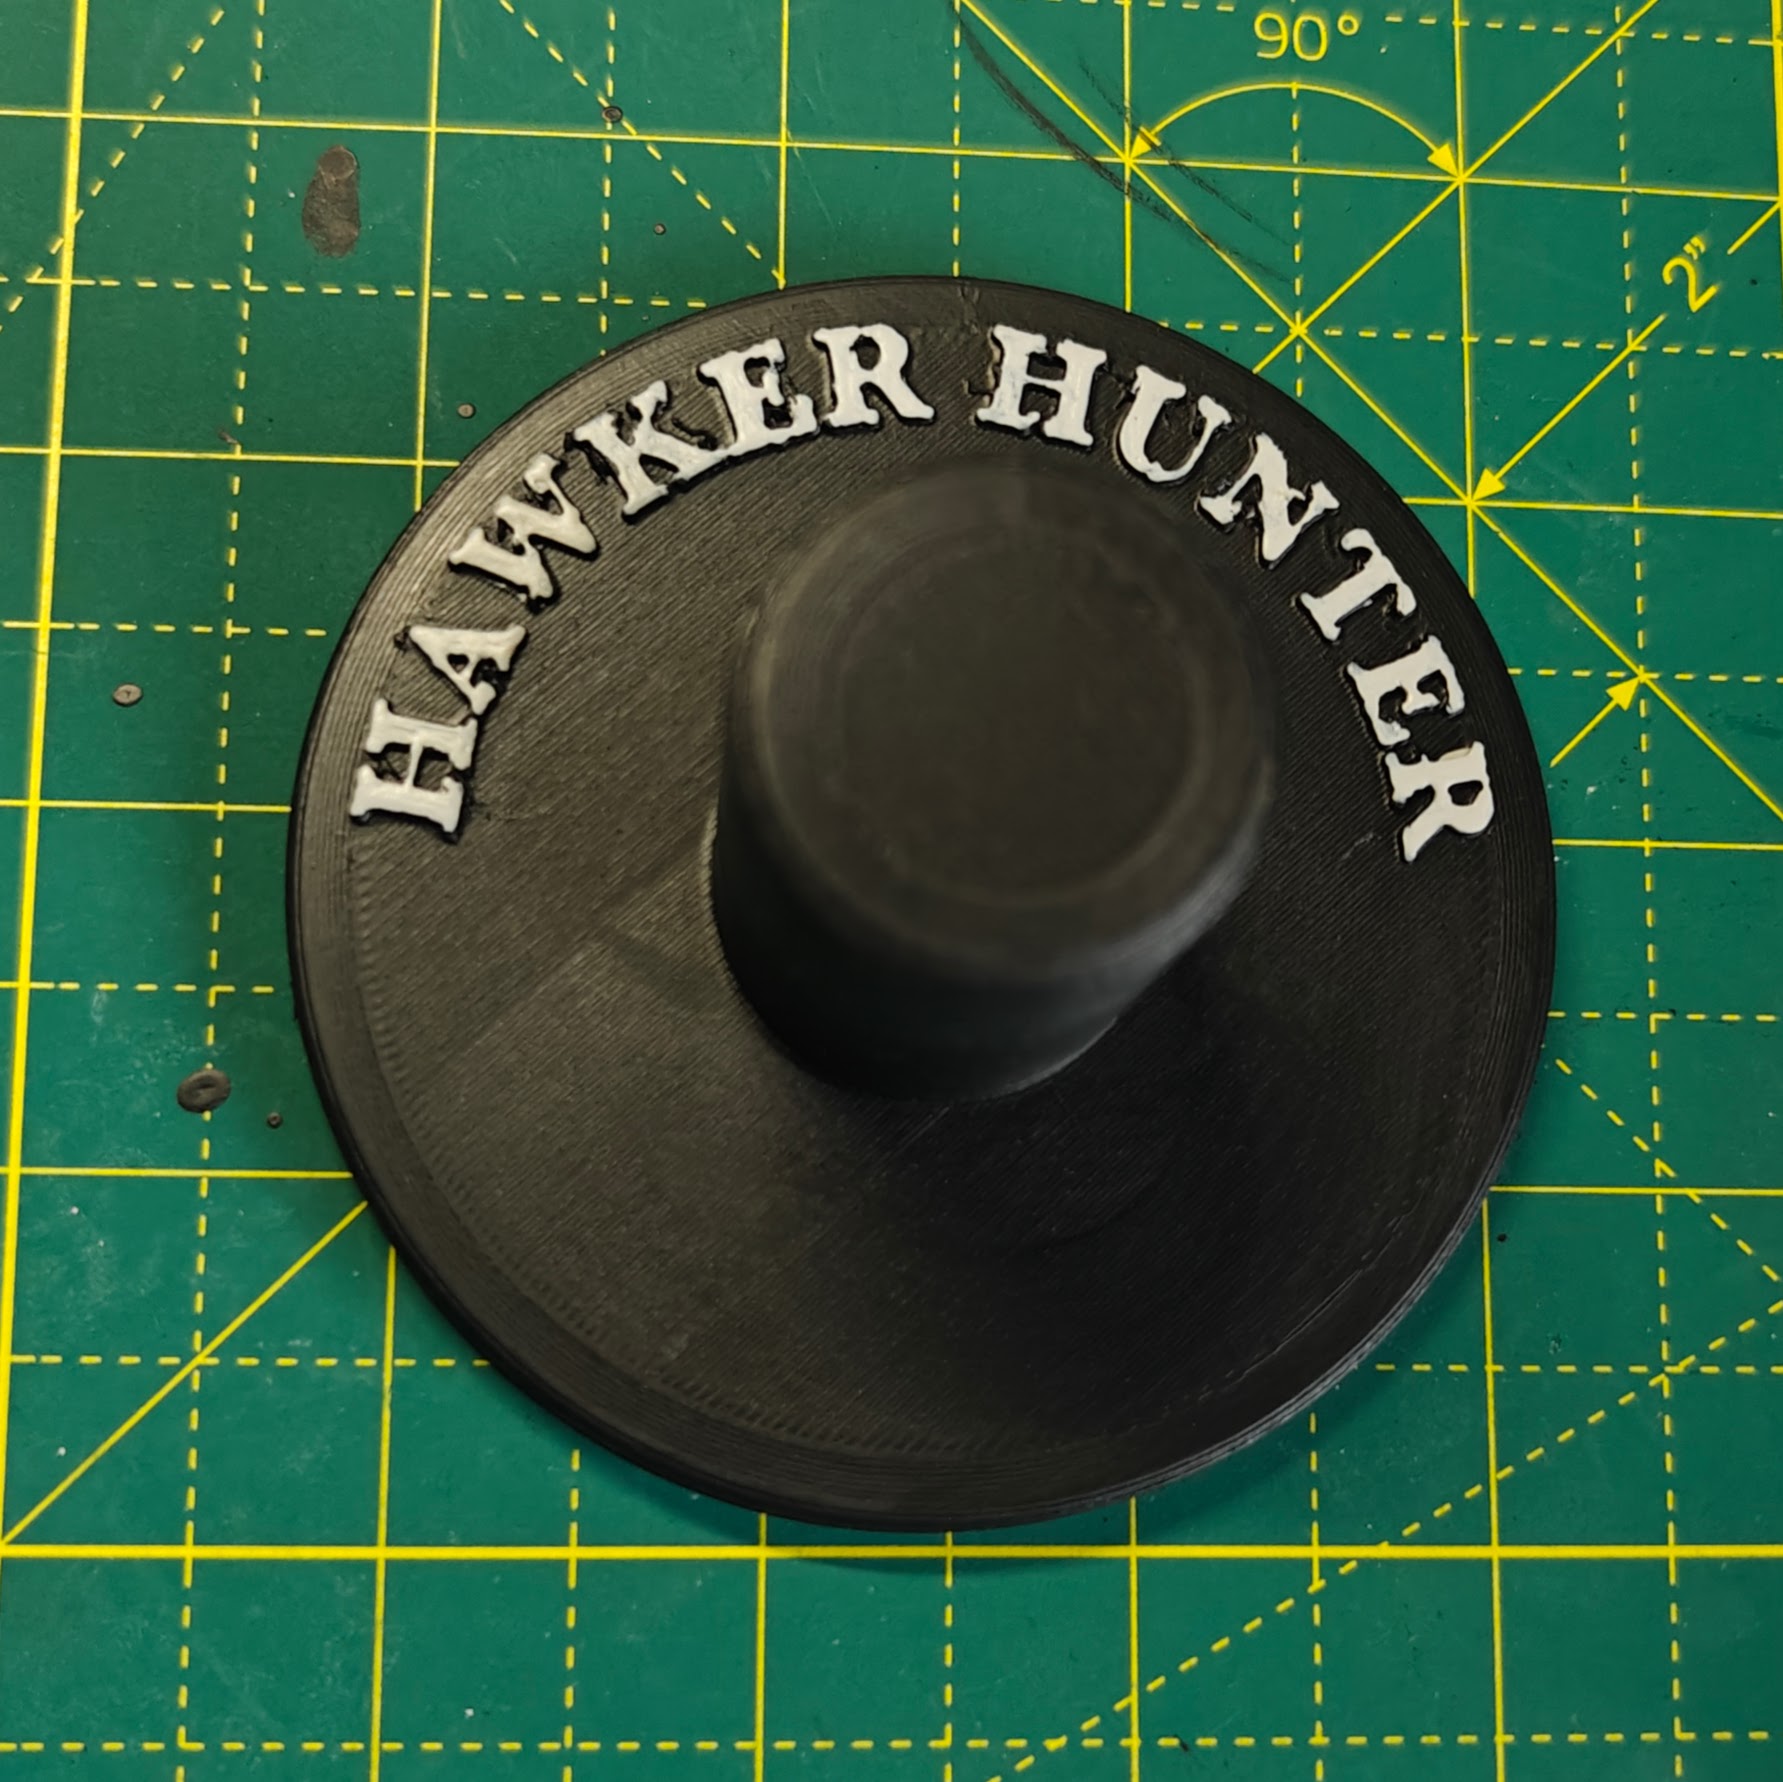
and finally something still Hawker but not Hunter related - a repro switch box for a fellow cockpiteer's Harrier cockpit which I designed and 3D printed.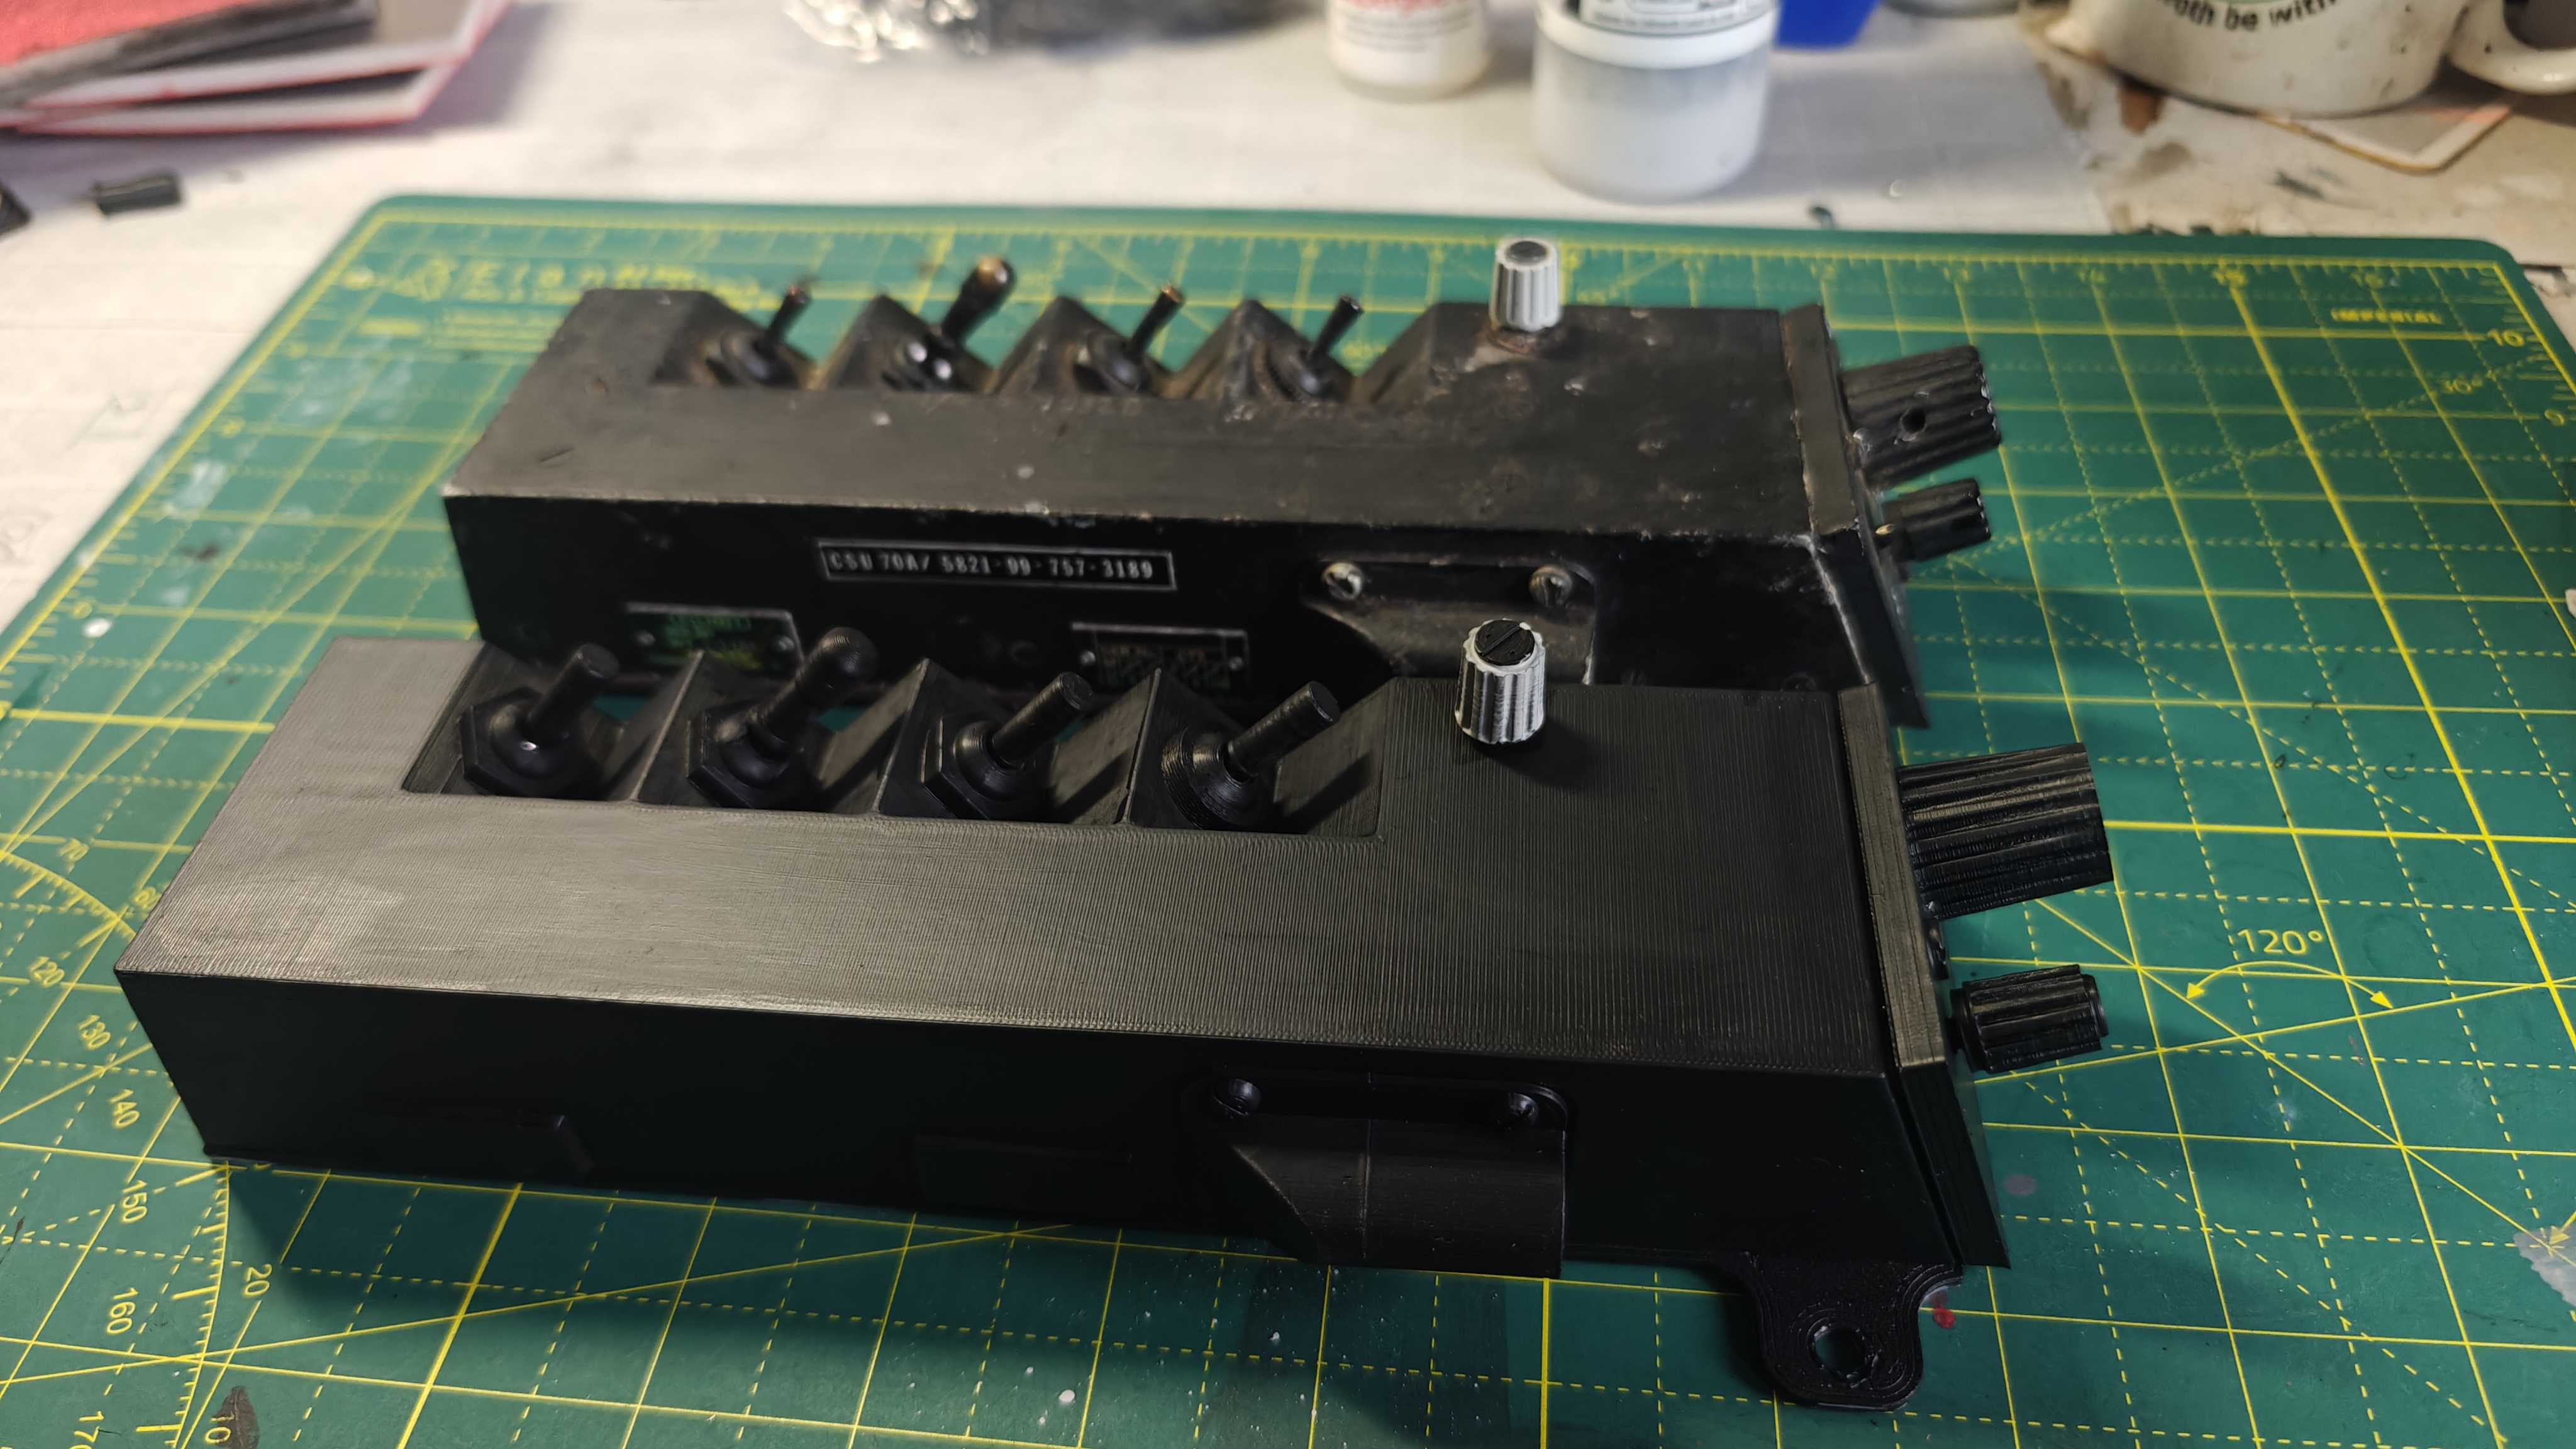
- Details
- Hits: 143
Update 17/04/26
I managed to get the rest of the interior primed and the first top coat done over a couple of evenings this week. The underseal I put down on the floor last time looks good but I'll probably overpaint it as there's quite a contrast between the two finishes. I'm frustrated to notice I didn't go a great job with the degreaser, leaving greasy evidence of the shed load of penetrating oil I've used on the control column mechanism! That said I'm pretty happy with this as a starting point.
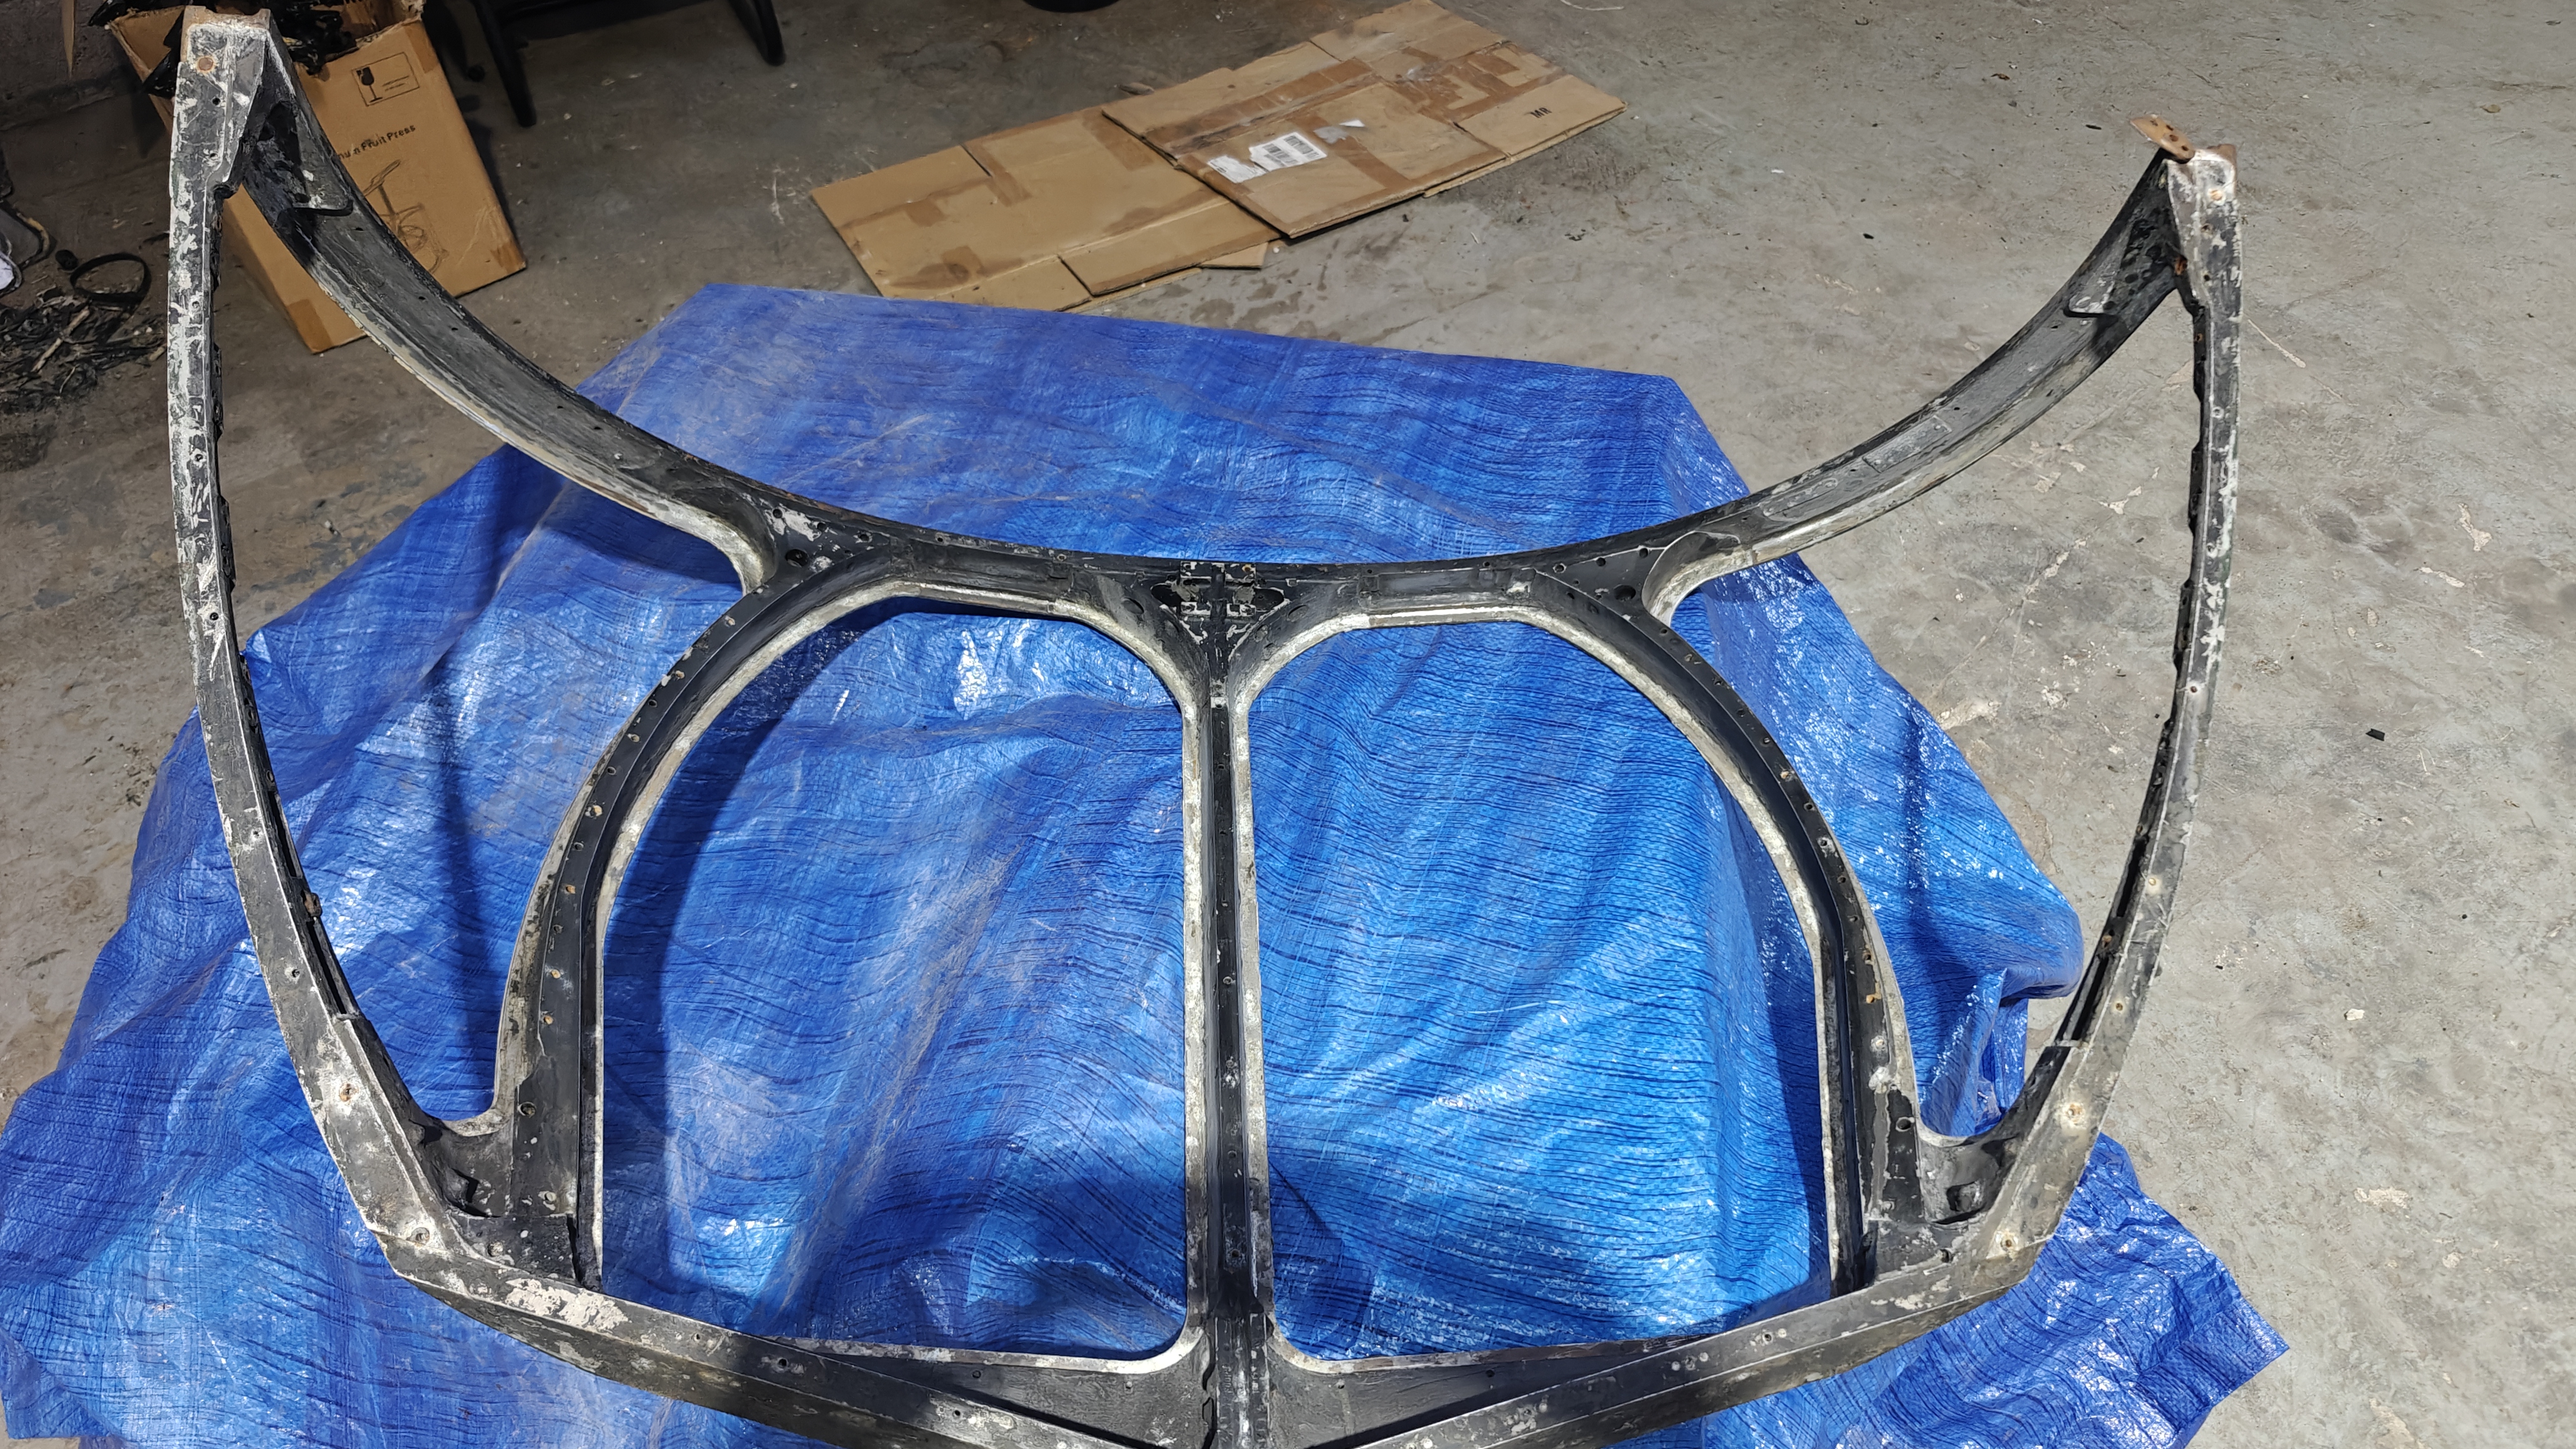
I also won the battle with the stubborn windscreen bolts and got most of the sealant out of the frame, with a bit more prep it'll be ready for some paint.
I'm looking forward to the Newark Aerojumble this weekend, hoping to pick up some bits to populate the new lasercut panels which arrived this week!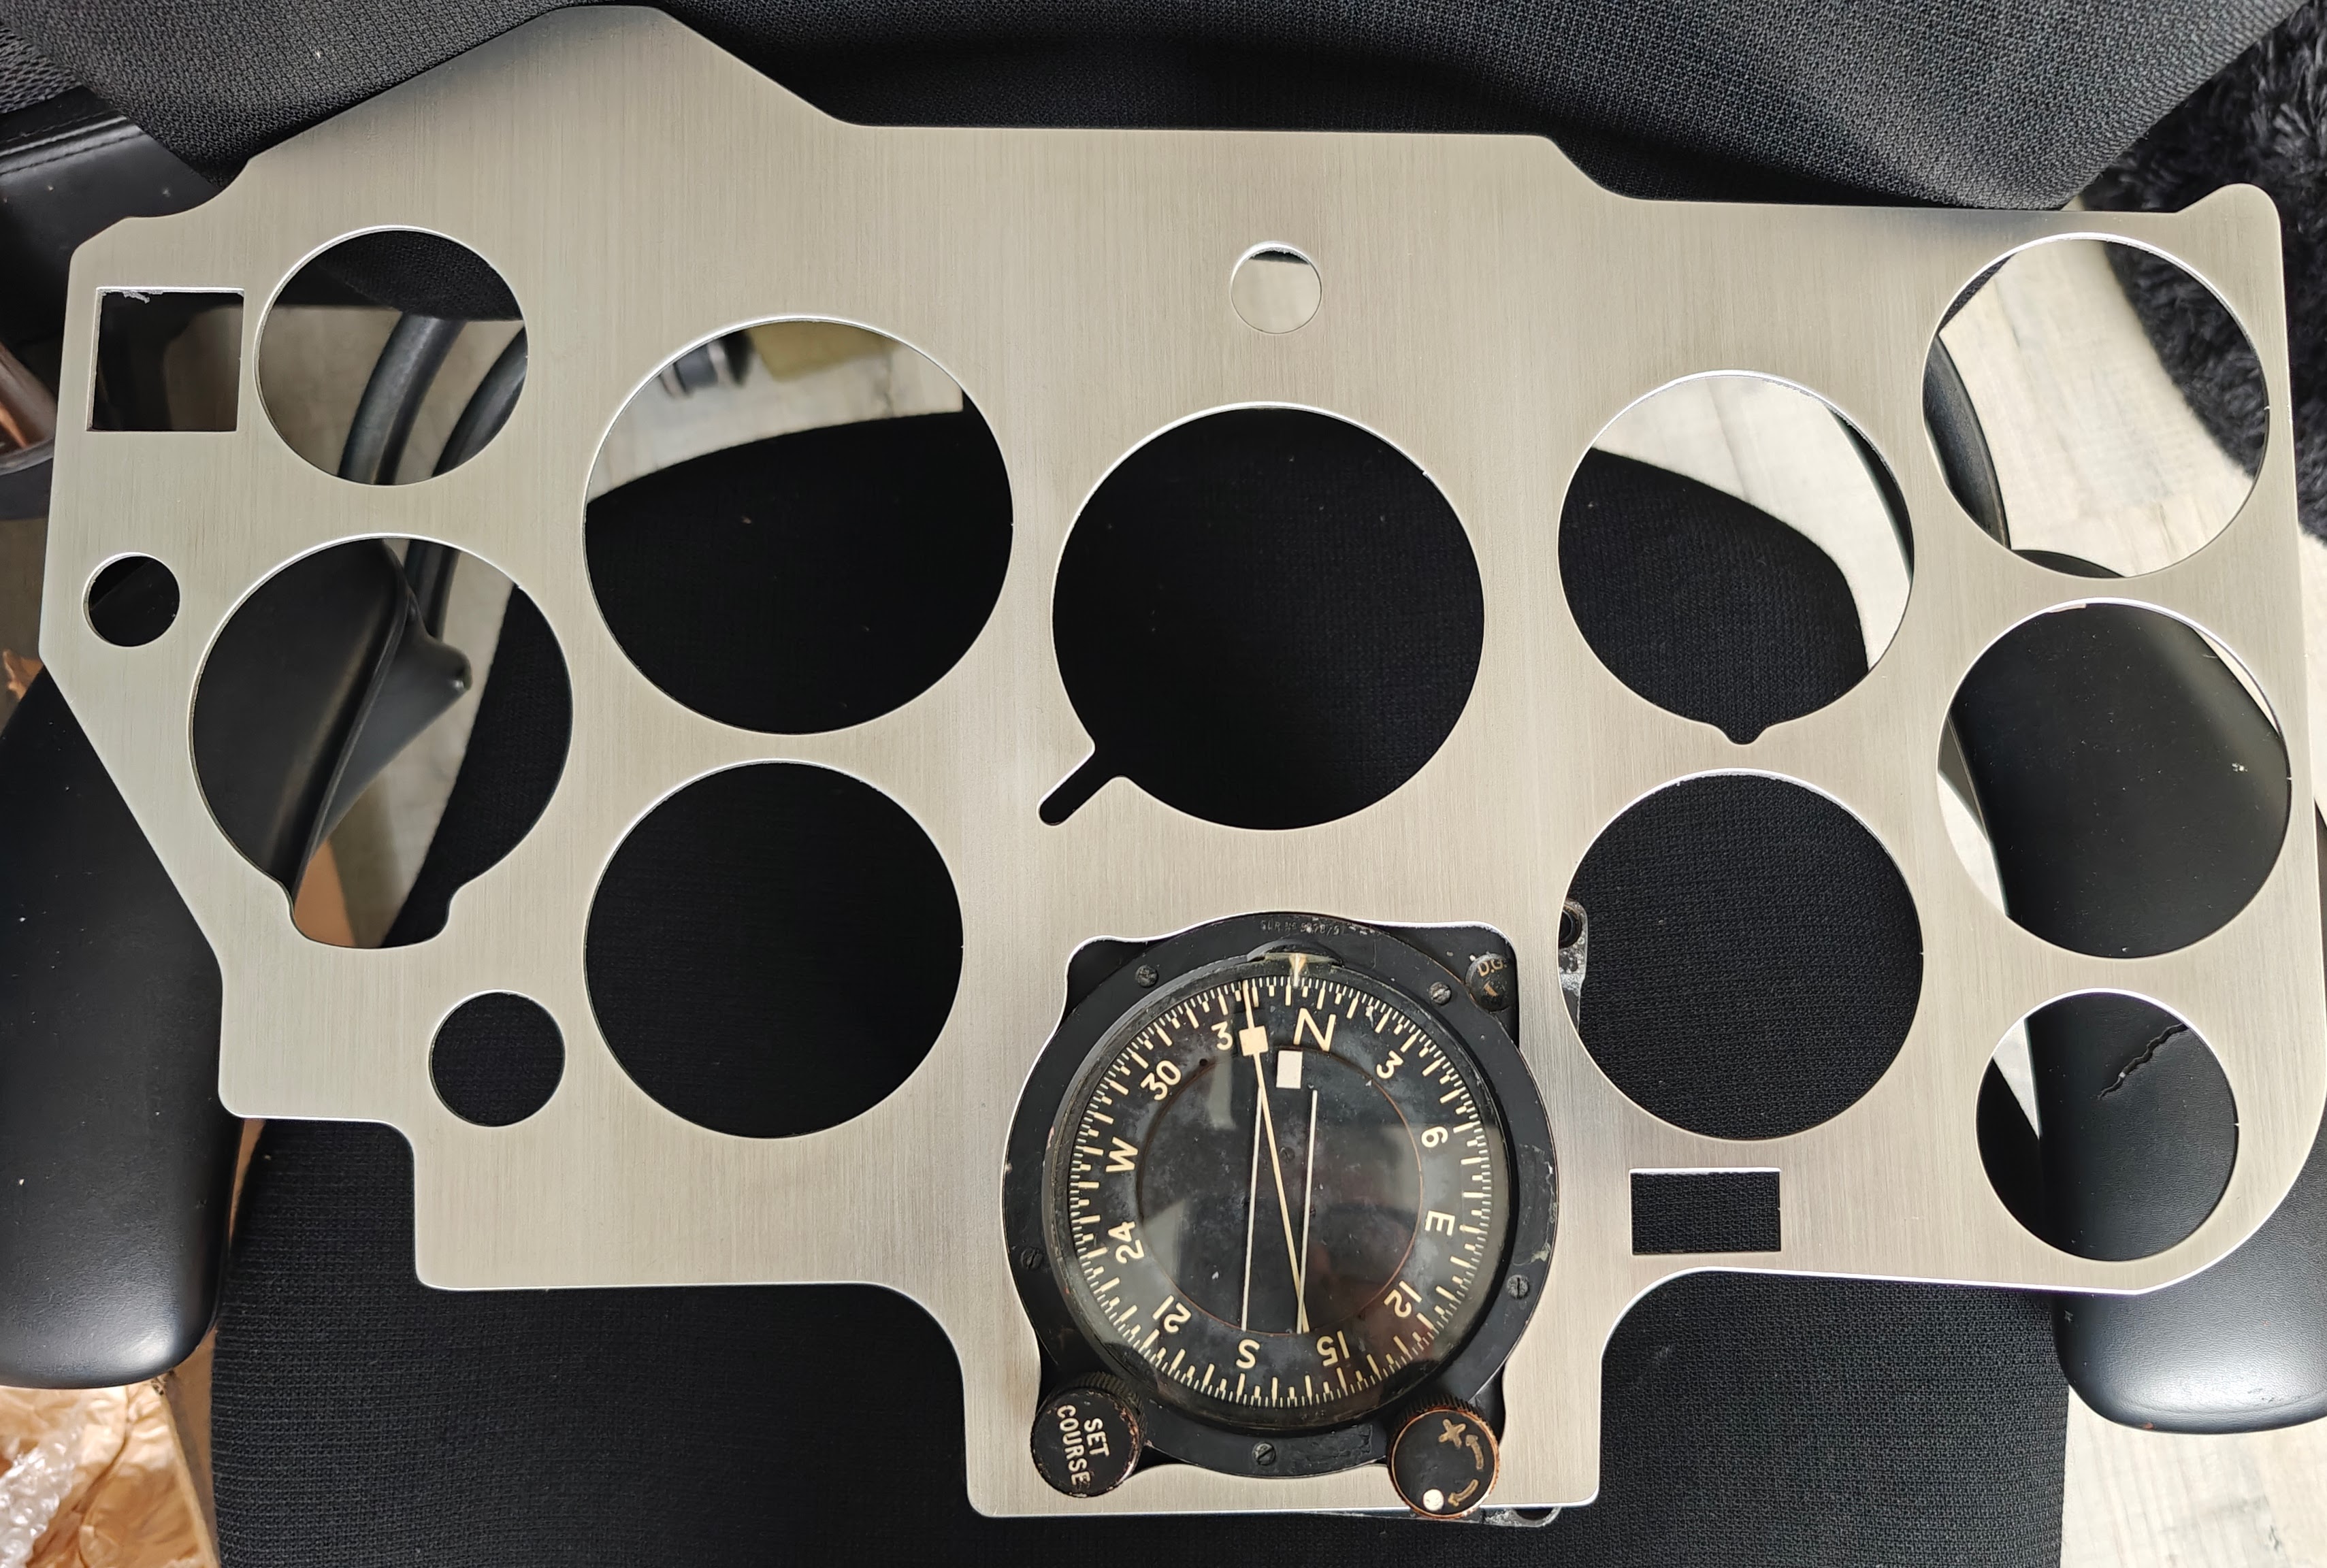
- Details
- Hits: 106