
XL609 Fundraising & Merch update
XL609 is privately owned and I don't expect to fund the project through donations but I'm very grateful for the support I've had from friends and family so far. My long term goal is for her to be available to the public as a 'hands on' exhibit and every pound, penny or donated part helps move the project forward towards this goal. I recently totalled up my spend so far and thought I'd share here for transparency: My total spend (excluding the cost of the cockpit) is now about £750, Tools: £83 Paint and Materials: £340
Books, Photos, Manuals and Reference Material: £235
Simulator Software/Hardware: £95
Support from friends, family and the community: Priceless
(as they said in the old credit card ads!)
I'm particularly grateful to my Dad, Geoff G, Dave P, Adam Watson , Carl Lamb, Abigail Roberta Mills, and David Griffin as well as previous owners of XL609 Dave Taylor and Neil and Heather (Lakes Lightnings)
Merch
I recently ordered a logo'd T-shirt from RedBubble to check the quality and was really disappointed so I've removed them from sale for now and will look at other suppliers if there's interest in the future.
I still have a selection of stickers - all four of XL609's colour schemes as well as stickers celebrating 75 years of the Hunter, all available are available from:
https://www.redbubble.com/people/xl609
Donations can also be made via my Ko-Fi page, I have a limited stock of the original logo design stickers available from there for any donation of £5 or more.
https://ko-fi.com/xl609
And finally I'm looking forward to attending a couple of events this year, the next being the Aerojumble at Newark on the 18th of April where I'll be on the hunt for parts!
- Details
- Hits: 105
Update 10/04/26
The interior painting is progressing well. I'll hold off posting pictures until for now but the etch priming is now complete and the floor has had a good coat of underguard. Next week I'm planning on spending a bit more time in the workshop so hope to get the rest of the interior primed and possibly the first coat of black complete. I'm reasonably happy with the finish on the floor and it'll be interesting to see how it stands up to wear and tear while I work on the rest of the cockpit. I'm working from the floor upwards so I'm fully expecting to have to touch up or repaint areas once it's complete.
In other dull news the bolts holding the windscreen components together are putting up a hell of a fight - I've sheared a couple trying to remove them so the remainder are having another soak in penetrating oil before I do battle again next week. In the meantime I've made a start on scraping out the old sealant - a horrible job with scrapers and wire brush. As expected there's a bit of powdery corrosion where moisture has been trapped by the sealant but I'll get that cleaned up and treated and hopefully it'll be good for many more years.
This week I placed an order for the laser cut aluminium instrument panels and I'll cover the other panels I'm working on in the next post but things are moving along at a good pace!


- Details
- Hits: 109
Update 03/04/26
I made some great progress this week, starting with getting the first couple of bits of painting done on the forward bulkhead and floor area as a test. This area will mostly be out of sight if I didn't like the finish but it's looking good so far. I've treated corrosion with Jenolite, used etch primer where it's down to bare metal, painted and then finished with an underguard which I hope will provide a hard wearing finish for the floors. The remainder of the metal work will get a regular satin paint finish. I'm aiming for a 'used but not worn out' look - it's an old aeroplane and I don't want it to appear brand new, but I also need the finish to stand up to some traffic as it'll be a live simulator cockpit when complete.
I've also been sent some files and a quote for laser cut main instrument panels (port and starboard) and I'll be placing an order for a couple of these in aluminium once I've confirmed the scale is ok. In the meantime I printed a couple of PLA dummy panels to test. I couldn't resist taping them roughly in place for a photo!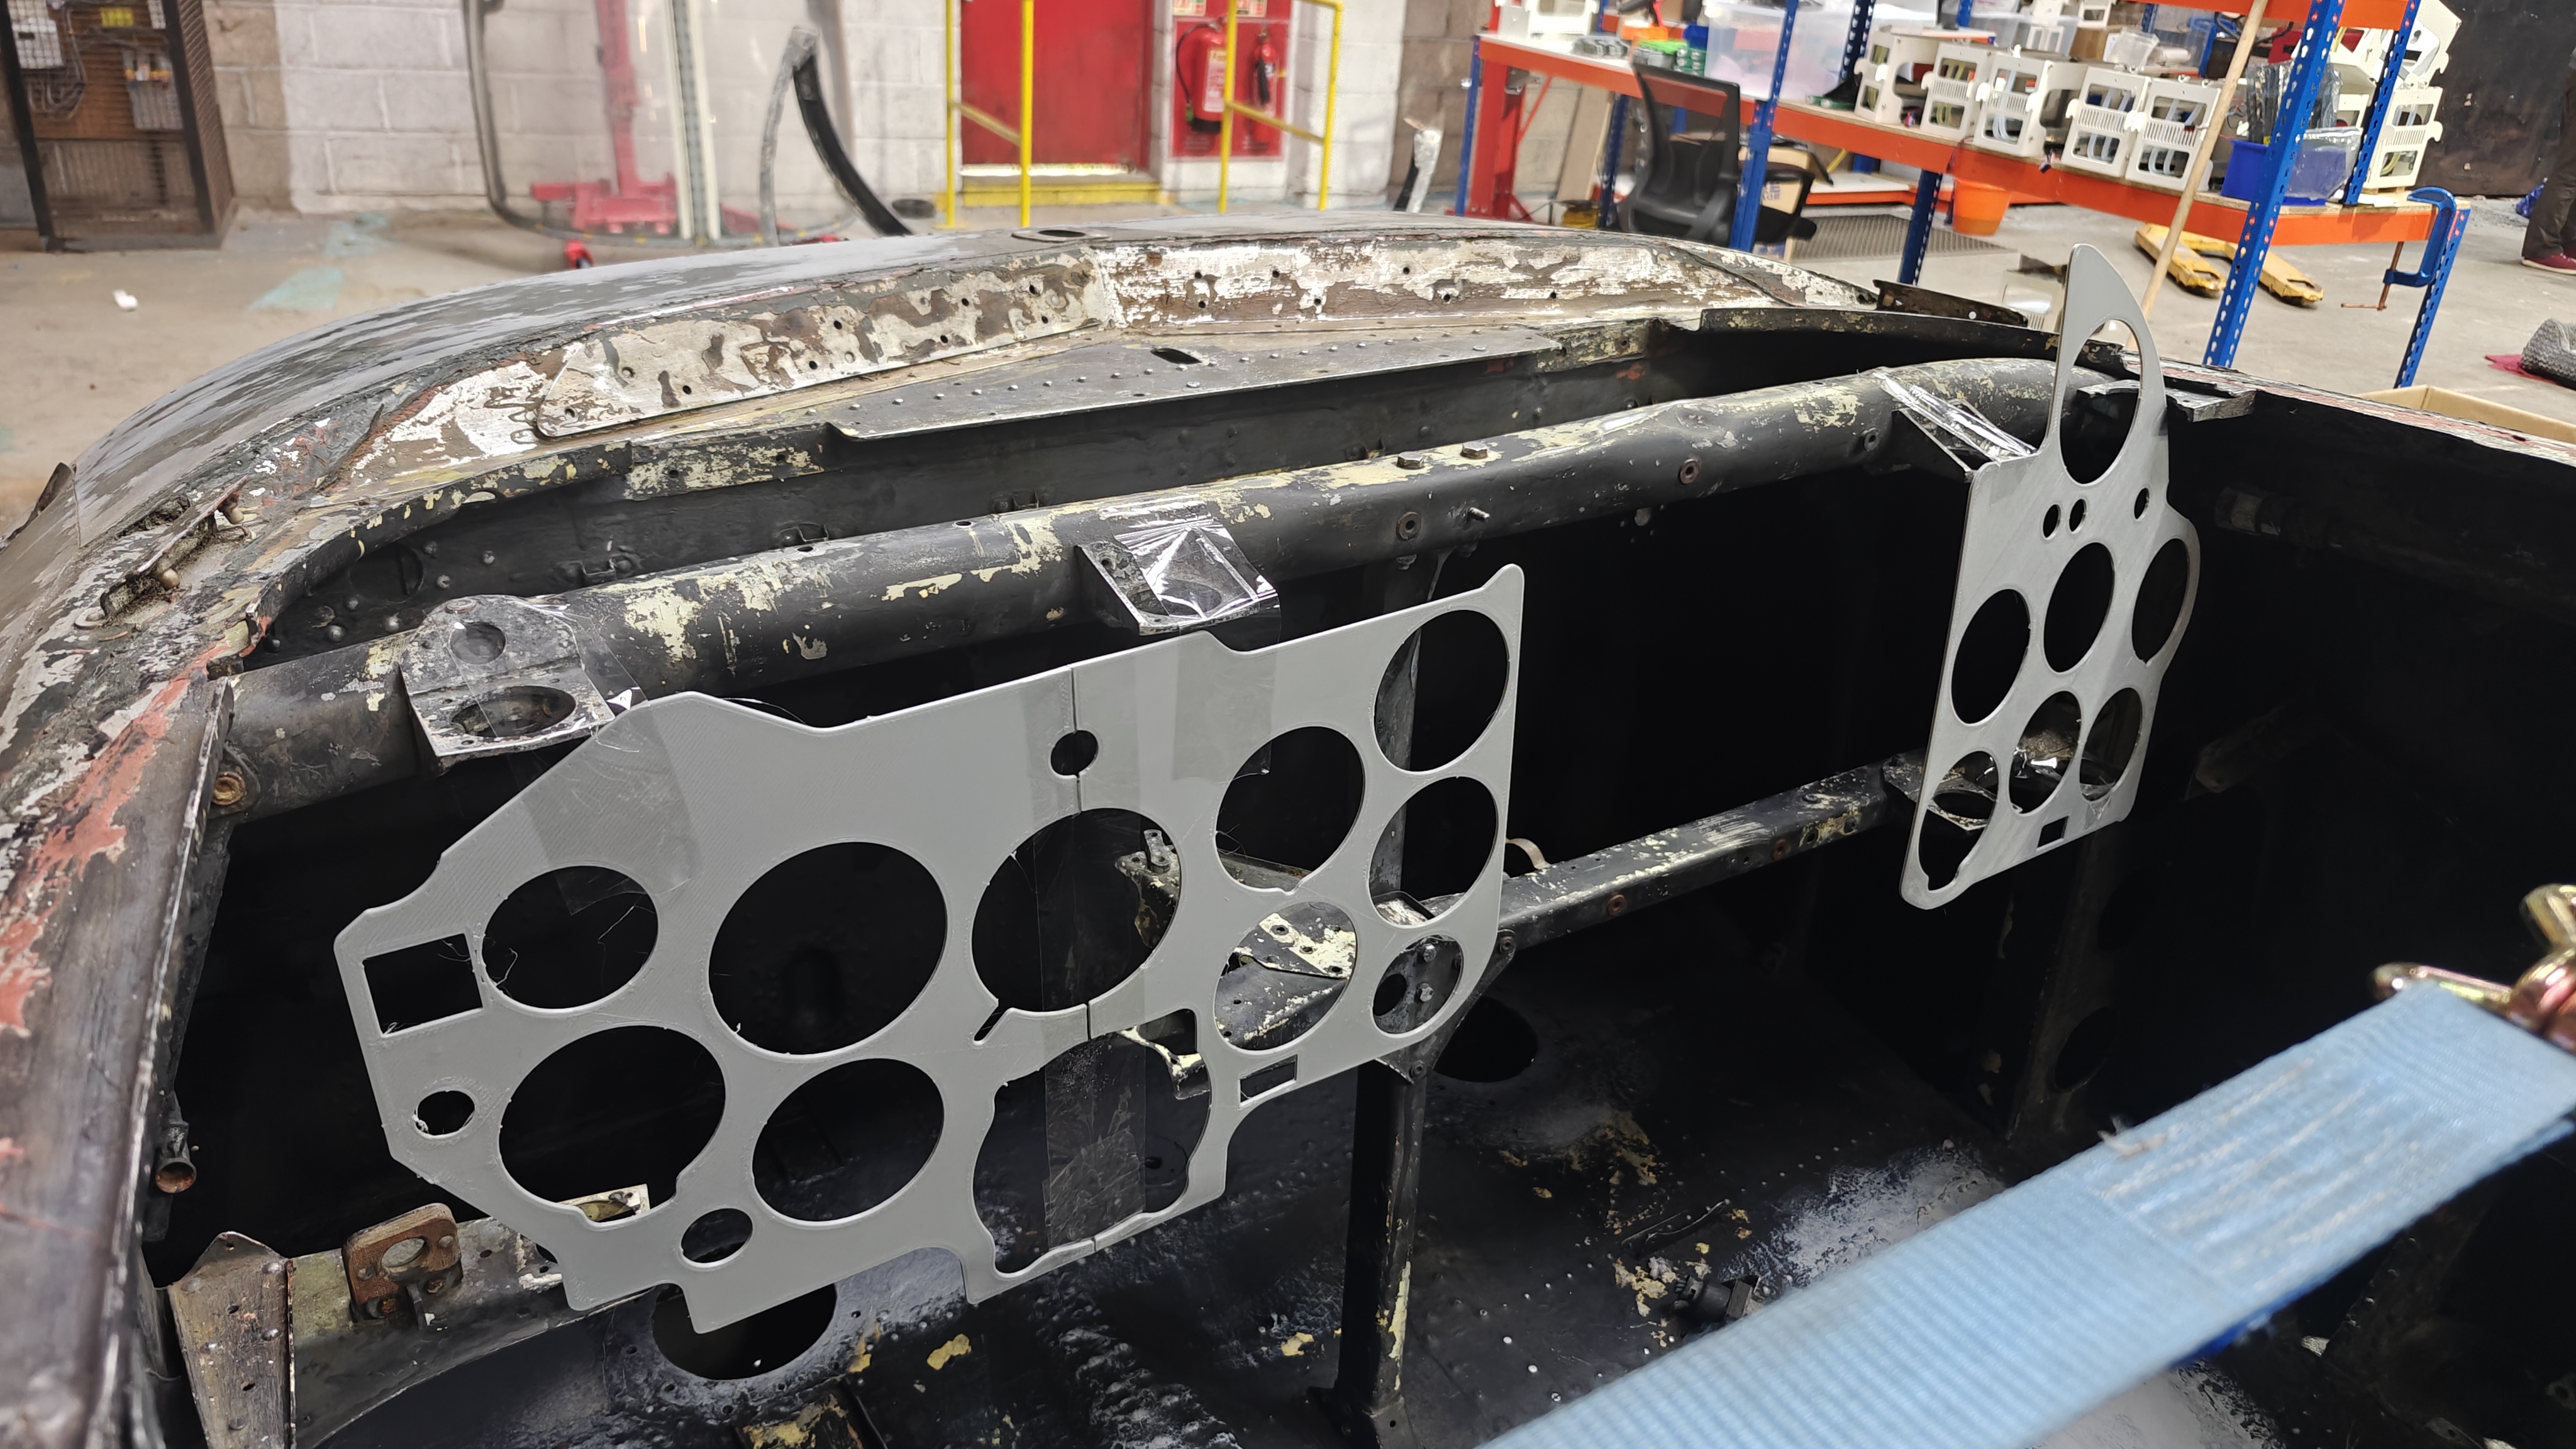
I've also started on the clean up of the windscreen assembly. I've been chasing a lead on some original glazing for some time but will probably have to mock up some perspex or acrylic for the windscreens at least. I'm hoping this is a project I can use as a training exercise when I start to use the CNC mill we have at work.
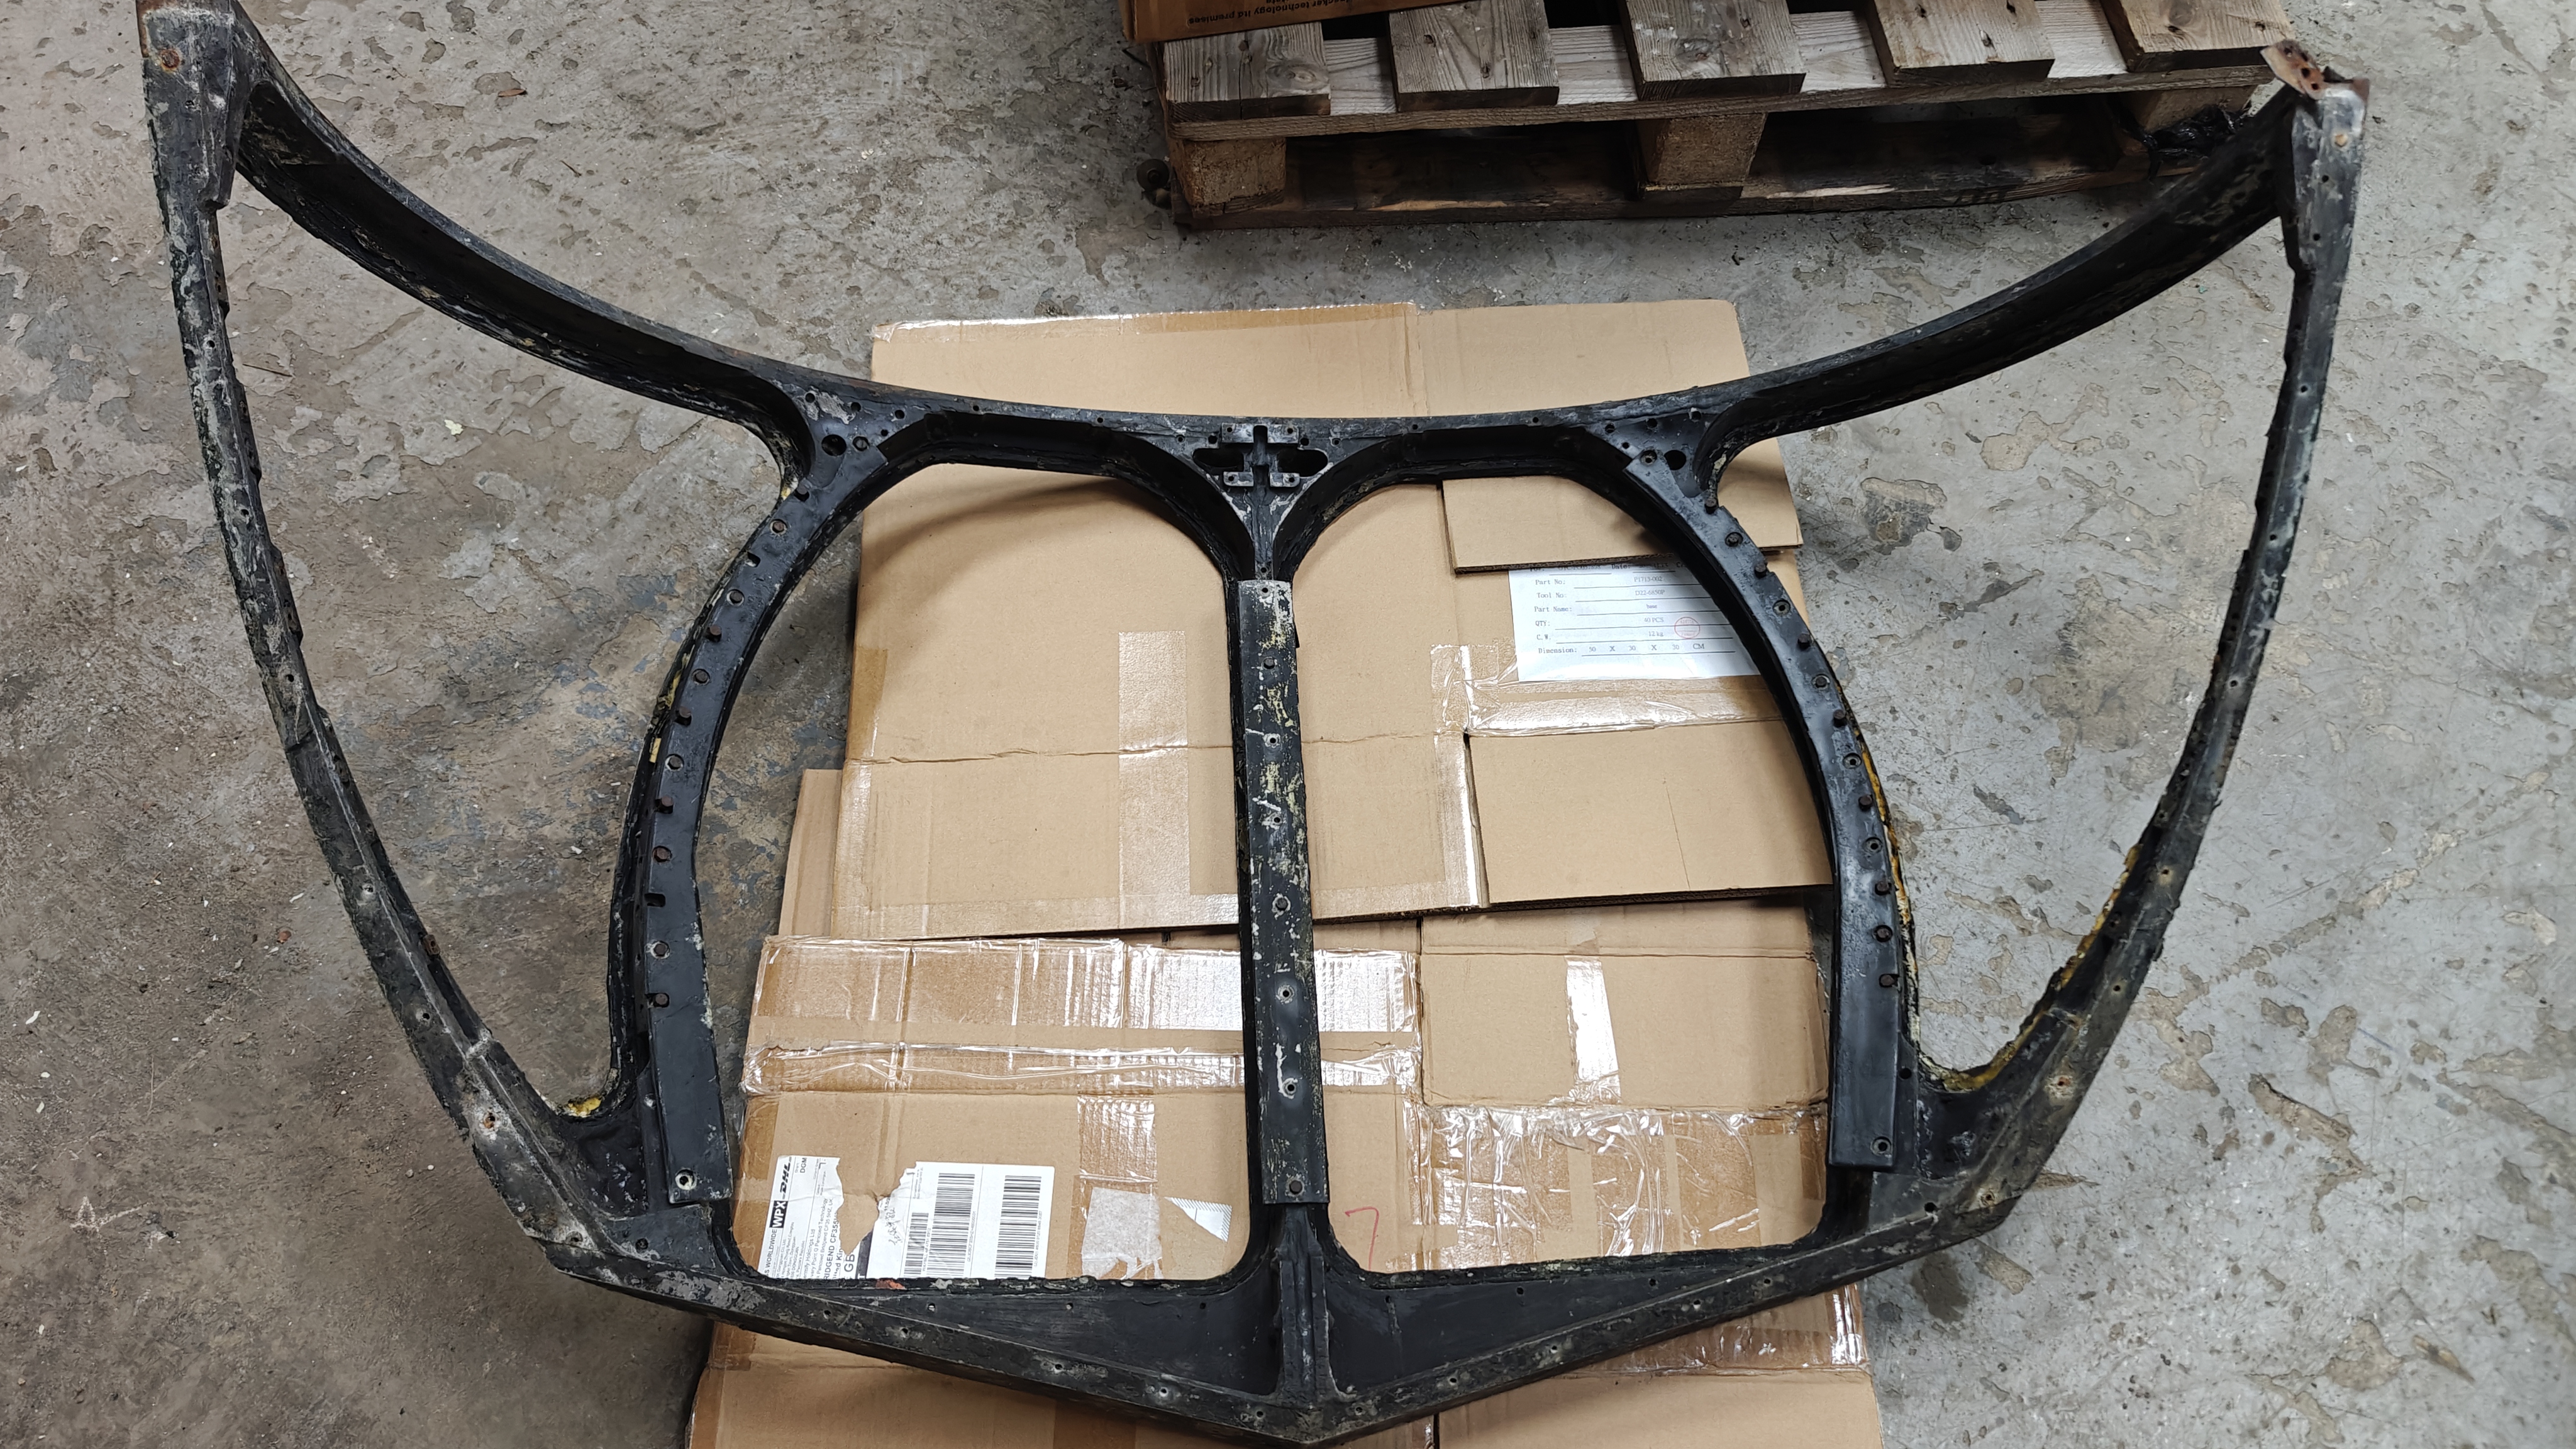
Earlier this week I checked through the parts I picked up on my recent trip, all are useable for my build and have moved things forward significantly. Some require a bit of TLC and I'm trying to source the missing switches and components. To complete the first couple of smaller panels I need a flaps switch, U/C indicator, stores jettison buttons, emergency gear and flaps pulls and the large grey brake chute toggle switch.
As always if you have anything that may help please get in touch!
- Details
- Hits: 92
Hunters in East Anglia
This weekend I visited to Norfolk & Suffolk with friends and family and made some time to check out a couple of museums and talk Hunters and aeroplanes in general.
Thanks to everyone who made time to chat and arranged access to some fantastic collections of aircraft at Bentwaters Cold War Museum, Norfolk & Suffolk Aviation Museum and Norwich Aviation Museum. Finally we visited a private workshop to see Meteor WL332 and Hunter T7 N302, soon to be at the RAF Coltishall Heritage Centre. I also came back with some part for XL609 - more on those in a future post!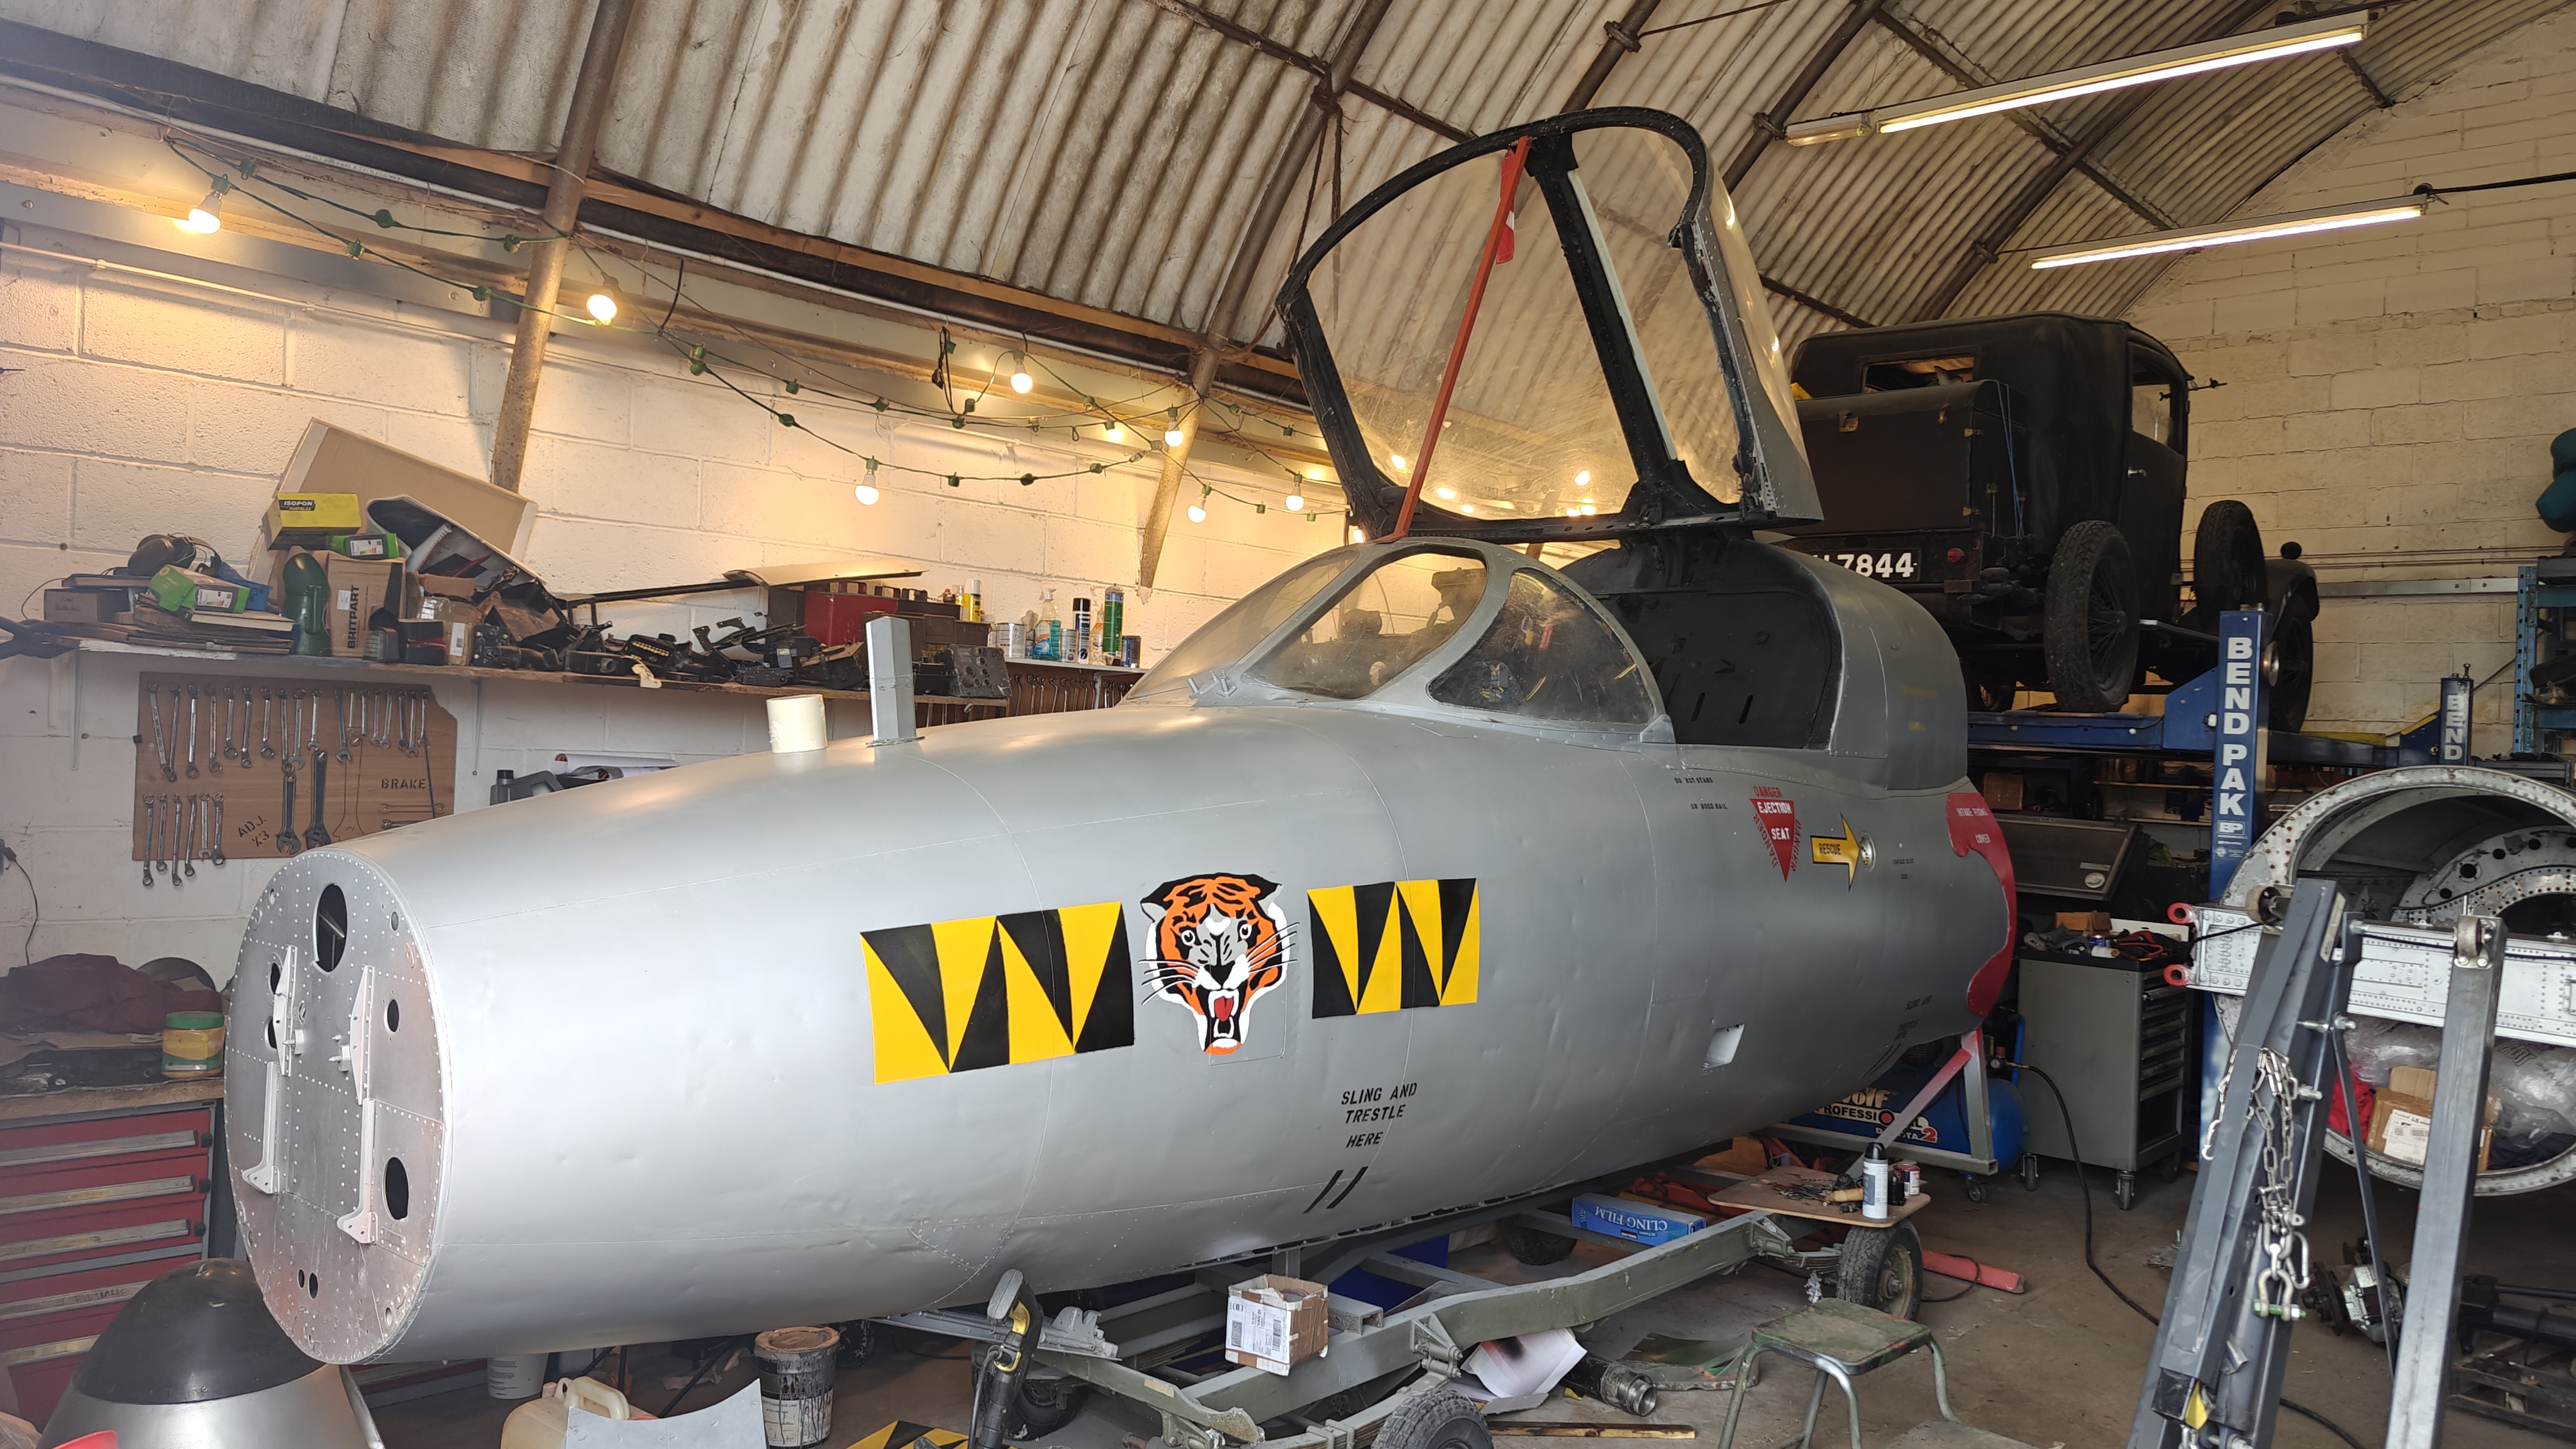
- Details
- Hits: 100
Update 27/02/26
On Wedensday I popped down the road to St Athan for lunch at the excellent cafe at South Wales Aviation Museum. The museum is only fully open at weekends but I'm grateful to Stu Carr for giving me access to their Hunter T7 XL573 to take photos and get a closer look at the canopy mechanism which will be quite a challenge to reproduce! It was great to sit for a few minutes and put context into the many photos and manual diagrams I've been looking at over the last few months. It's not suprising but sitting there really brought home how much smaller a completely populated cockpit feels compared to '609 in it's current state!
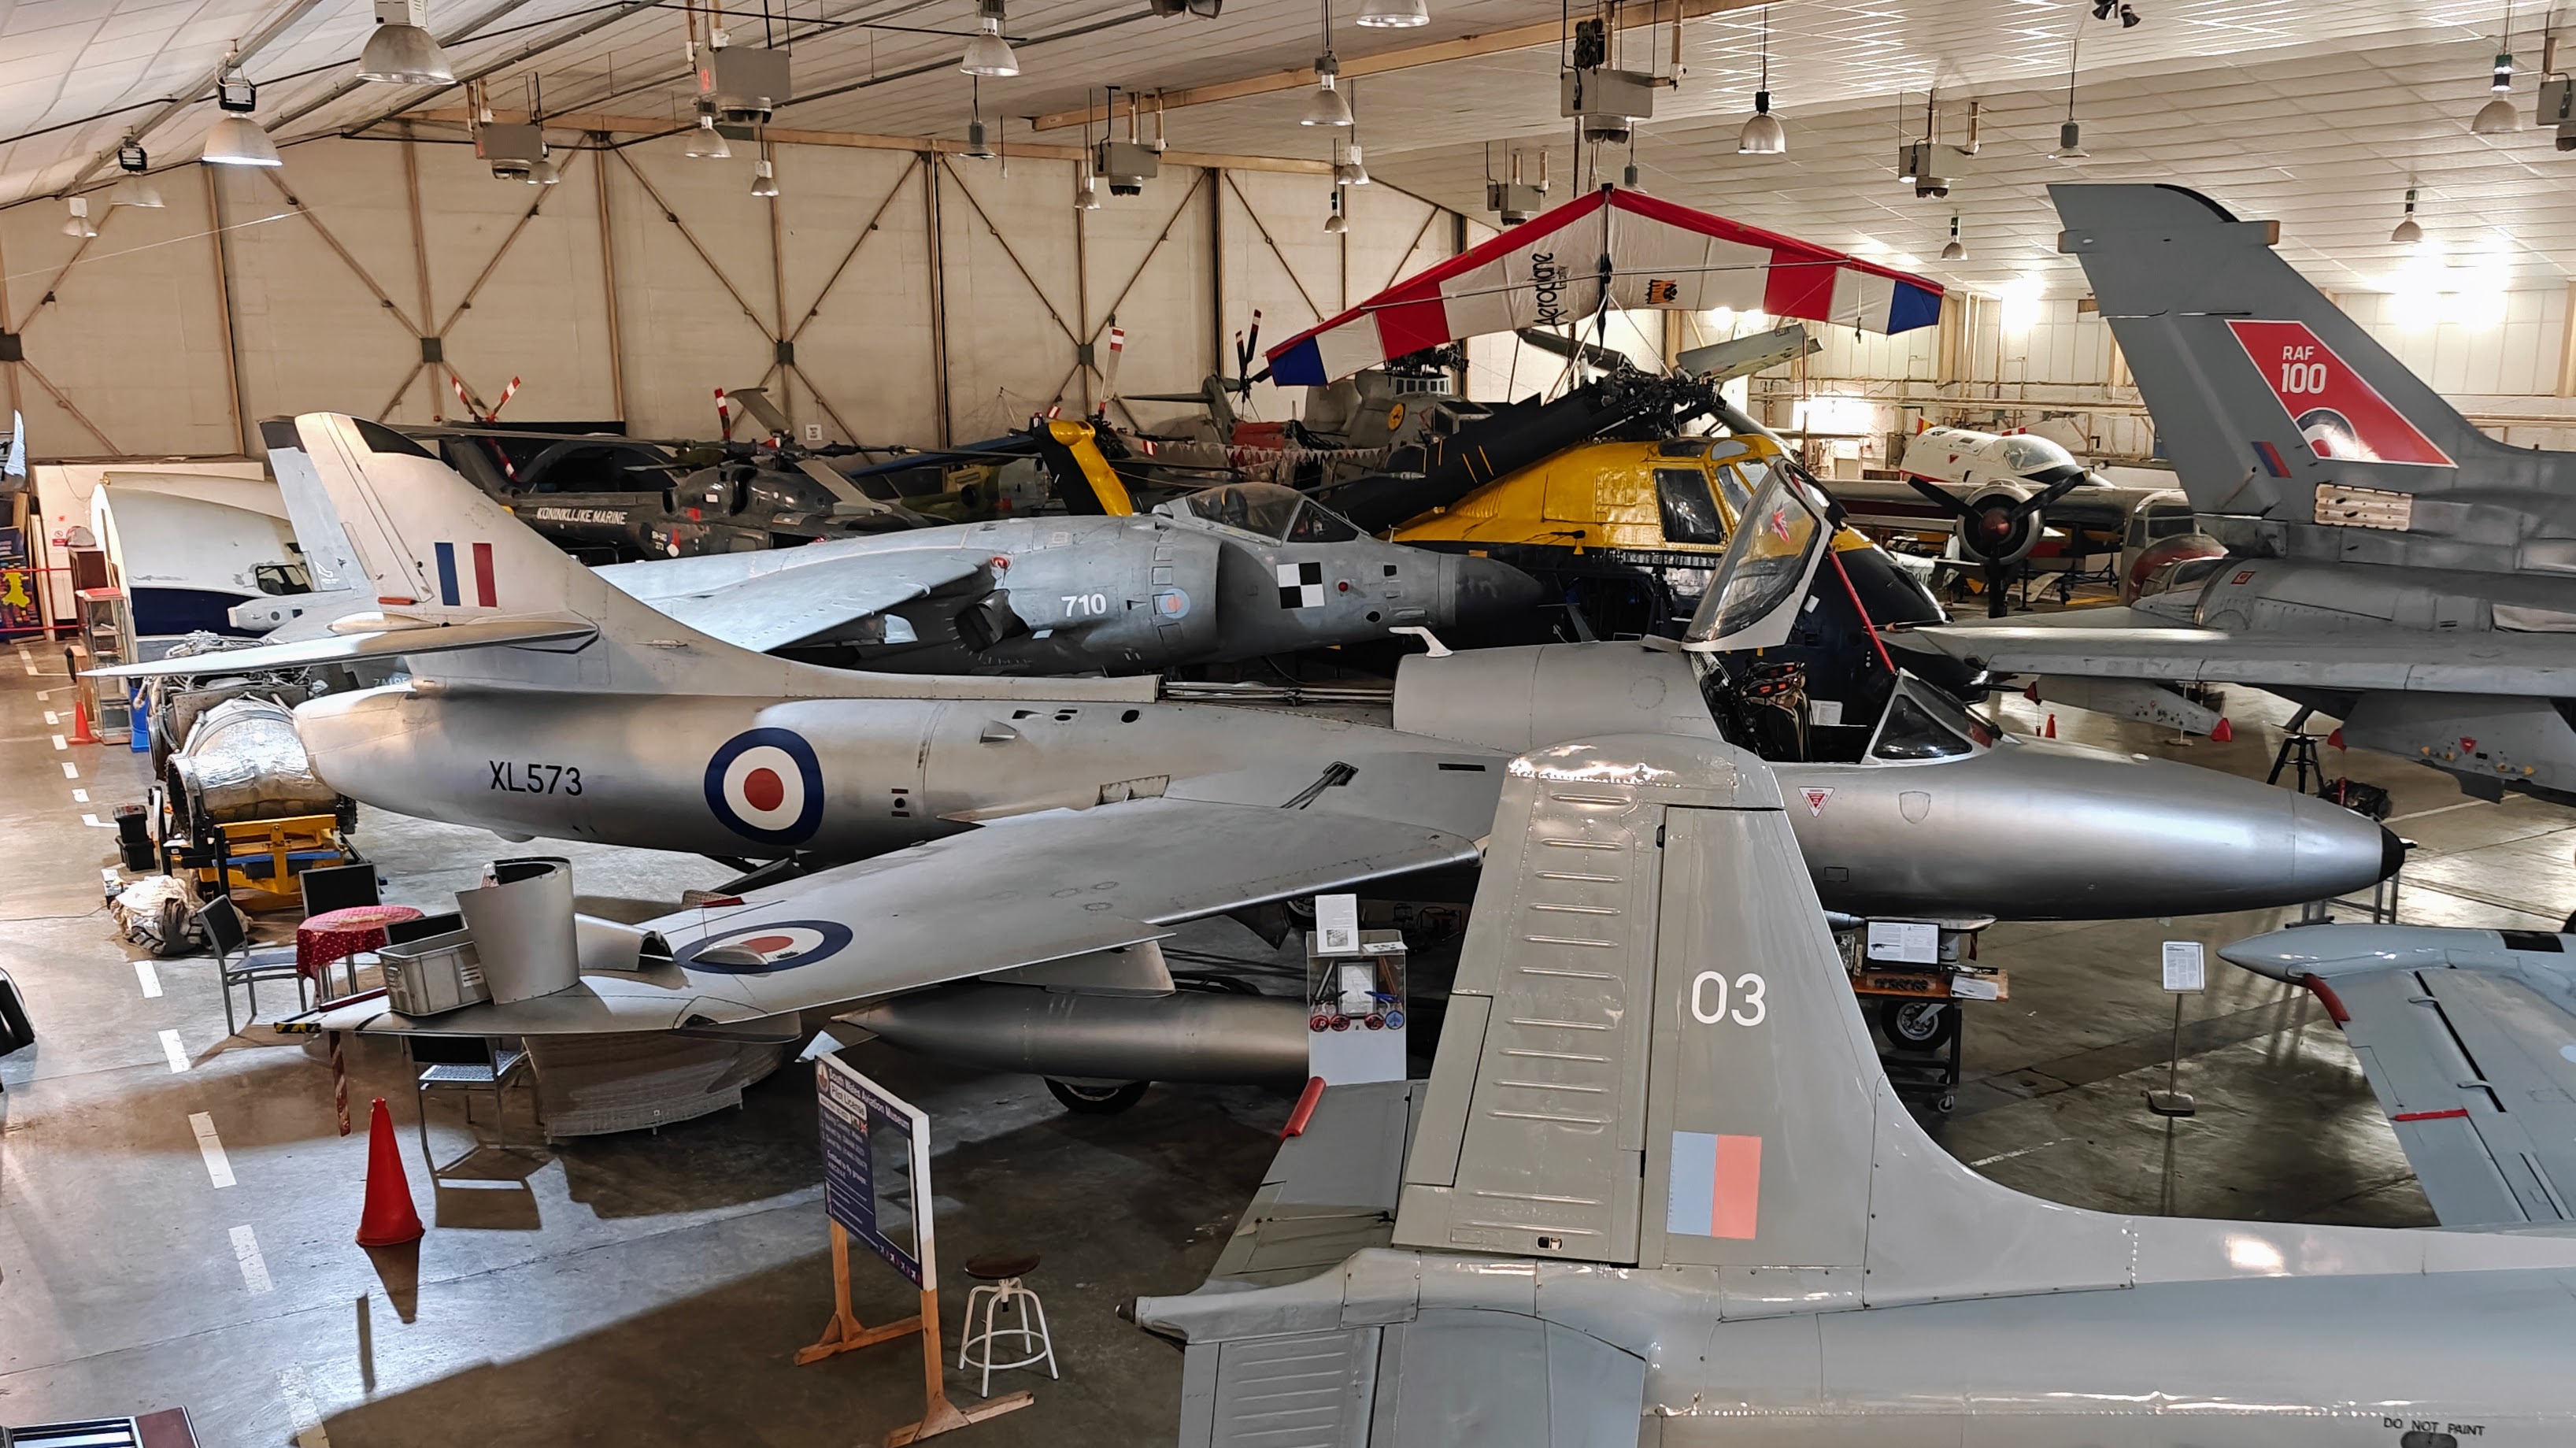
Back on XL609 I removed a couple more components for better access in the cockpit, made a start on etch priming some bare metal and cleaned out the remaining filler on the damaged port side skin. I've got a couple of ideas of how best to repair this damage but I'm open to suggestions, photos attached (inside and out)
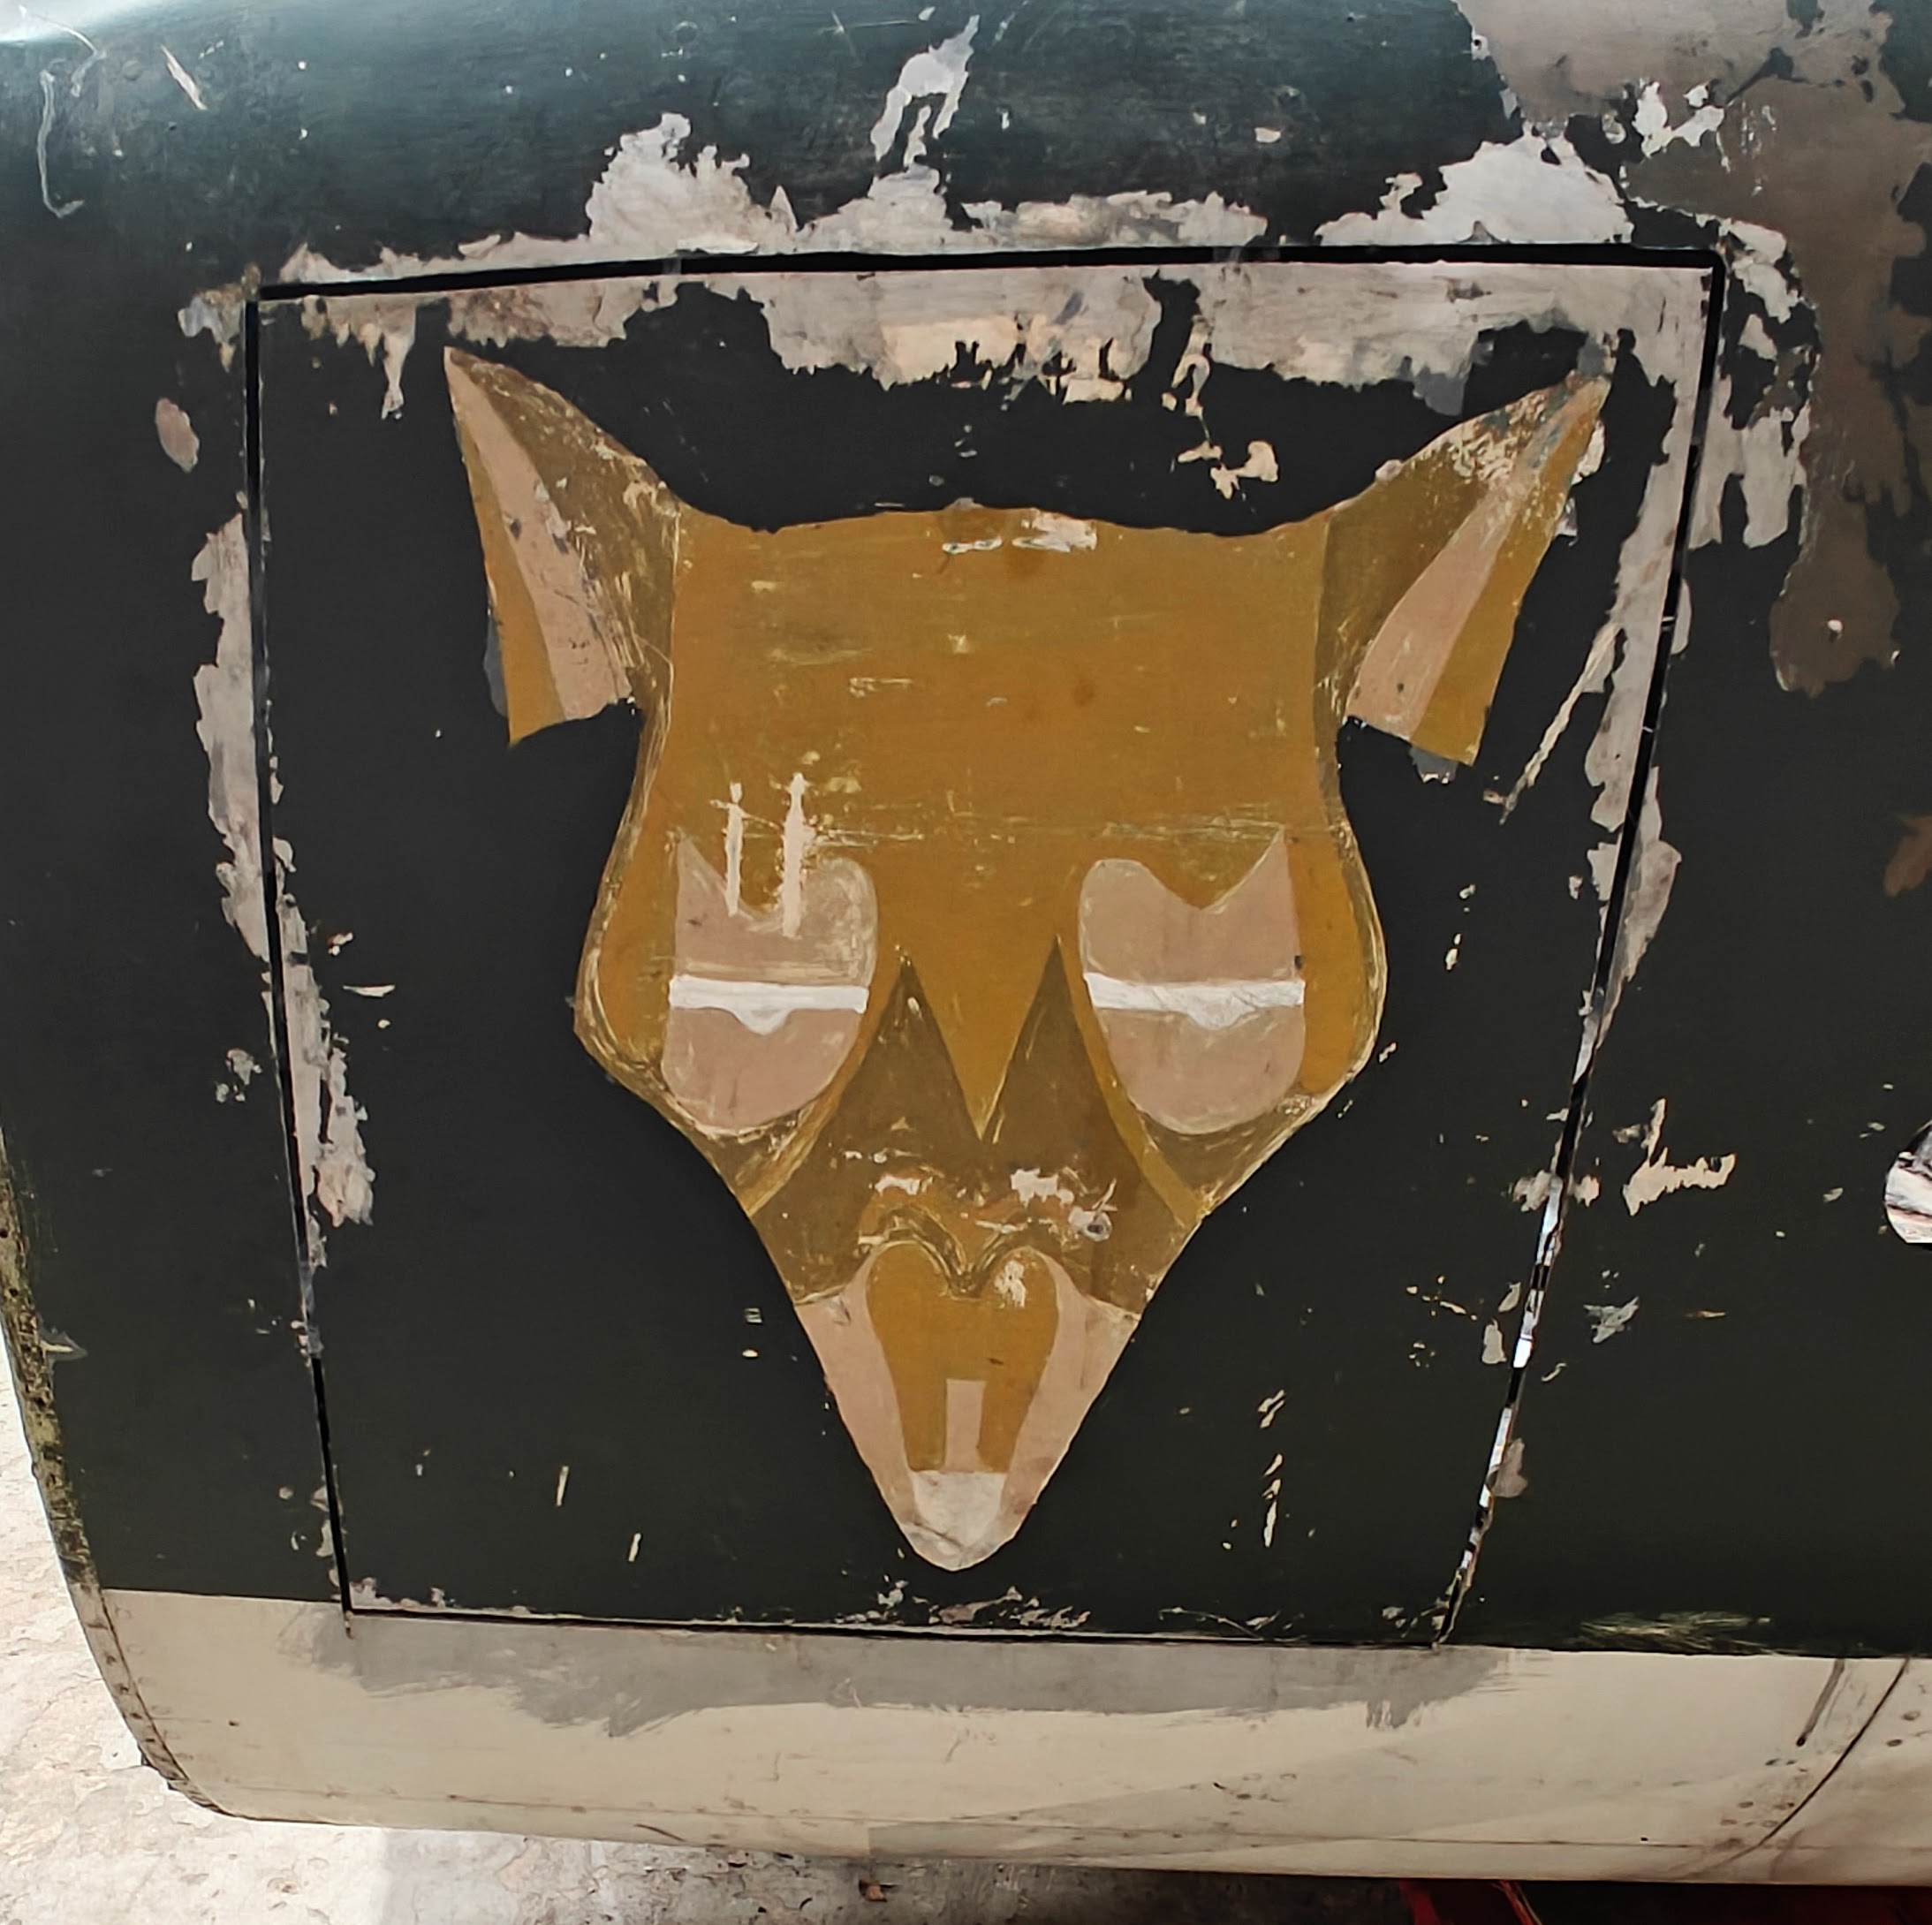
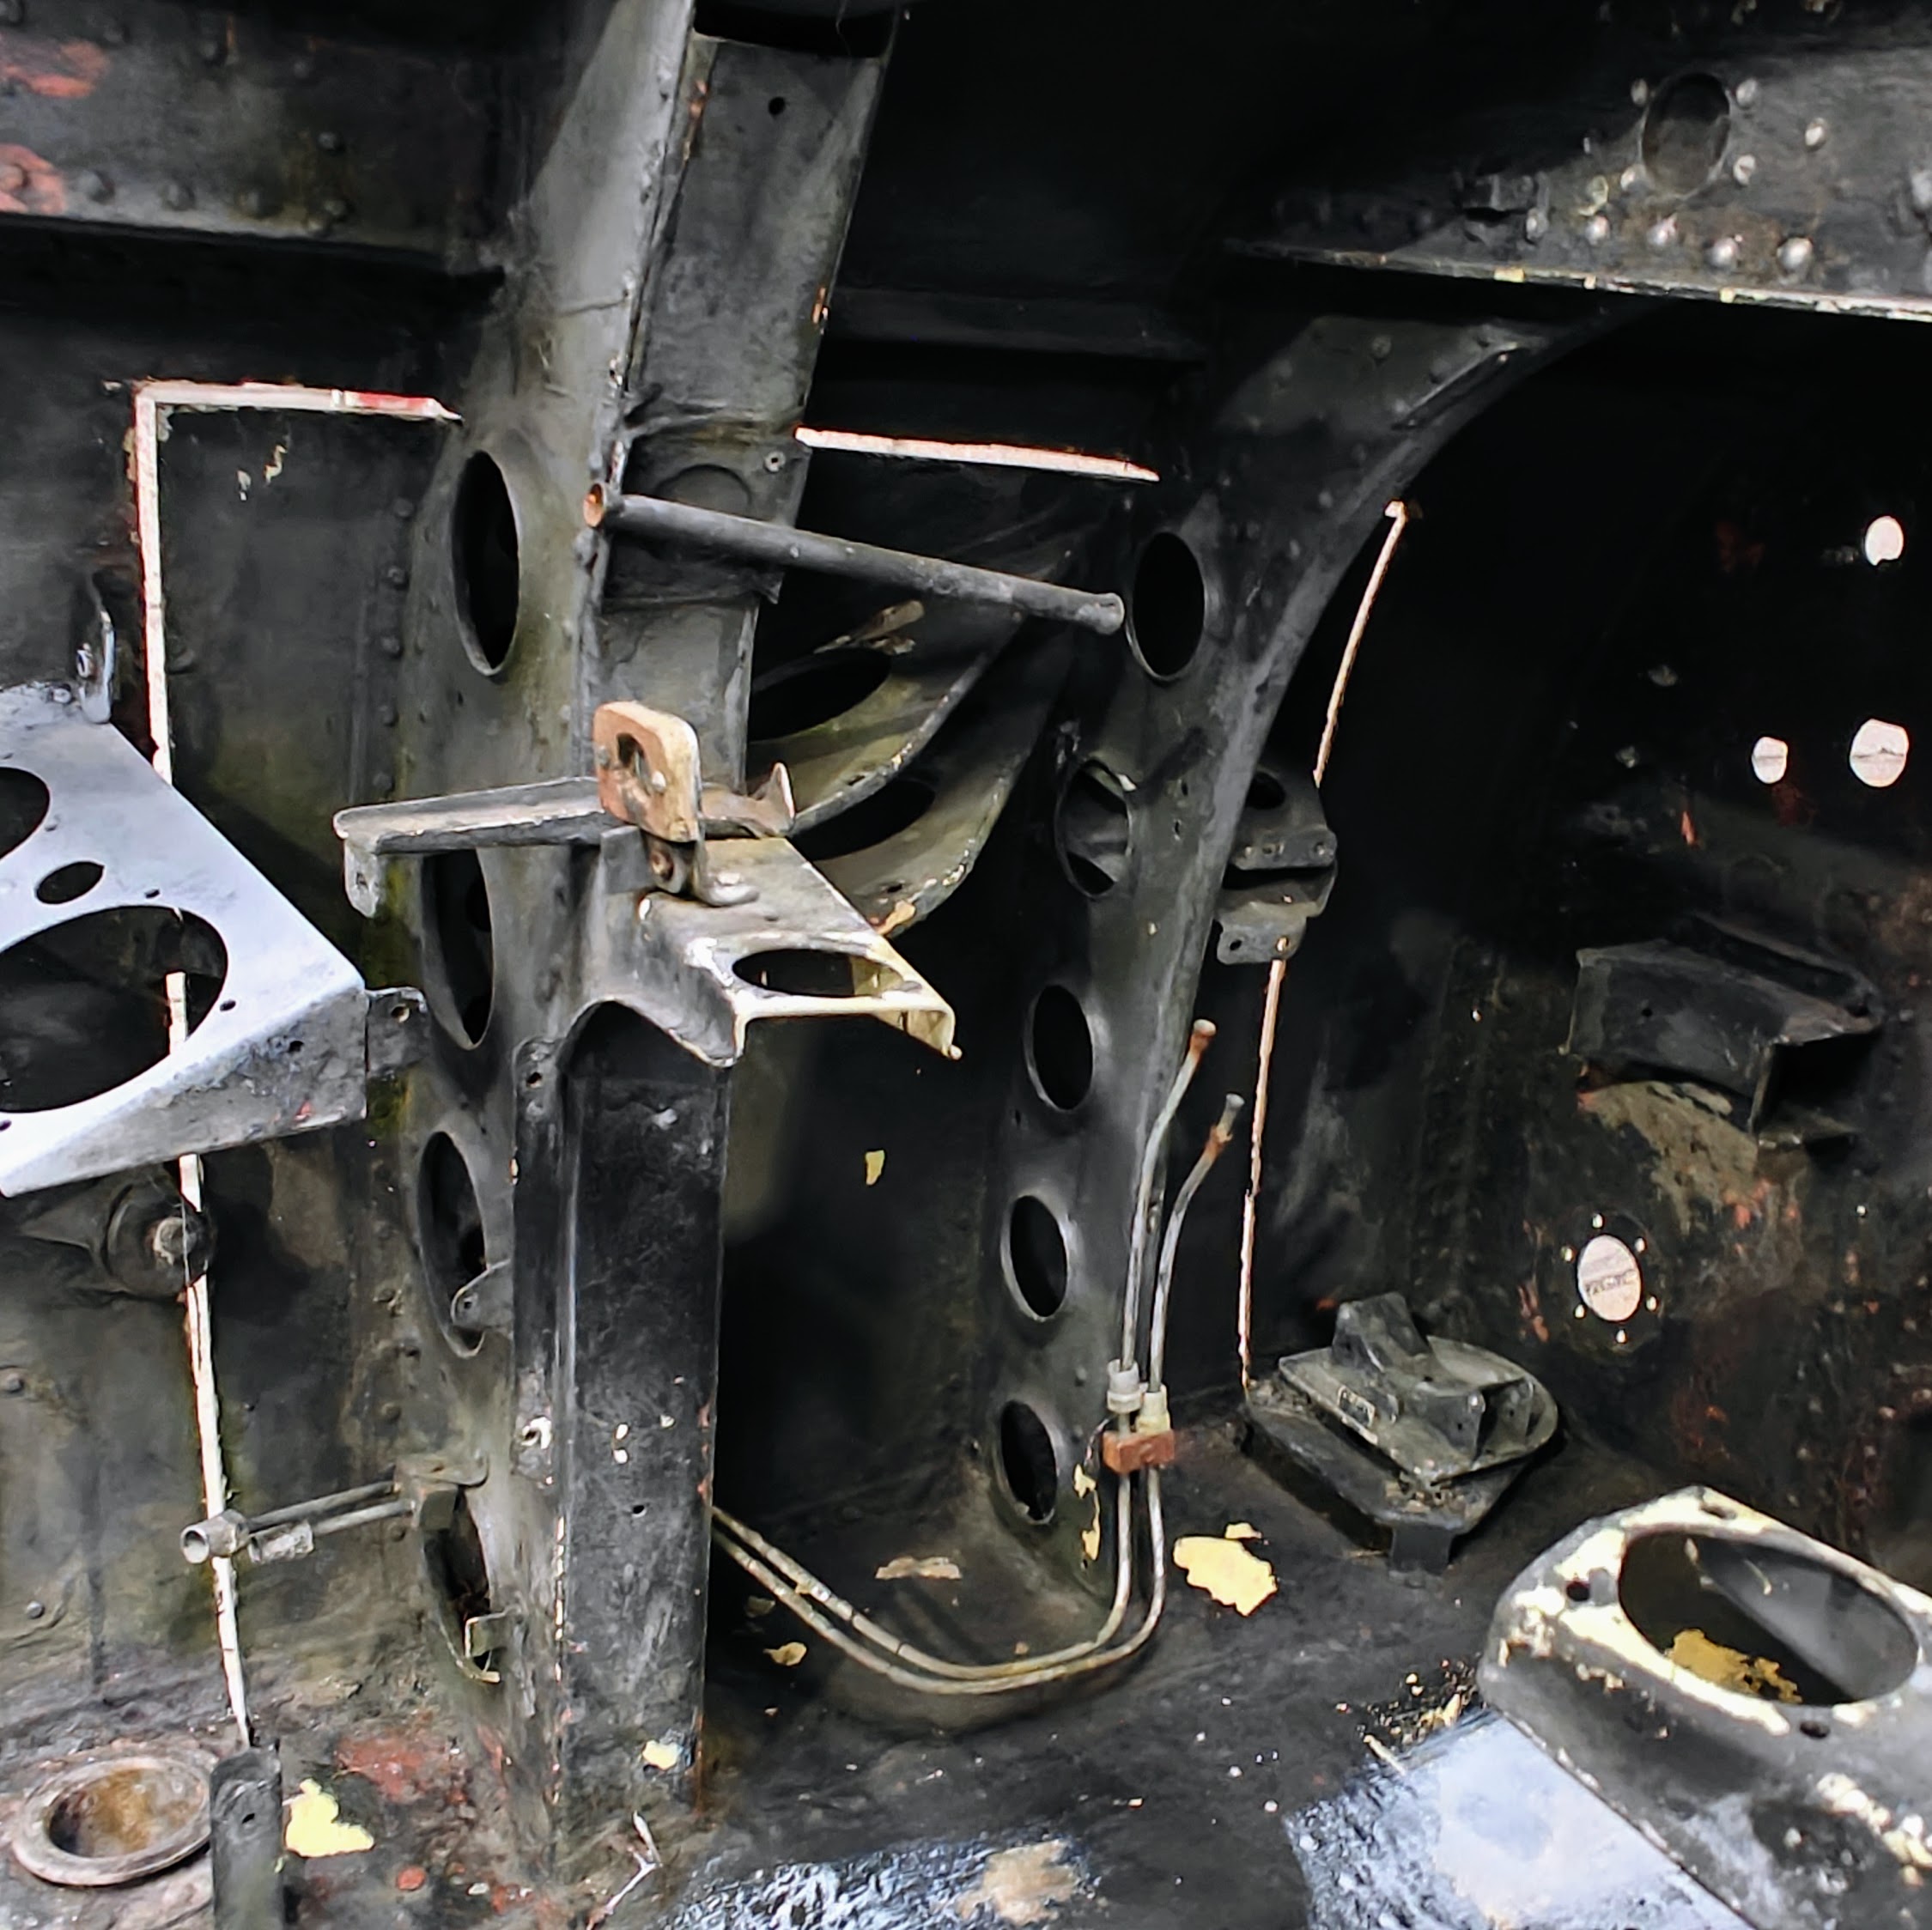
This weekend I'm looking forward to catching up with friends and family with a couple of aviation related visits, photos and more words in good time!
- Details
- Hits: 103