
Update 04 Feb 26
This week I'm continuing to work on the controls and trying to relate the diagrams in the manuals with what I can see and access in the cockpit itself. The rudder pedals were still locked solid despite another spray and soak last week so I've removed the starboard set for better access so I can work on them on the bench. They seem to be in good condition and are complete. Looking underneath at the other set I'm confident I can relink the two sets and integrate the motor required for the VPForce system which will provide haptic feedback as well as reading the position values of the pedals in the simulator.
I've also started some preliminary work on setting up the first of the arduino microprocessors which will read inputs from some of the switches and buttons, but more on that this weekend all being well.
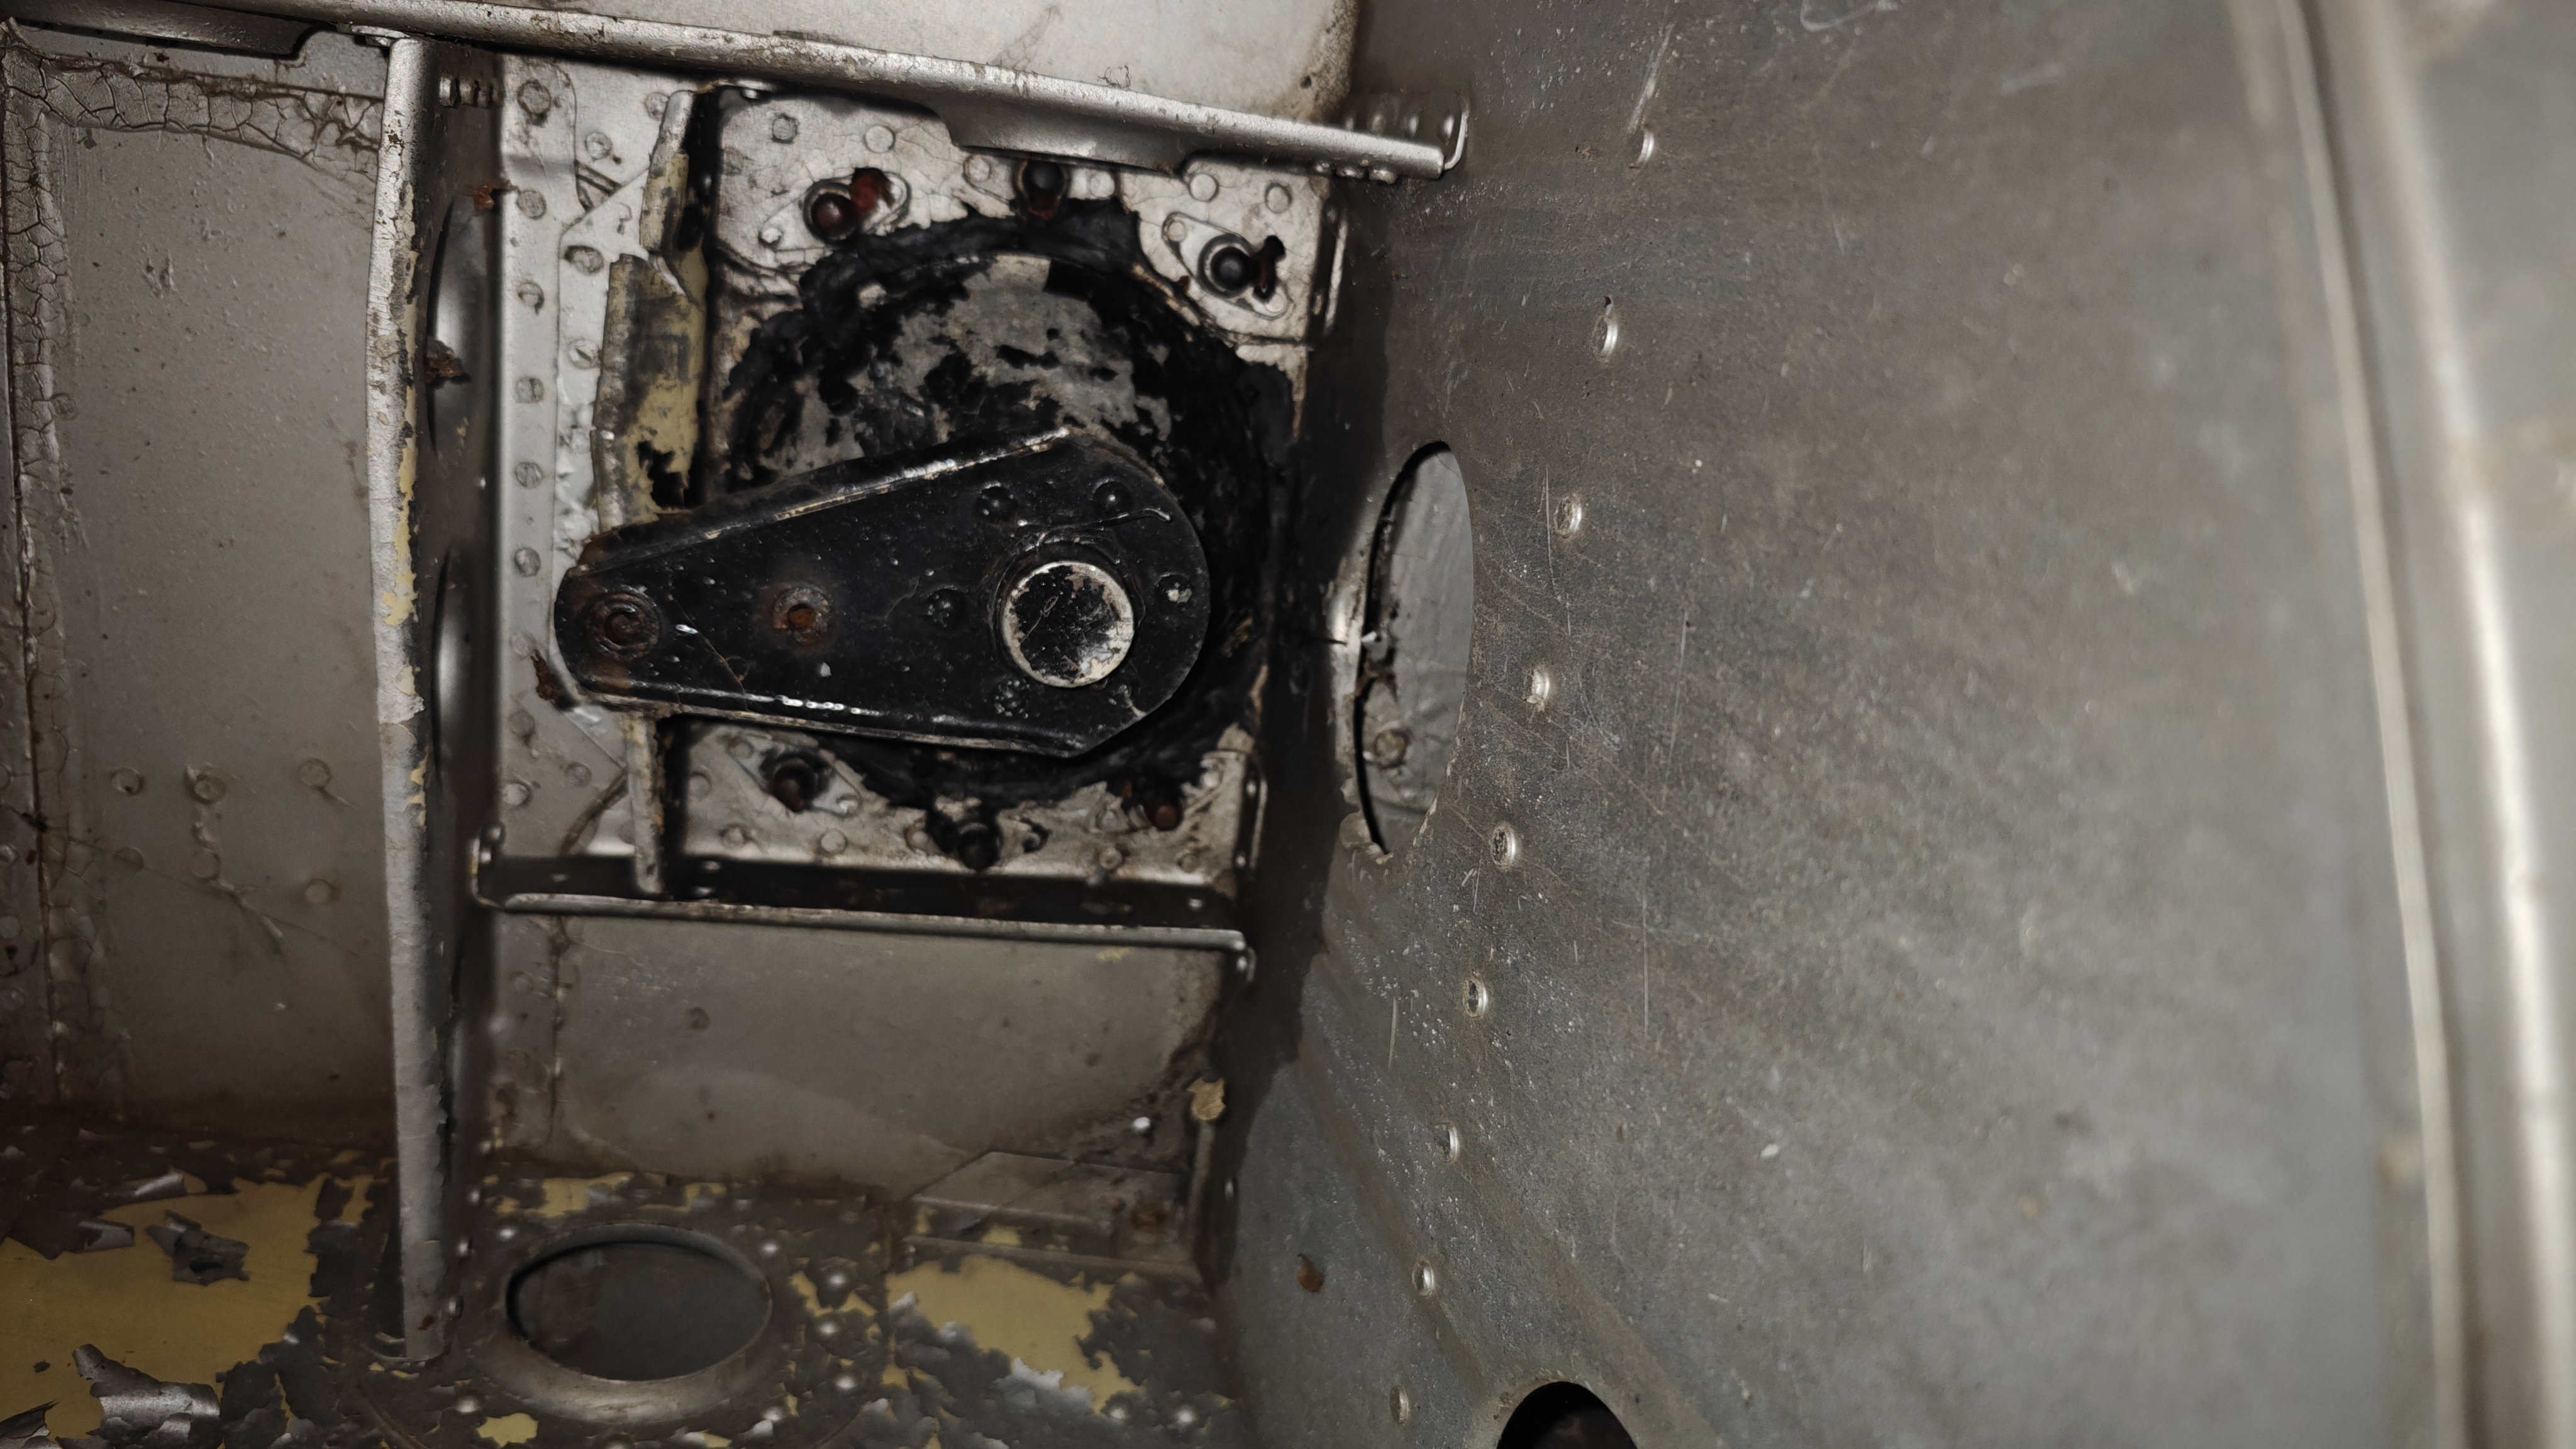

- Details
- Hits: 129
Work Update 29 Jan '26
I don't have a great deal to share this week, work continues on clean up and prep insides the cockpit. Last week's liberal application of penetrating oil has paid off as we do now have some movement of the previously rock solid elevator controls - from the pivot in the cockpit floor right back to the control tubes at the rear of the cockpit section. I still need to take things apart to clean, lube and probably replace some moving parts, but it's good to know things are basically intact.
There's a very dull but short video on youtube showing things moving!
I also took a closer look at the windscreen frame as I've been offered a set of 'new old stock' glazing. The frame needs stripping and painting so I'll be looking to move forward with that sooner than originally planned.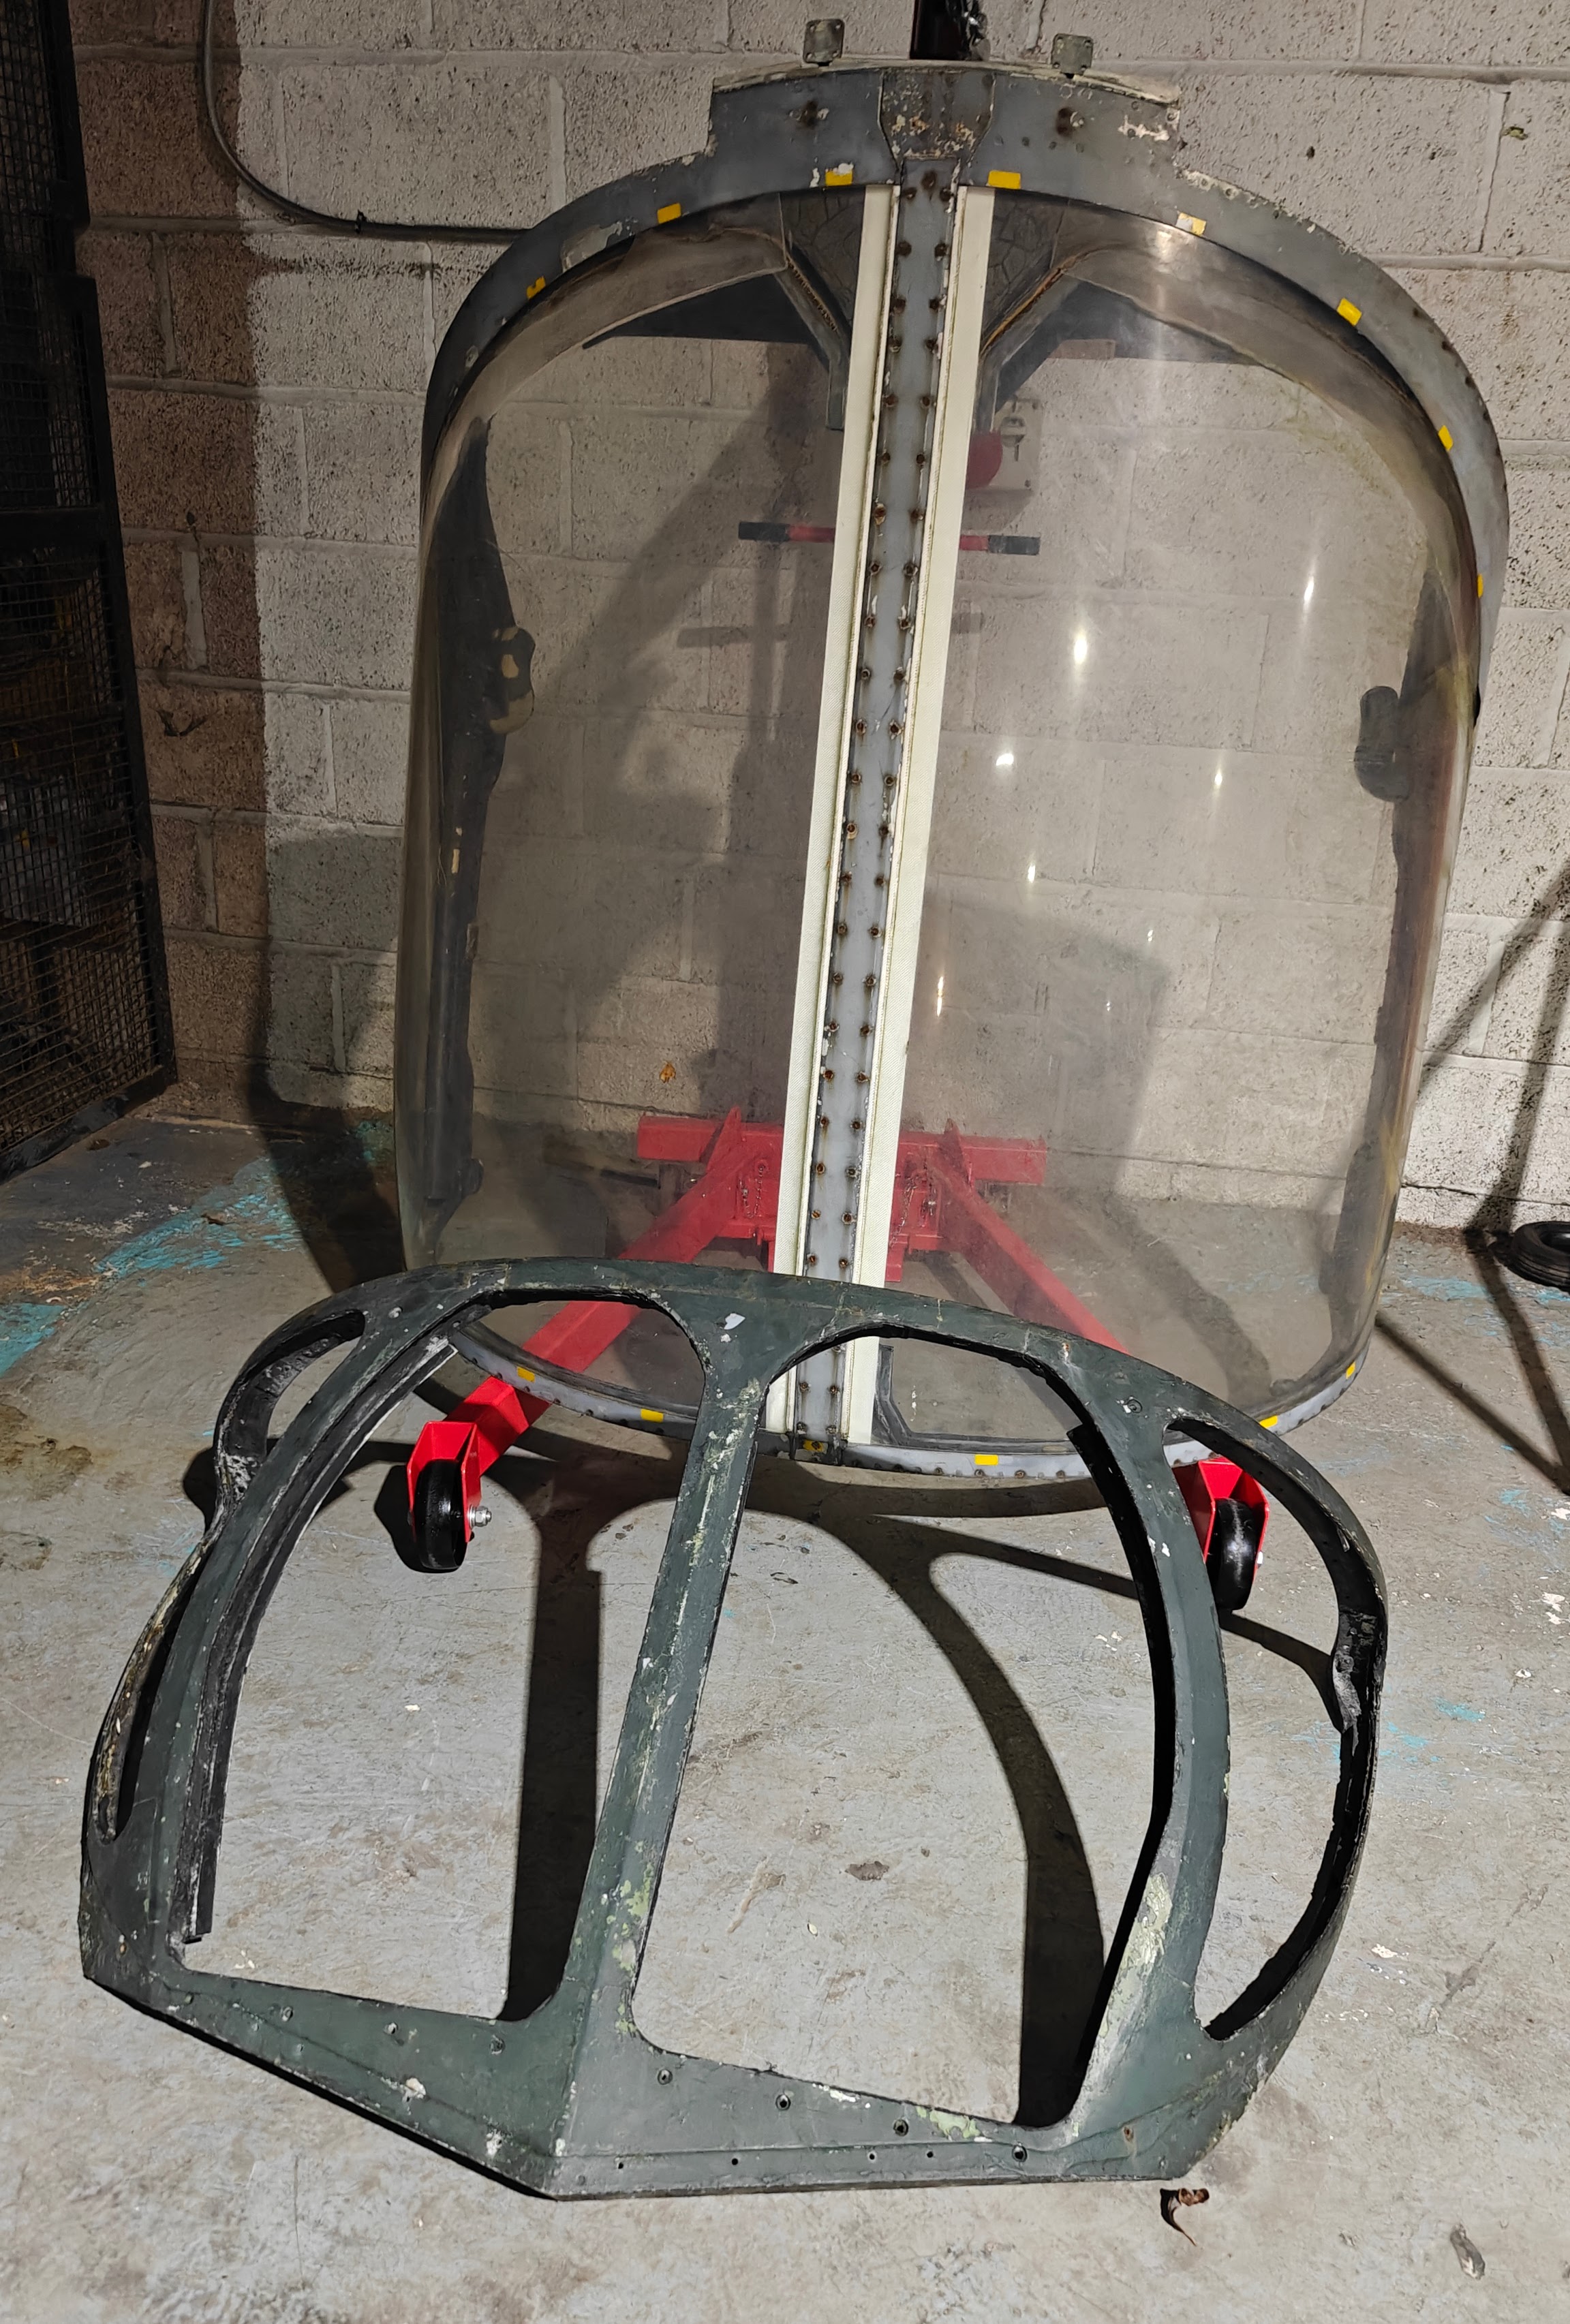
- Details
- Hits: 138
CAD - Trim Switch
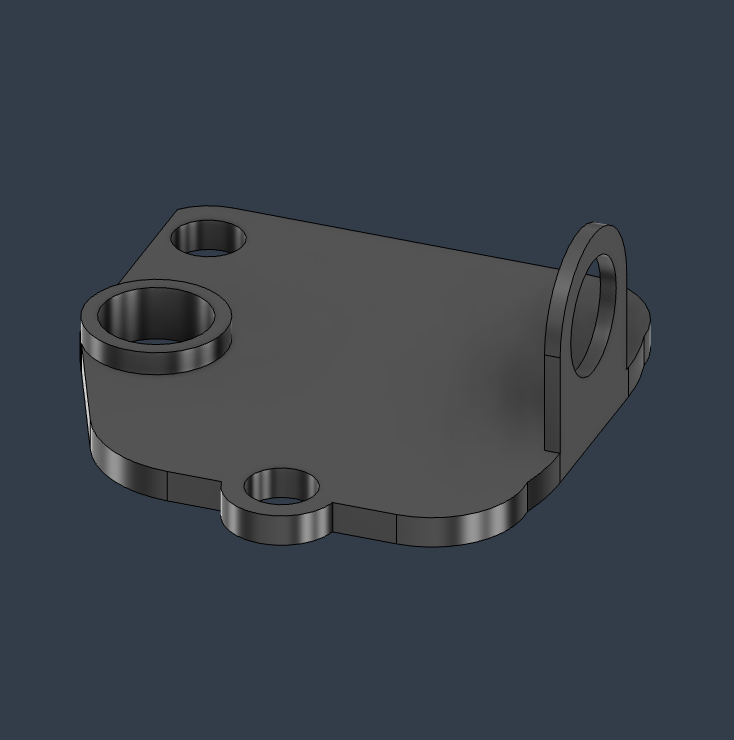
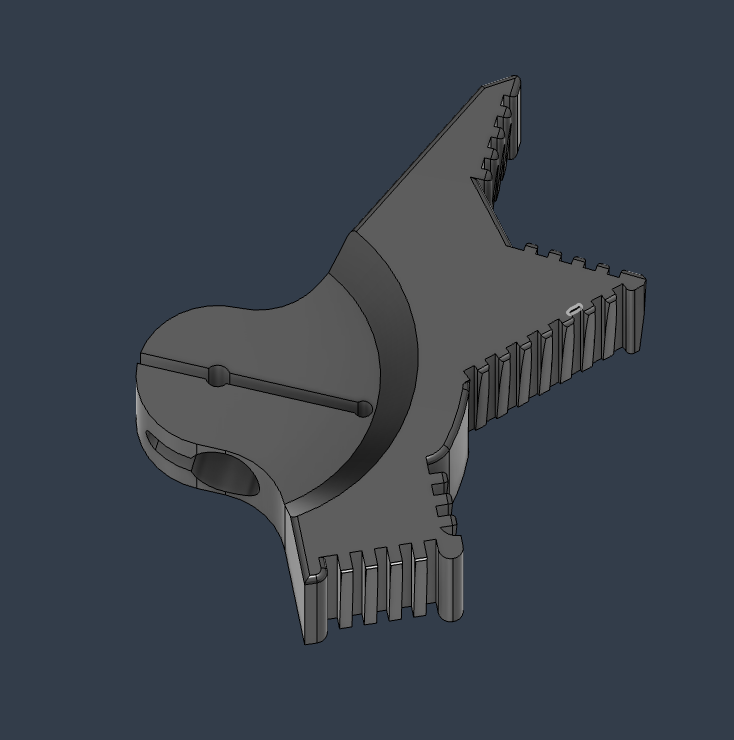
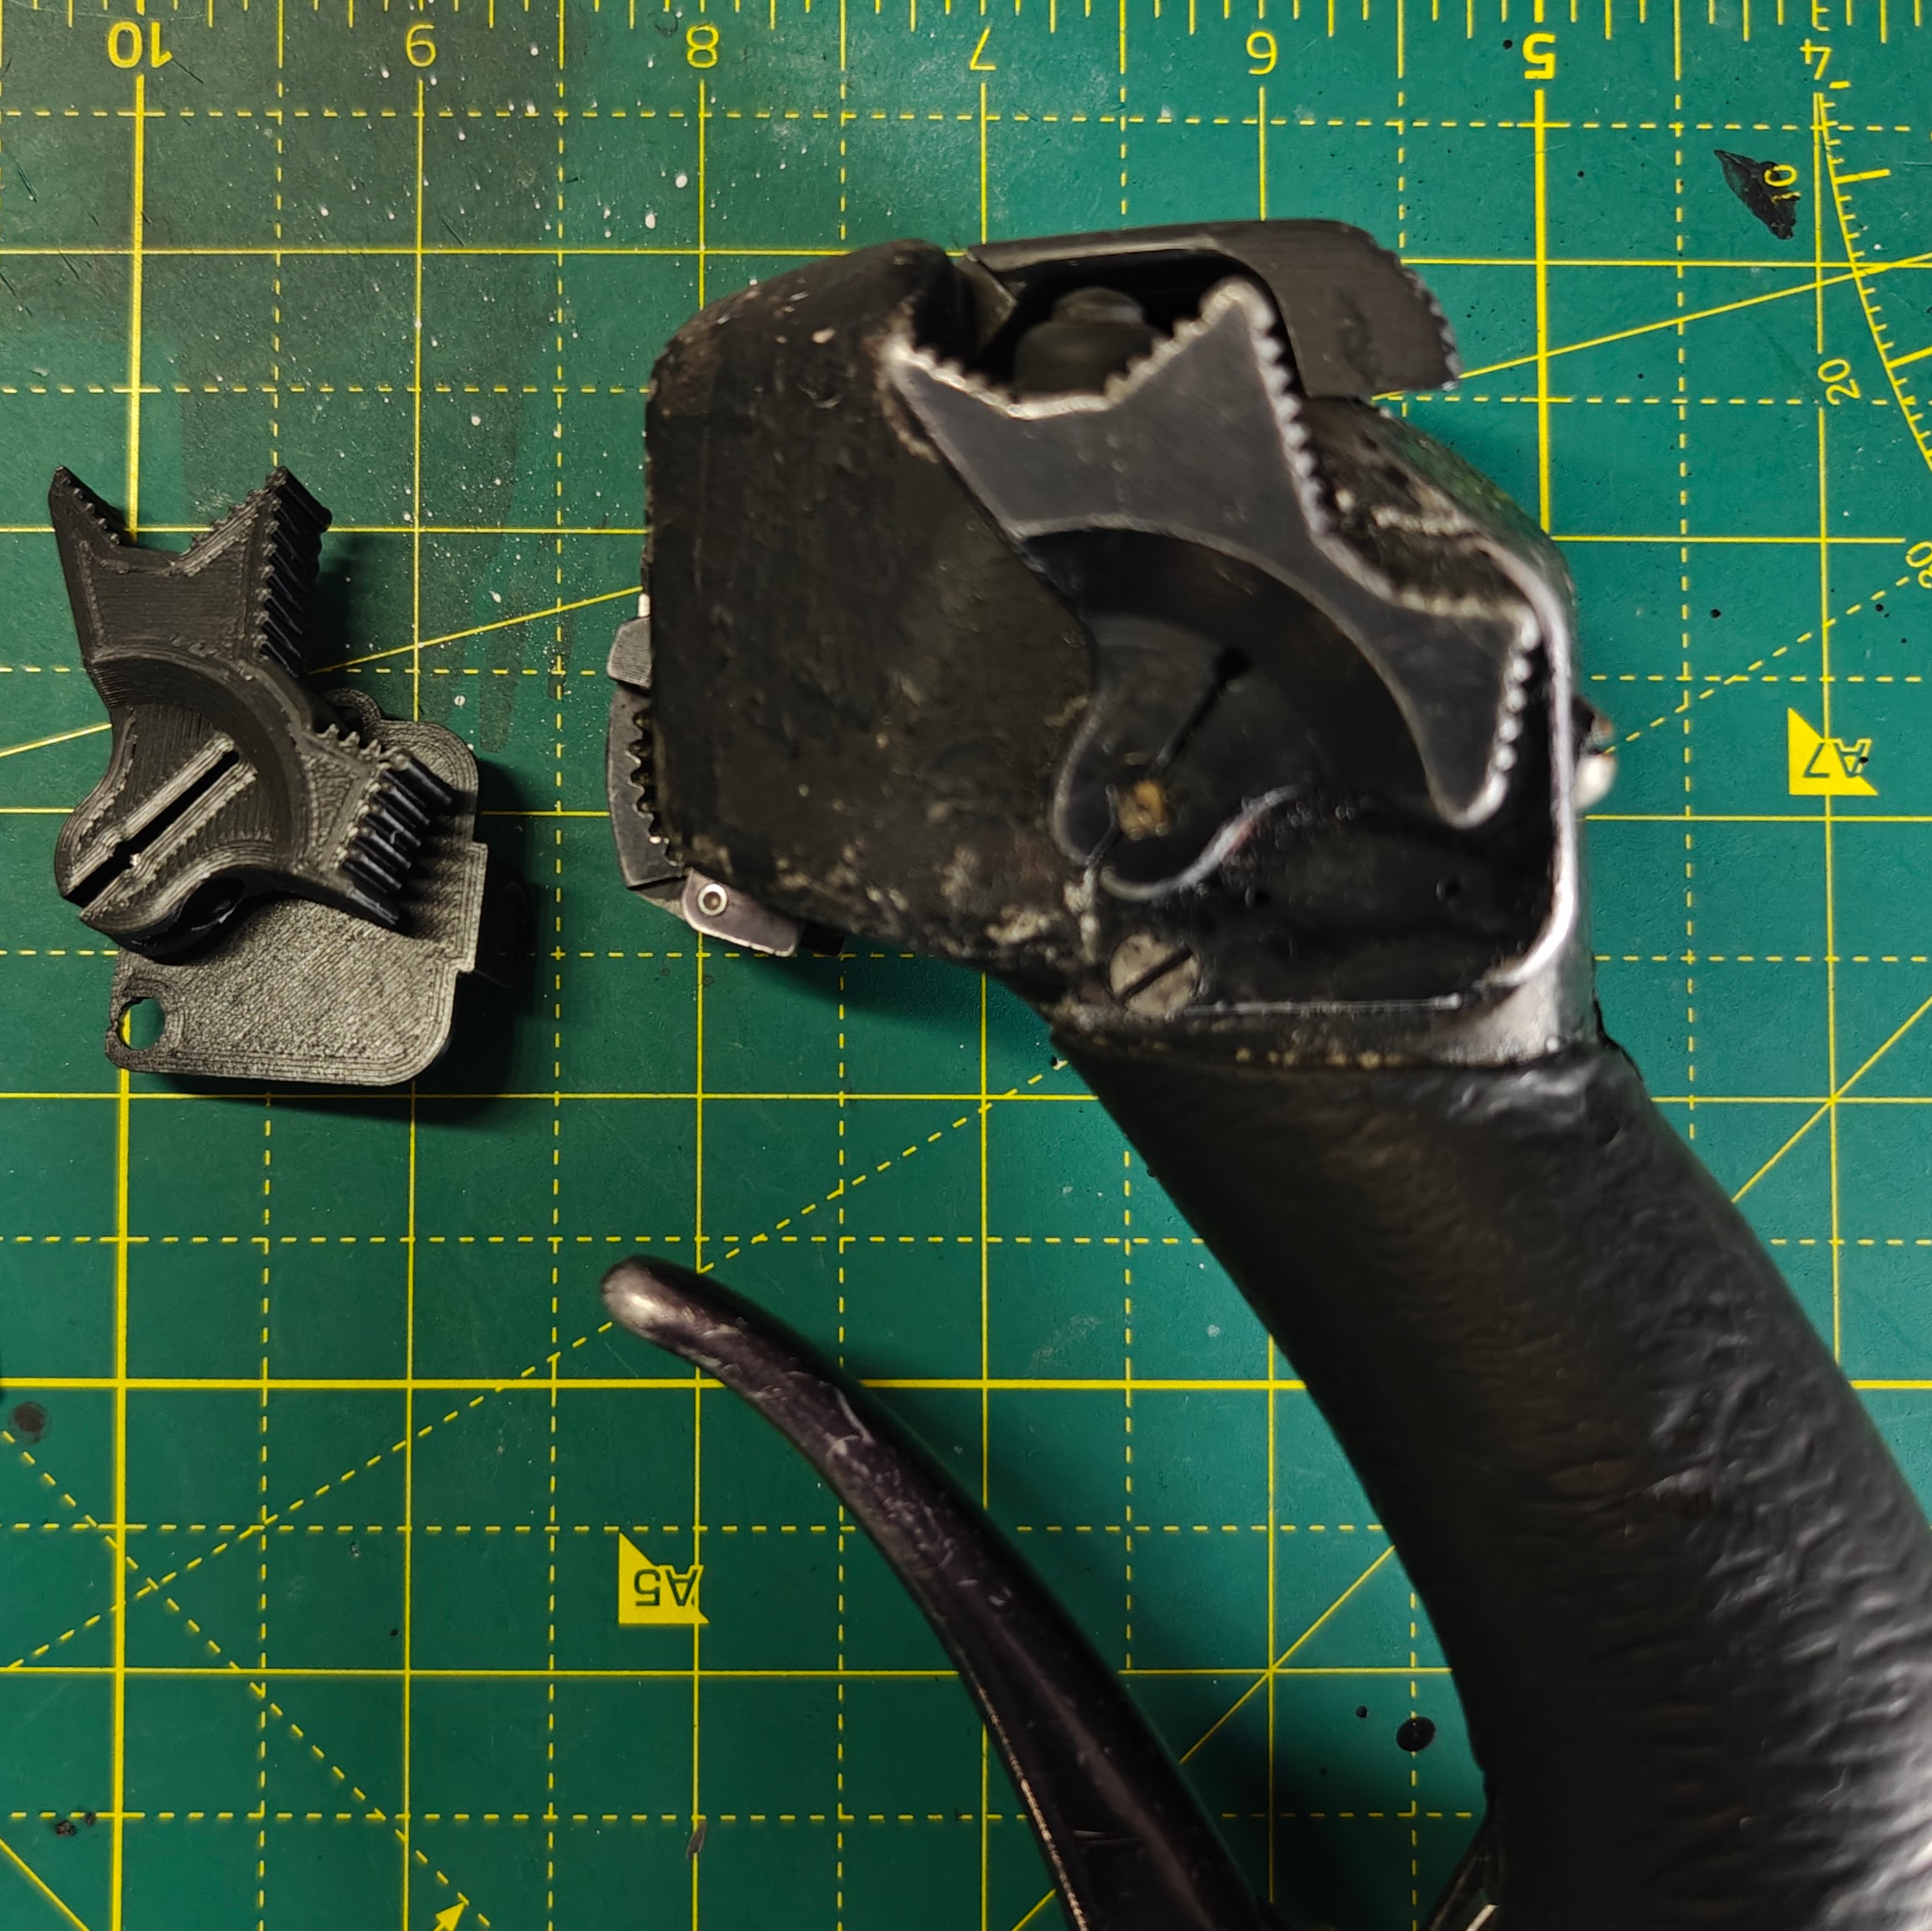
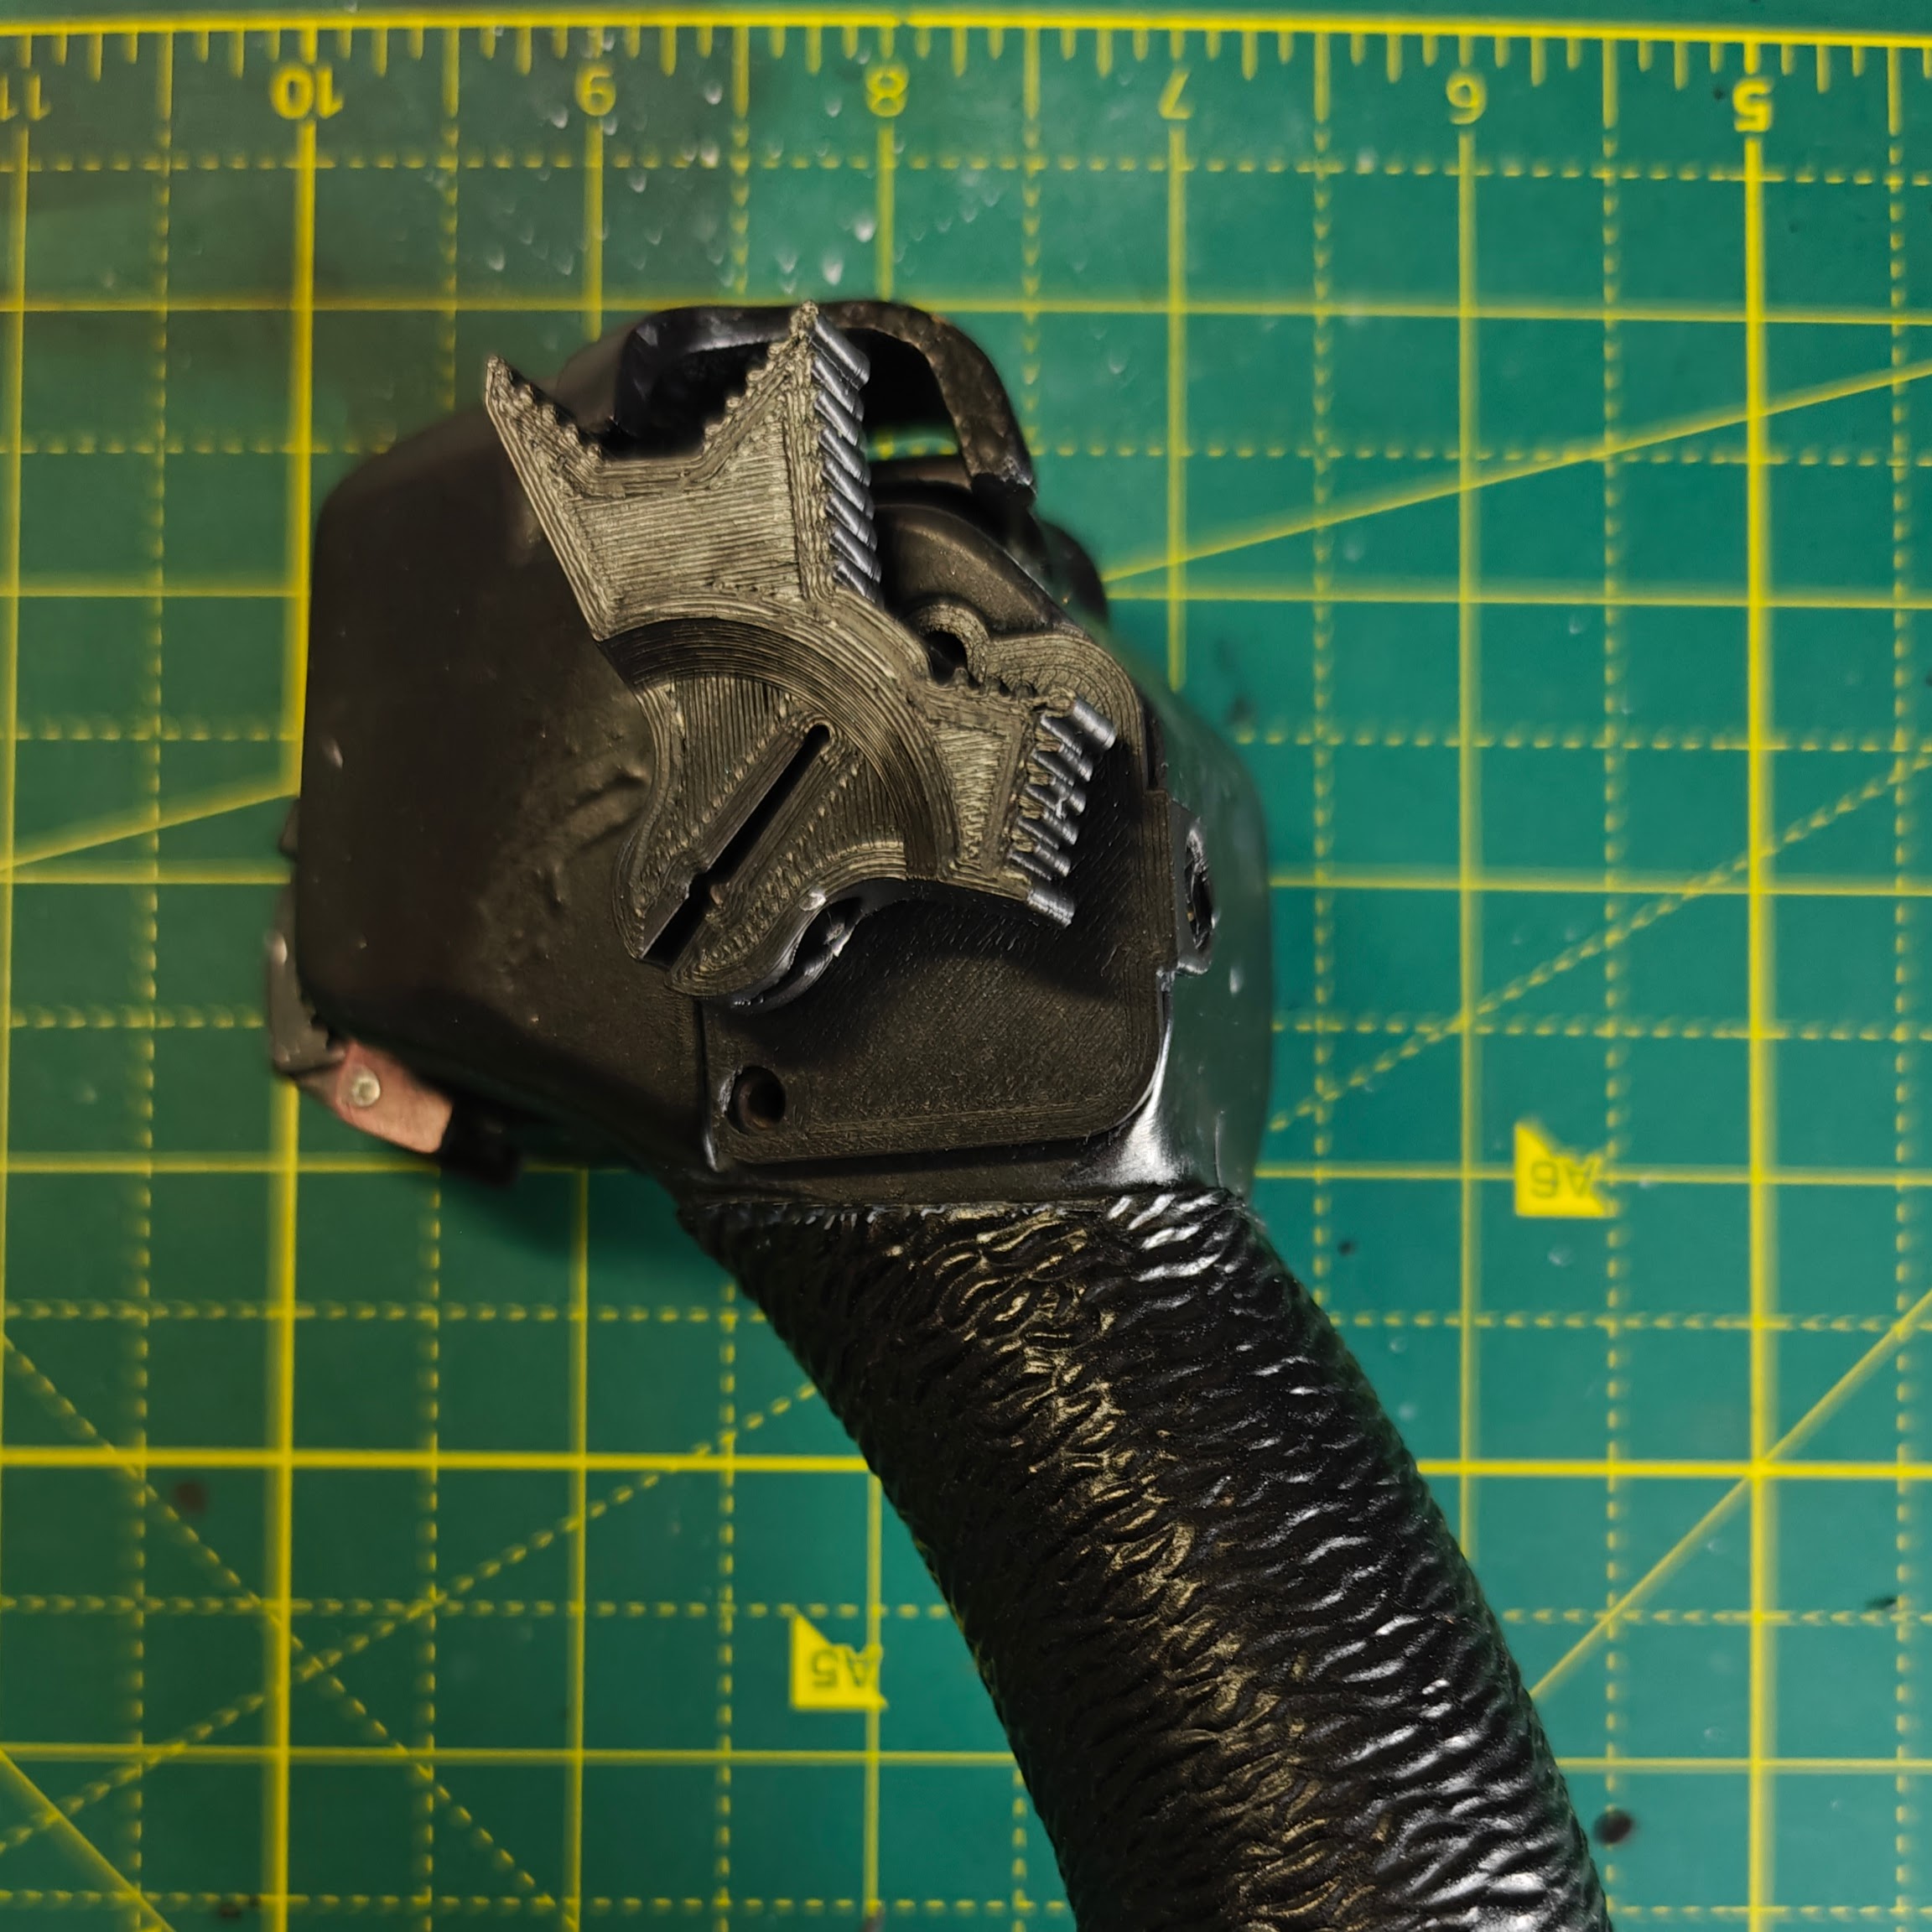
- Details
- Hits: 173
Work Update - 23 Jan '26
This week's work on the cockpit involved more cleaning and prep and a quick peek at the state of the flight controls.
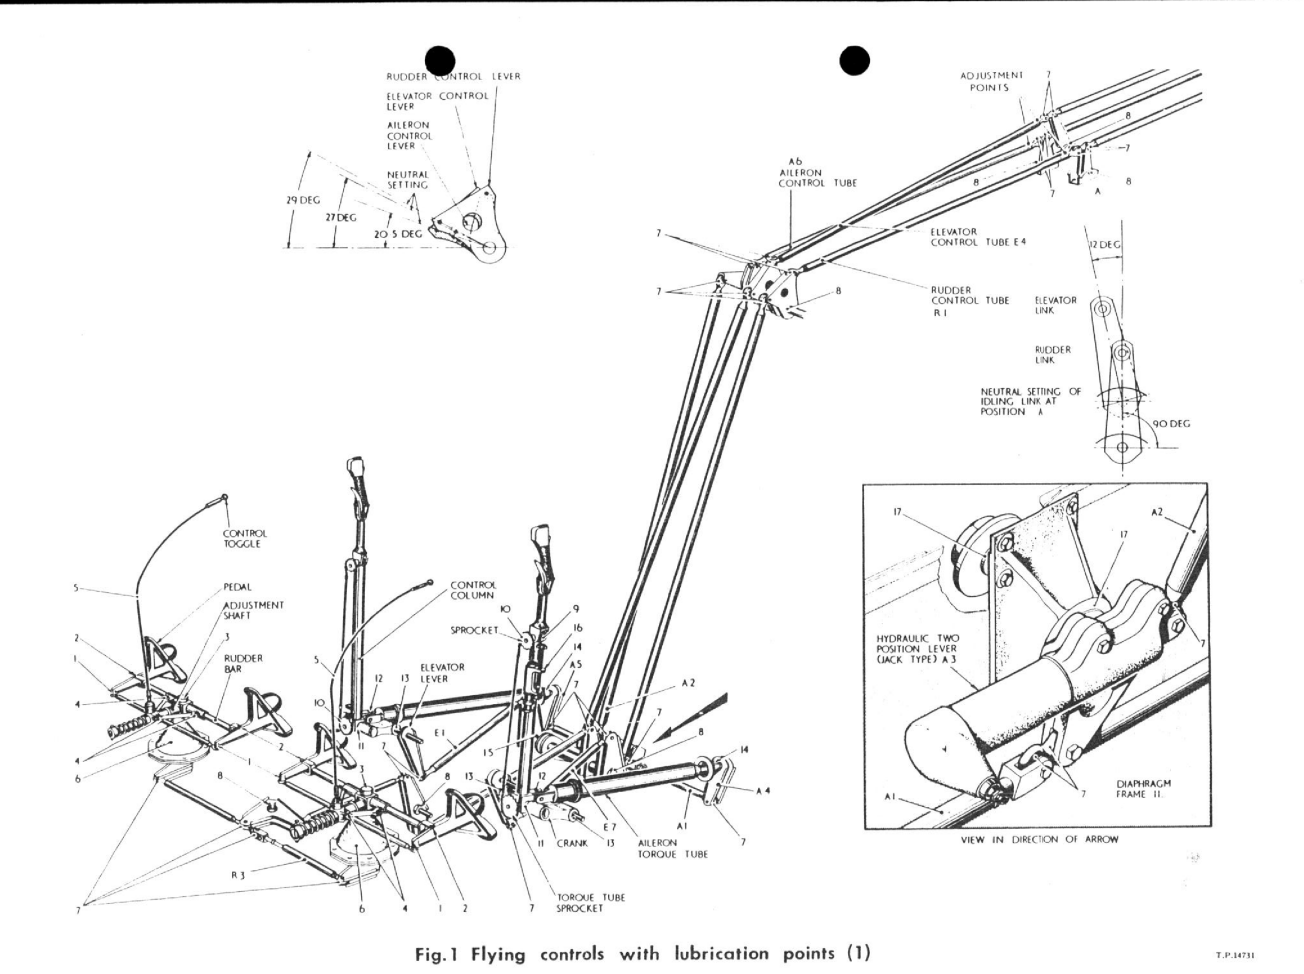
After spending some time reading through the APs (Very grateful to Dick Barton and Scott B for providing copies of some of the invaluable docs I need for this project!) I investigated what was left of the control runs for Elevator, Aileron and Rudder control as I start planning installation of the required motors for the custom VPForce control system I have in mind for the project. The elevator control is locked solid (probably corroded?) as are the rudder pedals, however I did locate what I'm sure is the rudder control tube which seems to move as expected from under the pedals (though not currently connected) back to the rear of the cockpit section (running through the 'transmission tunnel' style housing between the seats. The elevator run also seems to be present but I haven't located the aileron control rod so more investigation and some careful disassembly will be required. Following the old engineering adage of 'if it doesn't move but it should - spray it!' I applied a liberal amount of penetrating oil spray on every exposed section and I did mange to get some of the canopy locking mechanism moving - it's incomplete and we're a long way from worrying about reinstalling the canopy but it felt like a small victory!
I spent the rest of my free time this week on my hands and knees in full PPE brushing and scrubbing at the interior of the cockpit to expose any corrosion and remove any loose paint and fixtures and fittings. It's a tough job and it can be disheartening - I have to remind myself that it's got to look worse before it looks better but hopefully the attached photos give some indication of the progress. There is still a lot of prep work to do but it won't be too long before I am ready to paint the first bits of the interior.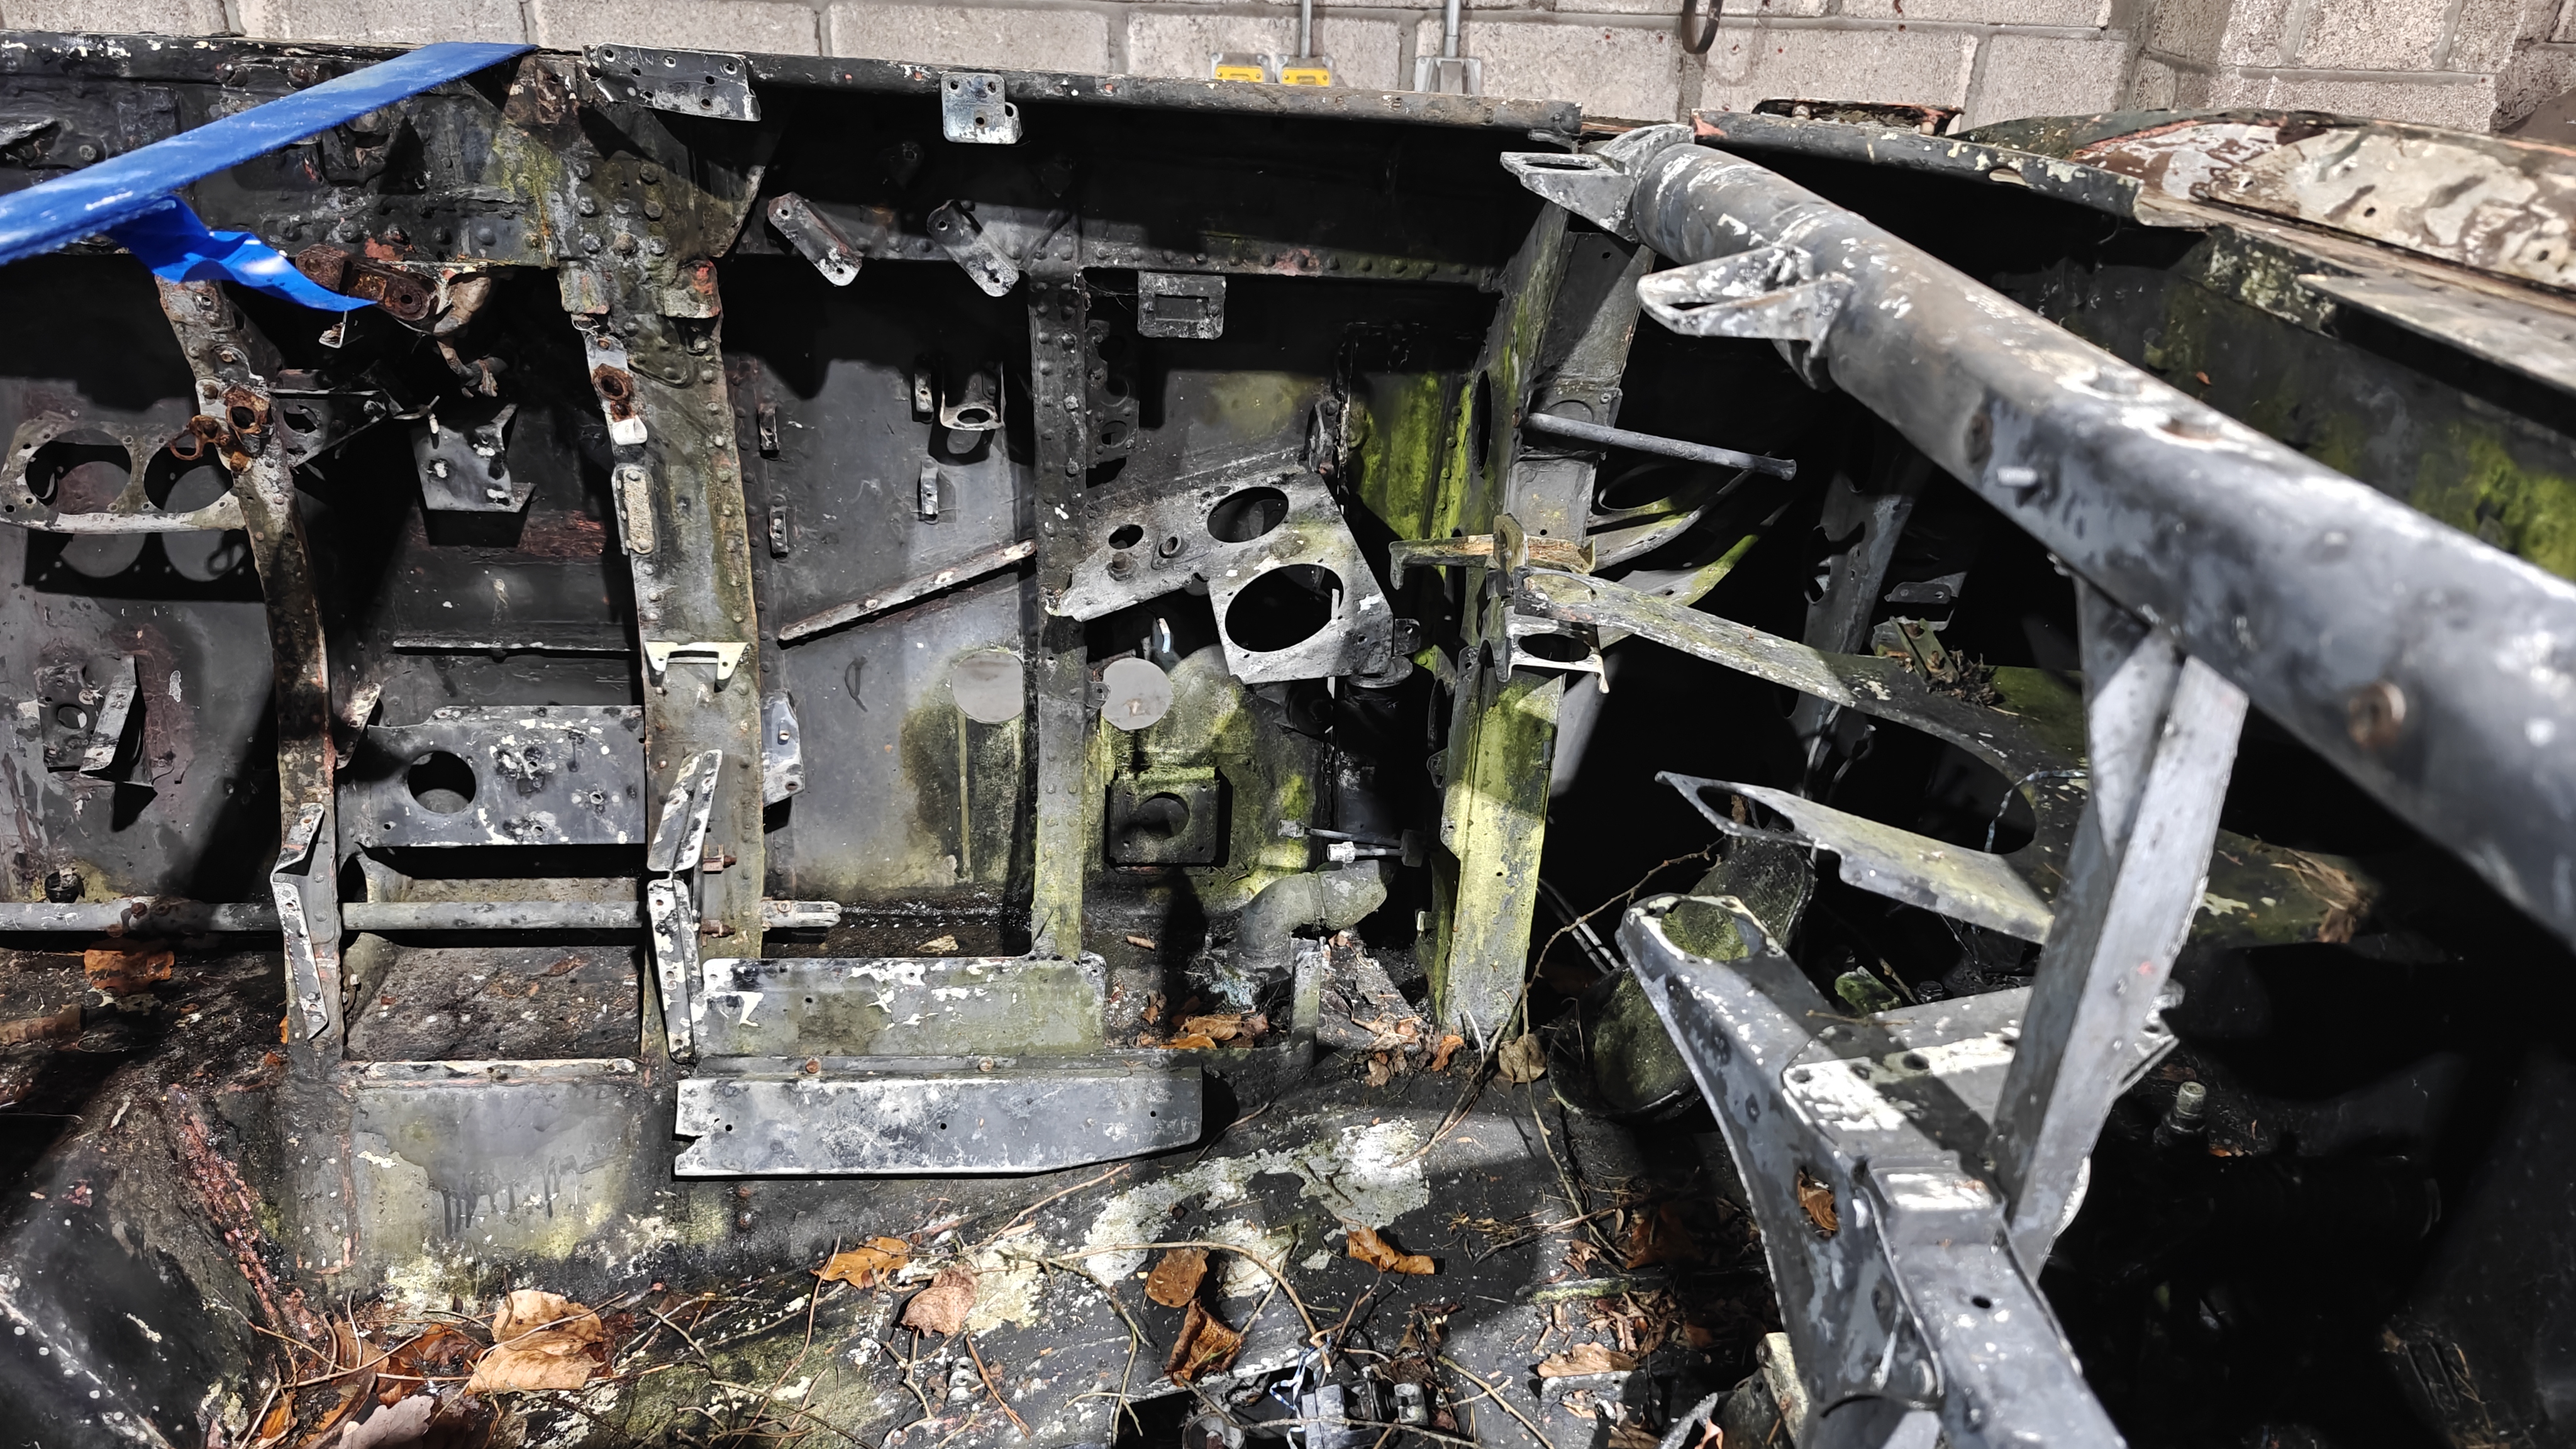
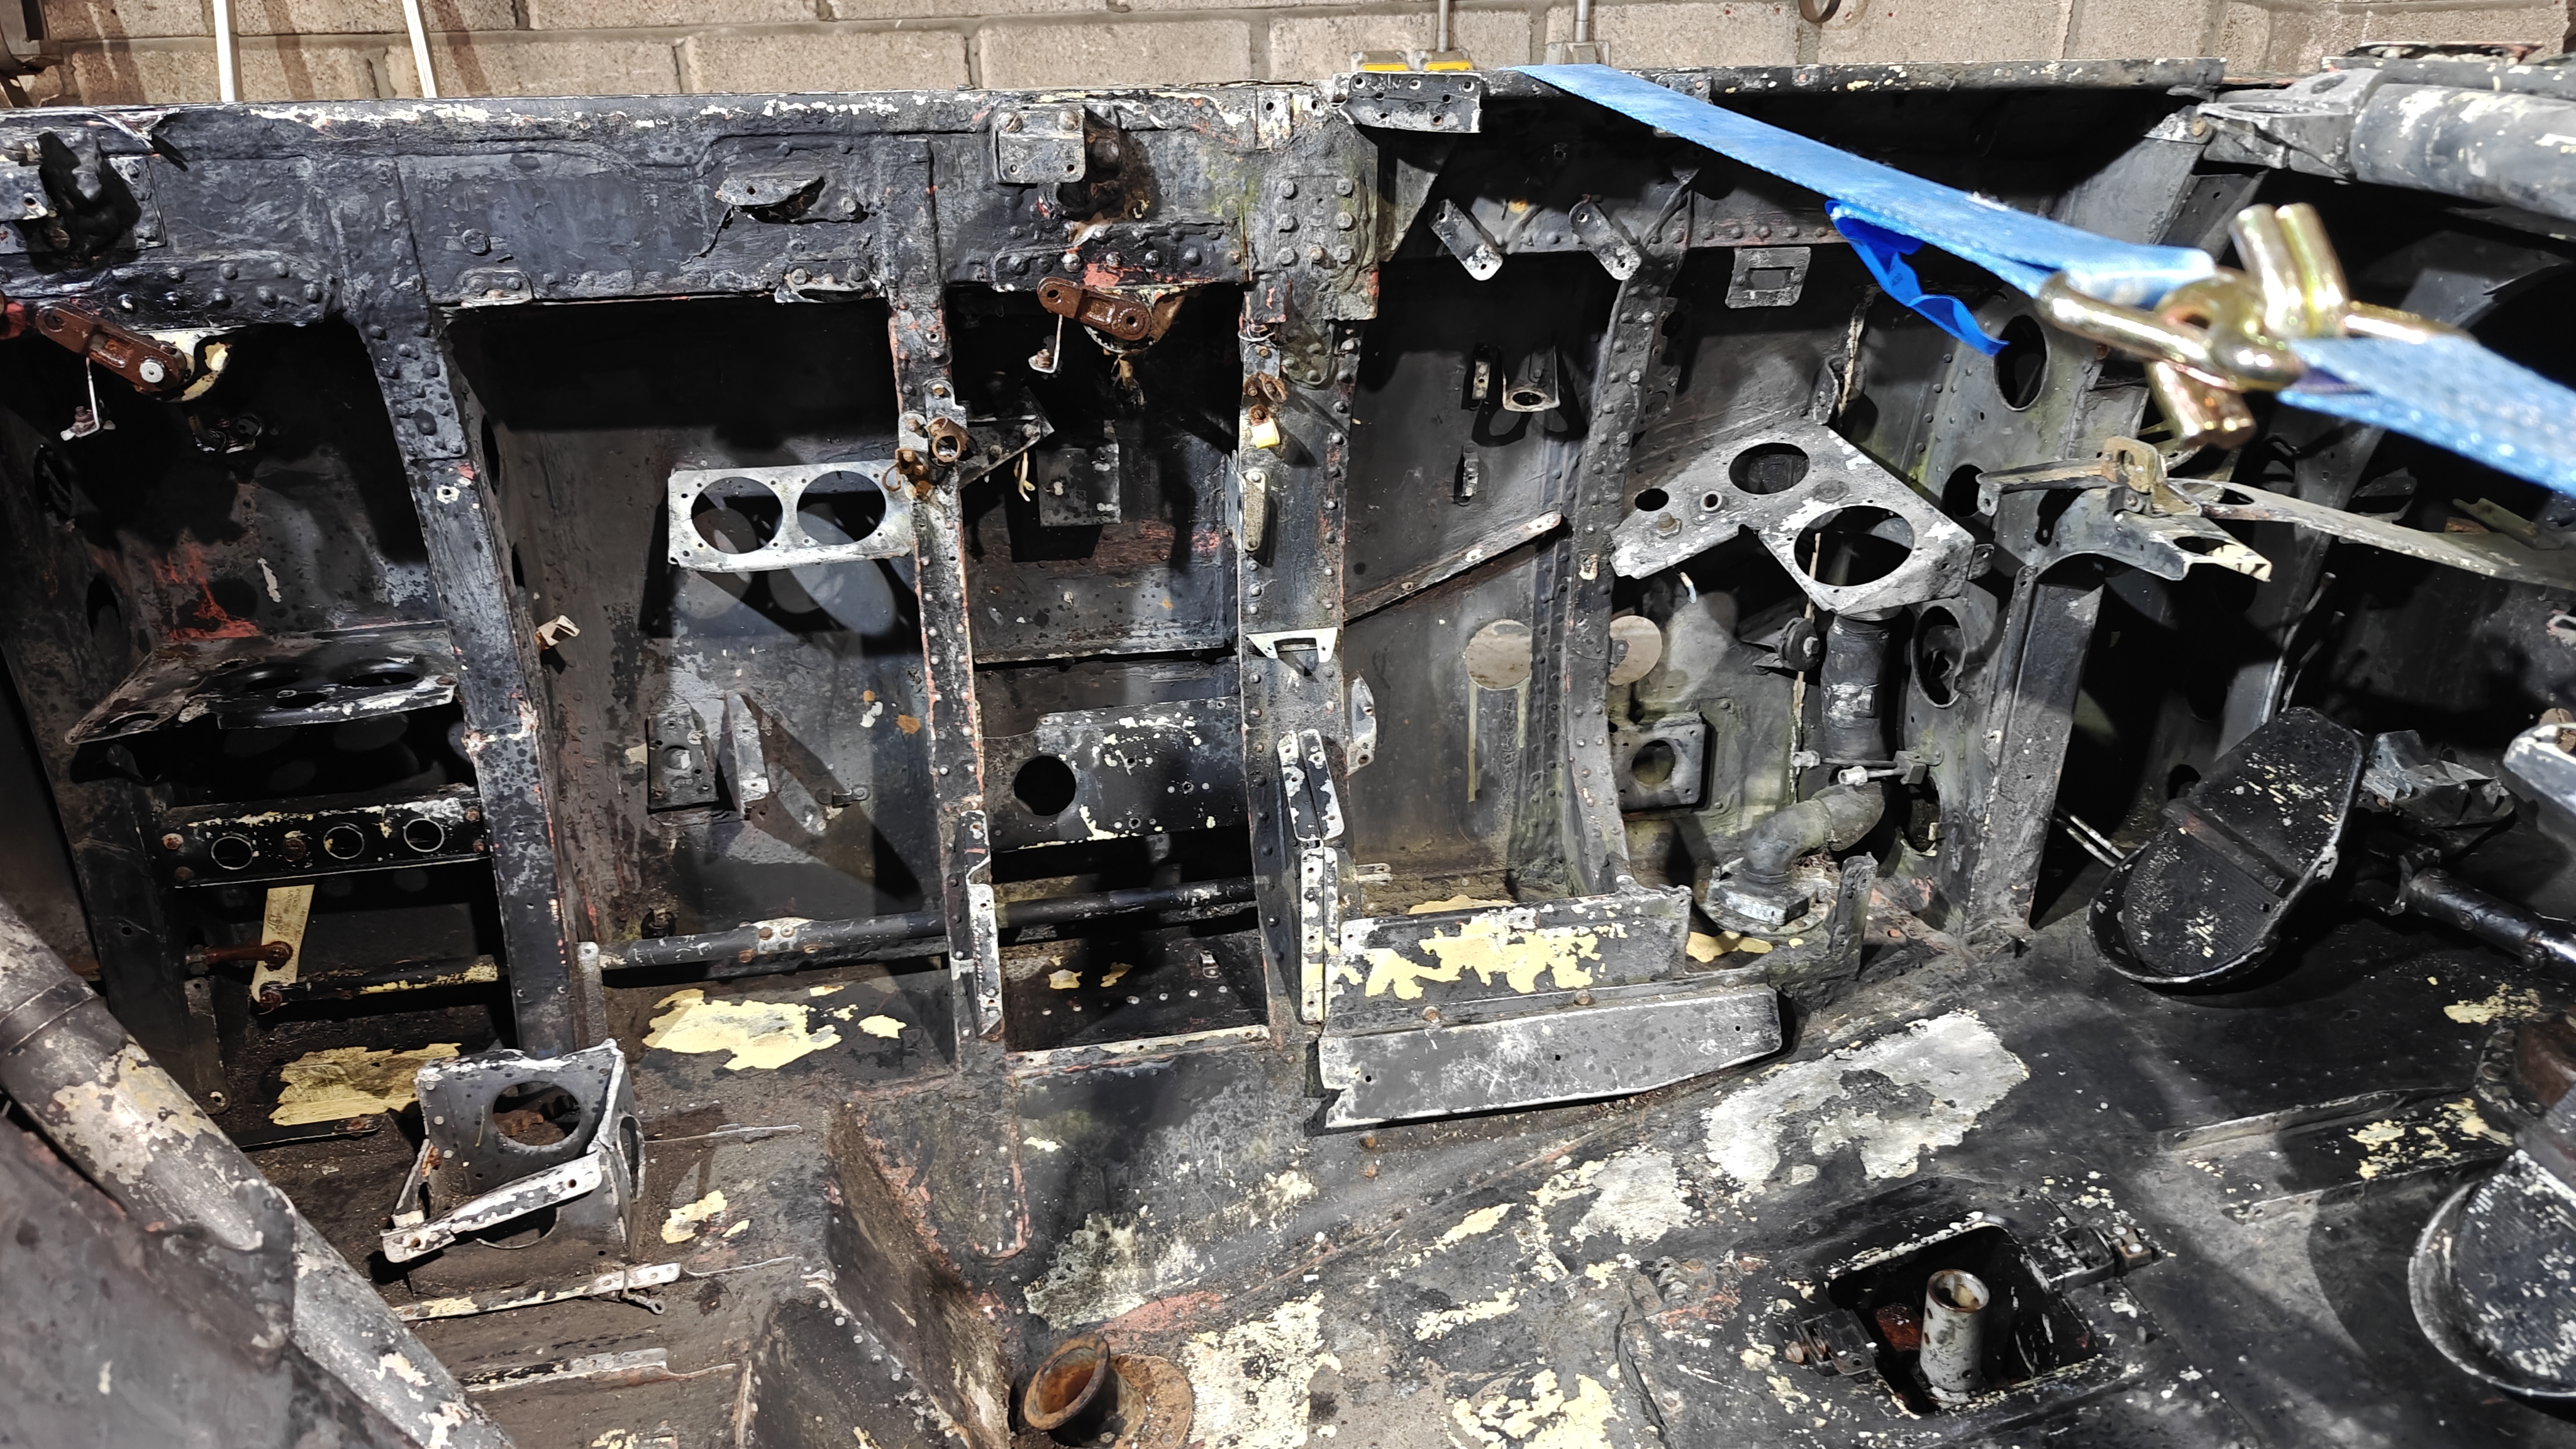
While I was there this week I also took my Dremel to several protruding wires and lines on the back of the cockpit section to tidy up and provide better (safer!) access for further cleaning - a small thing but another improvement. I also got some advice on some of the metal work that needs attention - I see some tin bashing in my future!
- Details
- Hits: 118
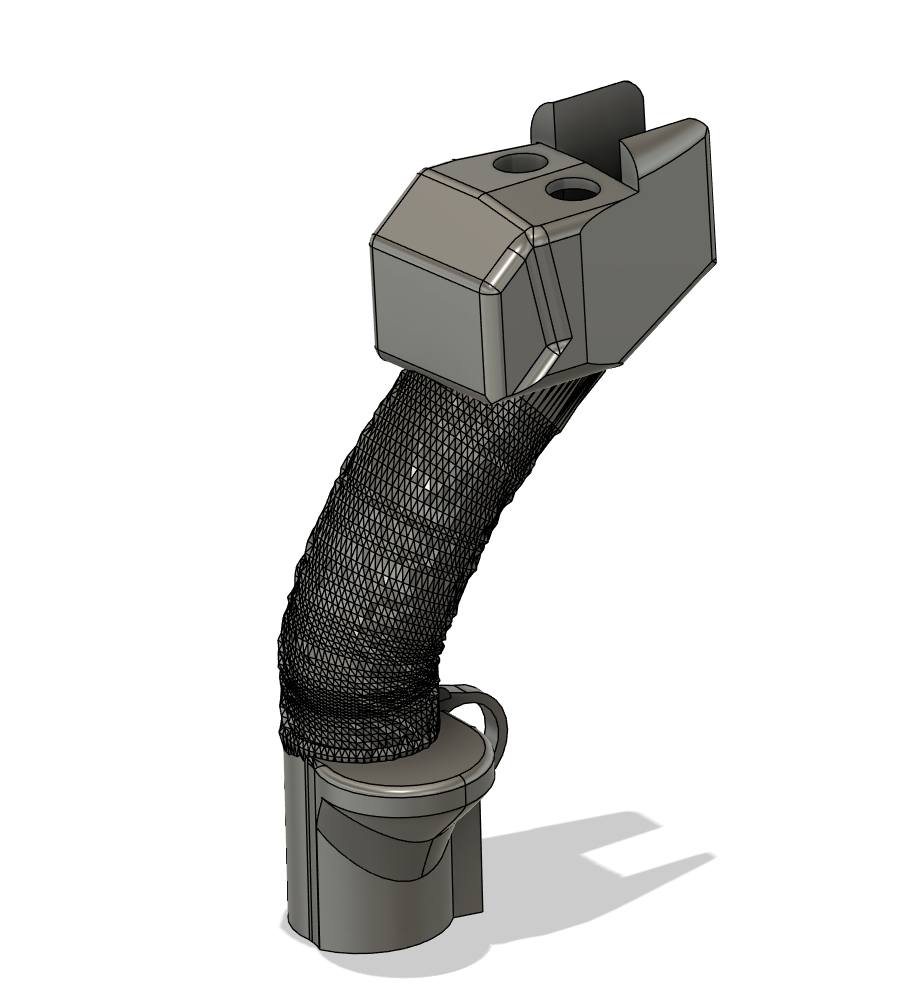
CAD Project - Hunter Stick Top/Grip
- Details
- Hits: 134